Picture a weekday in February. Two kids, a dog and a parent come in from the garage at 5:30 p.m., carrying snow on their boots, wet mittens, a hockey bag and groceries. In about ninety seconds, all of it lands somewhere. If that somewhere is a 4-foot hallway with a coat hook, it lands on the kitchen floor.
In most Canadian homes the garage or side entry is the real front door for half the year. The formal foyer still matters for guests, but the mudroom is where the house is won or lost in winter. Use the checklist below while you compare plans, before anything is drawn in detail. Moving a wall now costs nothing. Moving a floor drain after the slab is poured costs a lot.
Stage 1: The route from the garage to the kitchen
- Sequence: the order should be garage, then mudroom, then kitchen or pantry, with no detour through the living room or past the front foyer.
- Step down: an attached garage floor usually sits lower than the house floor. Plan a landing at the garage door, not a single steep step, and keep room for a railing if you need more than two risers.
- Garage door rules: the door between an attached garage and the house has to be tight-fitting and self-closing, and the wall needs a continuous gas-proof barrier. Confirm the exact requirements with your municipality, because provincial codes differ in the details.
- Groceries: look for a short, straight carry to the pantry or kitchen counter. Under 20 feet is a good target.
- Second entry: if you own a dog or have a backyard rink, consider a door from the mudroom to the yard. It saves tracking snow through the main floor.
Start your plan search here, not with the kitchen finishes. A bungalow such as this 1,657 sq ft Craftsman bungalow with a basement and a two-car garage is a good size for this exercise. On a single storey, the garage-to-kitchen route is often the single most-used path in the house, so trace it on the floor plan with your finger. If you are filtering plans, the attached garage collection is the right place to begin.


Stage 2: Snow, water and the floor
- Boot drainage: at minimum, plan a recessed boot tray area about 2 by 4 feet. Better is a linear trench drain in front of the bench, tied into the plumbing. This needs a trap and usually a plumbing permit.
- Slope: if you add a floor drain, the floor has to slope toward it. Decide this before framing, especially on a wood-frame floor over a basement.
- Heated floor: an electric mat or a hydronic loop dries boots overnight and keeps the tile warm. In 2025 an electric mat for a 60 to 80 sq ft mudroom typically ran roughly $1,000 to $2,500 CAD installed, including the thermostat. Get local quotes.
- Flooring: use porcelain tile, sealed concrete or luxury vinyl rated for wet areas. Avoid hardwood and laminate within 6 feet of the door.
- Salt: road salt stains grout. Dark, epoxy or sealed grout saves years of scrubbing.
Water is the real enemy, not dirt. A family of four can bring in several litres of meltwater a day in March, and it ends up wherever the floor is lowest. If the budget allows only one upgrade, choose drainage over custom cabinetry. Cabinets can be added later; a sloped floor with a drain cannot.
Stage 3: Lockers, benches and gear storage
- Locker size: plan about 16 to 18 inches wide and 20 to 24 inches deep per person. A family of four needs roughly 6 to 7 feet of wall.
- Bench: make it 16 to 18 inches deep at seat height, with open space below for boots. Slatted or perforated shelves let water drip onto the drained floor.
- Clearance: keep at least 42 inches of clear floor in front of the lockers, so one person can sit and another can walk past.
- Drying: include hooks for wet mittens over a heat source or a dedicated boot and glove dryer outlet. A ducted exhaust or an HRV exhaust point removes the moisture.
- Bulky gear: skis, hockey bags and sleds rarely fit in lockers. Plan a tall closet, or leave that gear in a well-organized corner of the garage.
A practical minimum for a mudroom with lockers on one wall is about 6 by 8 feet, or 48 sq ft. That works for a couple or a small family. Larger households should look at bigger footprints. A plan like this six-bedroom, 1,568 sq ft one-storey home with a basement, or a five-bedroom, 1,492 sq ft modern mountain plan with a basement, packs many bedrooms into a compact main floor. Check whether the entry space grows with the bedroom count, because that is where such plans often feel tight.
Stage 4: Combining the mudroom and laundry
- Size: a combined mudroom and laundry room needs about 8 by 10 to 8 by 12 feet, or 80 to 100 sq ft, with the washer and dryer on the wall opposite the lockers.
- Separation: keep the laundry counter away from the boot zone. Clean towels and slush should not share a shelf.
- Drain pan: a floor drain or an overflow pan under the washer protects the floor framing and the basement ceiling below.
- Sink: a deep utility sink serves both uses: muddy paws, hockey gear and stain treatment.
- Venting: the dryer vent should run short and straight to an exterior wall. That is easier when the room sits on an outside wall next to the garage.
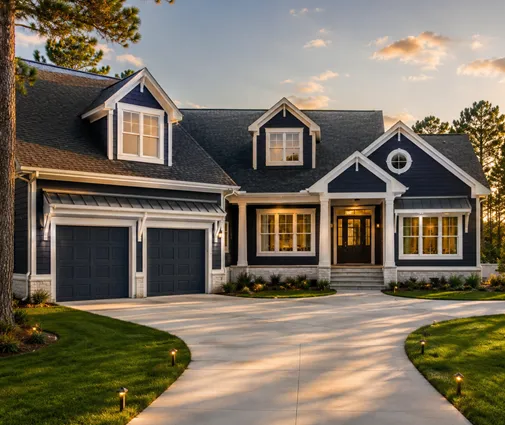
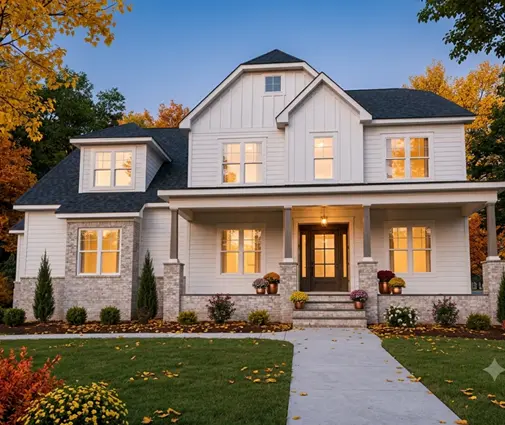
For many Canadian families this combination is the smartest use of space on the main floor, especially in a bungalow where the basement stays for recreation and storage. Larger plans have room to do it properly. This four-bedroom, 2,827 sq ft Craftsman two-storey and this five-bedroom, 3,668 sq ft modern farmhouse are worth reviewing with a combined drop zone and laundry in mind.
Stage 5: The pet wash station
- Type: a raised tub at 30 to 36 inches works for small and medium dogs. A low shower pan with a short curb suits large dogs that walk in.
- Footprint: allow a 36- to 48-inch-wide base, plus standing room. The station adds roughly 15 to 25 sq ft to the mudroom.
- Fixtures: use a handheld sprayer on a hose, a thermostatic or pressure-balanced valve and a hair trap in the drain.
- Finishes: tile the walls to at least 4 feet, and use a waterproofing membrane behind them.
- Location: place it right inside the yard or garage door, so the dog never crosses dry floors.
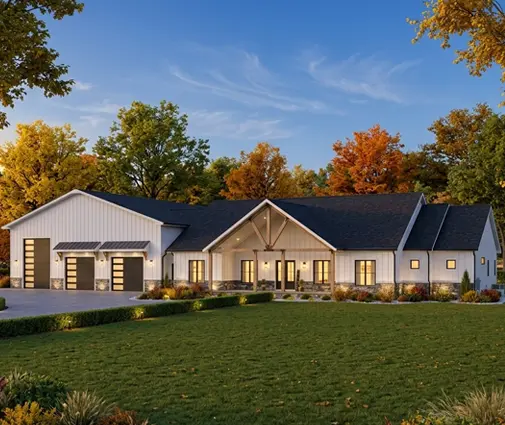
A pet wash only makes sense if it sits on the drainage you already planned in Stage 2. Put it on the same wall as the floor drain and the utility sink, so the plumbing stays in one place. On larger homes with a shop or a three-car garage, such as this 4,038 sq ft ranch with a three-car garage, there is usually room to put the station between the garage and the main living area. On smaller lots, a low shower pan in a combined laundry room does the same job in less space.
The most common mistakes
- Entry through the foyer: a garage door that opens into the formal entry means slush on the good floor all winter.
- No drain: a boot mat instead of a drain or a sloped floor, decided too late to change.
- Too shallow: a 4-foot hallway with hooks, but no room to sit, pass or open a locker door.
- Forgotten moisture: wet gear without exhaust or HRV extraction leads to musty air and mould behind the lockers.
- One size for everyone: lockers sized for adults, when kids need low hooks and their own cubby at their height.
Bring this checklist to your designer or architect when you adapt a plan, and confirm the drainage, garage separation and plumbing details with your municipality before you apply for the permit.



