It is the first July in your new house. Upstairs the heat pump keeps things crisp, but the basement smells faintly of wet cardboard, the bottom of the foundation wall looks darker than the top, and a cardboard box left on the slab has gone soft. Nothing is broken. A new basement in Canada starts life full of water, and summer air brings in more. The good news is that a few decisions, made in the right order, keep that moisture from ending up as mould behind drywall you paid to install.
This plan follows the order most builders and HVAC contractors would use, from the first measurement to the rough-ins that let you finish the space safely later.
Step 1: Measure before you buy anything
Place two or three digital hygrometers in the basement: one near the floor by an exterior wall, one in the middle of the room, and one upstairs for comparison. Log the readings morning and evening for about two weeks, ideally including a few muggy days.
What to aim for: in summer, keep basement relative humidity around 40 to 50 percent and never let it sit above about 55 to 60 percent for days at a time, which is the range where mould and dust mites start to thrive. In winter the target drops to roughly 30 to 40 percent so windows do not frost.
Time: two weeks of observation. Cost: about $15 to $40 per hygrometer in 2026.
Step 2: Understand where the water comes from
There are two sources, and they need different answers.
- The concrete itself. Footings, walls and the slab were poured with far more water than the cement needed to cure. That water leaves slowly, mostly as vapour into the basement, and it can take a year or more in a thick slab.
- Humid outdoor air. Foundation walls stay cool all summer because the soil around them is cool. When warm, humid air touches them, it cools below its dew point and the moisture condenses. That is why the dampness is worst low on the walls and on humid days.
The most common mistake is opening basement windows on a hot day to "air it out". In July that brings in exactly the air that condenses on the concrete. Keep the windows closed when it is humid outside and open them only on cool, dry days.
Time: an afternoon of checking downspouts, grading and window wells. Cost: usually nothing, unless downspout extensions or regrading are needed.
Step 3: Start with a portable dehumidifier, set up properly
For most new homes, a good portable unit carries the first summer. Choose one rated for the size of the space with some margin, set it to about 45 to 50 percent, and run a hose to the floor drain or sump instead of emptying a bucket. A unit that stops when its bucket is full is not dehumidifying.
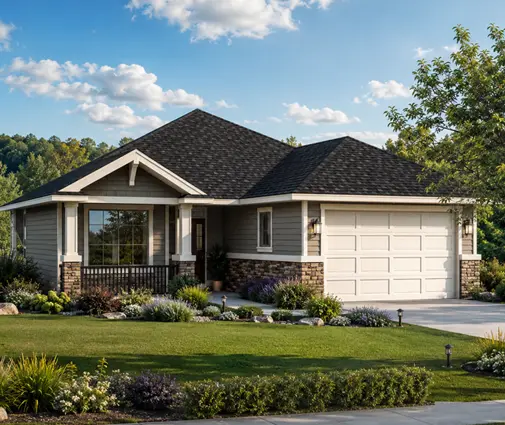
A compact one-storey home such as this three-bedroom Craftsman bungalow has a basement roughly the size of the main floor, which one quality portable unit can usually handle. Clean the filter every few weeks and check that the coils are not icing up on cool nights.
Time: one day to set up. Cost: roughly $250 to $500 for a unit in 2026, plus electricity for a few months.

Step 4: Decide whether a whole-house dehumidifier is worth it
A ducted dehumidifier is installed near the furnace or air handler, draws air from the house, dries it and returns it through the ductwork. It is quieter, larger and drains permanently, and it treats the whole house, not just one corner of the basement.
It makes the most sense when:
- the basement is large or will be finished as living space, guest rooms or a suite;
- the house sits on a lot where part of the foundation is exposed and part is buried, so walls stay cool for long stretches;
- the region has long, muggy summers, as in southern Ontario, Quebec or the Maritimes.
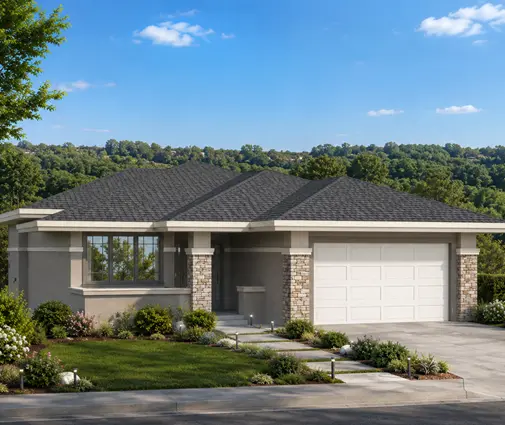
Plans with a lot of below-grade floor area benefit most. This four-bedroom design on three levels puts real living space in the lower floor, and in big homes like this lake-style home of 5457 sq ft a single portable unit simply cannot keep up. If you are building on a slope, the sloped lot plans are worth reviewing with this in mind.
Time: a day of installation. Cost: in 2026 a ducted unit typically runs about $2,000 to $4,500 installed, depending on capacity and how much ducting is needed.
Step 5: Choose between an HRV and an ERV with summer in mind
Modern airtight homes need mechanical ventilation, and in Canada that usually means an HRV or an ERV. An HRV exchanges heat but not moisture. An ERV exchanges both, so in summer it returns some of the incoming humidity to the outgoing stream instead of bringing all of it inside.
Two things to keep in mind:
- An ERV reduces the moisture that ventilation brings in; it does not remove moisture already in the house. It is not a dehumidifier.
- In very cold regions an HRV is sometimes preferred for winter, while in humid southern areas an ERV often makes life easier in July. Ask your HVAC designer what suits your climate and your local energy requirements.
Whichever you choose, make sure the basement has its own supply and exhaust points so stale, damp air there is actually exchanged.
Time: decided at the design stage. Cost: the difference between comparable HRV and ERV units is often a few hundred dollars; installed systems commonly range from about $3,000 to $7,000 in 2026.
Step 6: Tune the heat pump for moisture, not just temperature
A heat pump in cooling mode removes moisture as air passes over its cold coil. But a basement rarely needs cooling, so the thermostat upstairs satisfies quickly and the system shuts off before it has dried the lower floor. The result is a cool basement with high relative humidity.
- Avoid an oversized unit; short cycles cool without drying.
- A variable-speed system running long and slow removes far more moisture. Many have a dehumidify setting that lowers fan speed.
- Do not leave the fan on continuously in summer; it can blow moisture from the wet coil back into the house.
- Make sure the basement has return air grilles, not just supply registers, so its air is drawn through the system.
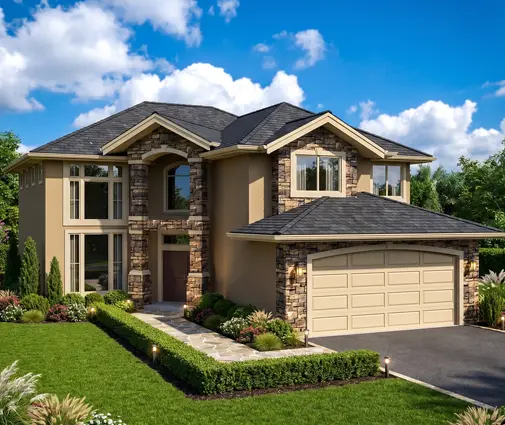
Two-storey homes with large upper floors, such as this four-bedroom European-style family home, are where the thermostat-upstairs problem shows up most. A second thermostat or a humidity sensor in the basement helps.
Time: a service visit. Cost: usually $150 to $400 for setup and adjustments in 2026; more if extra returns are added.
Step 7: Wait before you finish the basement
Finishing too early is the most expensive mistake on this list. Studs, insulation and drywall installed against concrete that is still drying trap the moisture right where it has nowhere to go. Mould grows on the back of the drywall and the bottom plate long before anyone notices.
A practical rule is to let the basement go through at least one full summer and one heating season before closing the walls. Before you finish, tape a square of clear plastic sheet tightly to the slab and to a wall for a couple of days. Droplets under the plastic mean the concrete is still releasing moisture; frost or droplets on top mean the room air is too humid.
Time: 12 months or more after the slab is poured. Cost: almost nothing, and it can save thousands.


Step 8: Rough in now so the finished basement stays dry
While the walls are open, put in the things that are hard to add later:
- Insulation that tolerates concrete. Rigid foam board in direct contact with the foundation, with framing inside it, keeps the surface the room air touches warm and above the dew point. Avoid assemblies that trap moisture between plastic sheet and concrete. Vapour control requirements vary by province, so confirm the assembly with your designer or the municipal building department.
- A drain point. A floor drain or condensate line near where a dehumidifier will sit.
- A dedicated electrical circuit for the dehumidifier and outlets near the mechanical room.
- Duct stubs for future supply and return in every planned room, plus space for a ducted dehumidifier beside the air handler.
- Sump pit and radon rough-in as required by your code, kept accessible.
Layouts that already plan for bedrooms below grade, such as this six-bedroom Northwest bungalow or this five-bedroom home on three levels, make it easier to place ducts and a mechanical room from the start. Browse the house plans with a basement and check how much room the drawings leave for equipment.
Time: a few days during framing. Cost: often $1,500 to $5,000 in 2026 for the extra rough-ins, far less than opening finished walls later.
Timeline at a glance
| When | What to do | Approximate cost (CAD, 2026) |
|---|---|---|
| Design stage | Choose HRV or ERV, size the heat pump, plan basement returns and space for a dehumidifier | Included in design |
| First weeks after move-in | Install hygrometers and log readings | $15 to $40 each |
| First summer | Run a portable dehumidifier drained to the floor drain; keep windows closed on humid days | $250 to $500 |
| End of first summer | Tune the heat pump; decide on a ducted dehumidifier | $150 to $4,500 |
| After one full year | Test the concrete with plastic sheets | Minimal |
| Before finishing | Insulation, drain, circuit, duct stubs, sump and radon access | $1,500 to $5,000 |
| Every summer after | Check humidity, clean filters and coils | Electricity and upkeep |
Figures are typical ranges for 2026 and vary by region and contractor. Building code requirements for insulation, vapour control and ventilation differ between provinces, so confirm the details with your municipality or an architect before you start.



