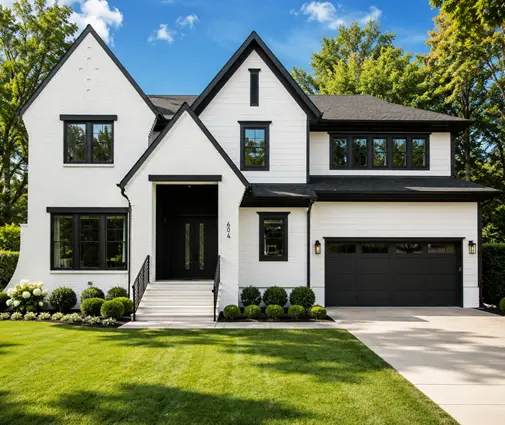
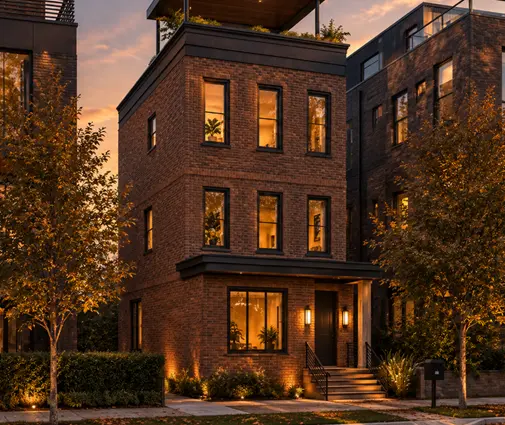
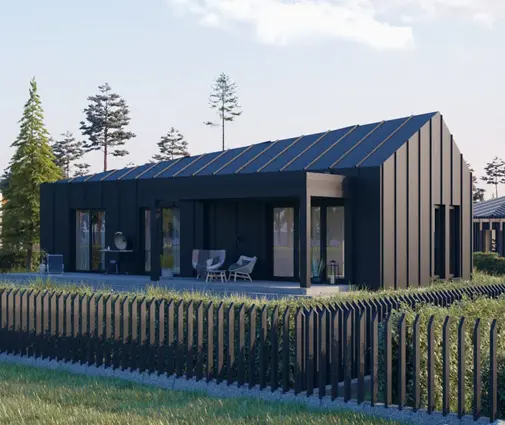
A common mistake on the Prairies goes like this: a family buys a house plan, picks a builder, books an excavator for May, and only then learns that their lot sits on high-plastic clay that needs a pile foundation and a structural basement floor. The drawings go back to the engineer, the permit application waits, and the spring start becomes a fall start. In Manitoba and Saskatchewan the permit itself is rarely the hard part. The hard part is preparing for what the reviewer will ask about: the ground, the frost and the energy rules.
This guide walks through the process for a single-family home in Winnipeg, Saskatoon, Regina and the rural municipalities (RMs) around them. Rules, fees and processing times change, so treat the figures as 2025 ranges and confirm the current requirements with your local building official before you commit to a schedule.
Step 1: Find out who issues your permit and what the zoning allows
In the three big cities the permit comes from the city's building or development services department, and each one accepts residential applications through an online portal. Outside the cities it depends on where you build. In Saskatchewan, every local authority is responsible for building administration, and many RMs contract a licensed building official or an inspection firm rather than employ one directly. In Manitoba, some rural areas are served by a planning district or a municipal inspector, while others may rely on provincial inspection services. Call the RM office first and ask three questions: who reviews the plans, who inspects, and whether you need a development permit before the building permit.
At the same time, check the zoning bylaw: minimum lot size, setbacks, maximum height and lot coverage, and on acreages any restrictions near rivers, highways or livestock operations. Budget one to two weeks for this step. It costs little beyond a possible zoning confirmation letter, often under $200.
Step 2: Investigate the soil before you finalize the plan
Much of the Winnipeg area sits on the clay bed of former glacial Lake Agassiz, and Regina has its own notoriously expansive clay. These soils swell when wet and shrink when dry, enough to crack slabs and rack walls. Saskatoon has more variable soils, from sands to clays, which is exactly why a test matters.
A geotechnical investigation typically involves a few boreholes and a report recommending the foundation type. In 2025 expect roughly $2,000 to $5,000 for a single house, and two to four weeks including lab work. On clay, the report often calls for cast-in-place concrete piles with grade beams, void forms under the beams, and a structural or "floating" basement slab. Some cities will want this foundation designed and sealed by a professional engineer. Your engineer may also specify that basement partition walls are hung from above with a gap at the floor, a detail Winnipeg builders know well.
Step 3: Choose a plan that suits the climate, the lot and the budget
On the Prairies a full basement is almost a given: footings have to sit below the frost line, and frost here can reach well over 6 feet in an open field. Once you are digging that deep, finishing the basement is the cheapest square footage you will add. That is why the bungalow with a developed basement remains the default family home in Regina and Saskatoon suburbs.
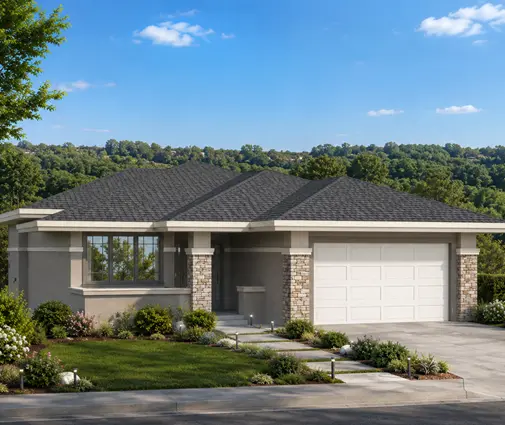
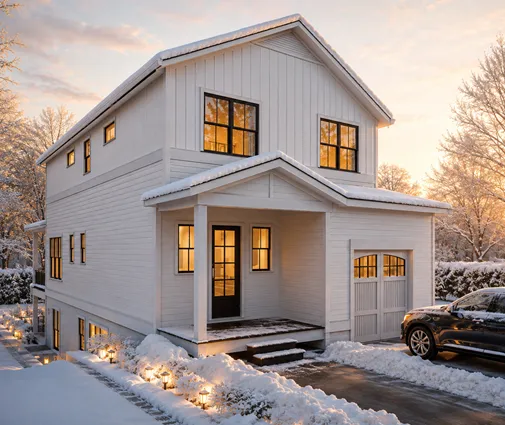
A plan like this 1,700 sq ft Prairie-style bungalow with five bedrooms and a basement fits that pattern well, as does this four-bedroom one-storey Craftsman at 1,813 sq ft. If you prefer the main bedrooms upstairs on a narrower suburban lot, this two-storey Craftsman with three bedrooms and 2,240 sq ft keeps the footprint, and therefore the pile count, smaller. You can browse more one-storey house plans or filter for plans with a full basement.
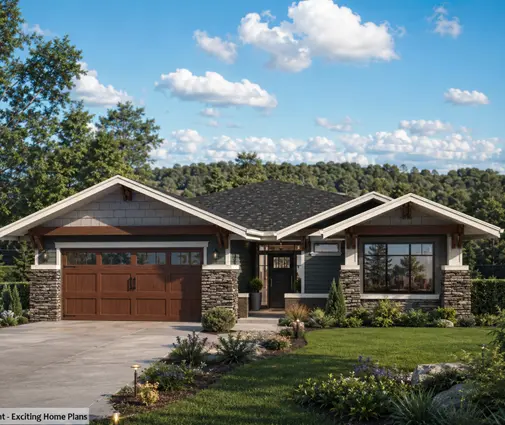

A simple rectangular footprint is worth considering on clay: fewer corners mean fewer grade beam intersections and a simpler engineered foundation.
Step 4: Adapt the drawings to the code in force
Both provinces build to the National Building Code with provincial amendments. The 2020 edition introduced energy performance tiers for houses: Tier 1 is the baseline, and higher tiers demand better envelopes or more efficient equipment. Which edition and which tier applies depends on your application date and location, so confirm it with the authority having jurisdiction before the drawings are finished.
In practice, a stock plan almost always needs local adaptation by a designer or engineer:
- Insulation and air sealing: wall, ceiling and below-grade R-values that meet the prescriptive path for your climate zone, or an energy model if you choose the performance path.
- Ventilation: an HRV is standard practice in these climates; the drawings should show its location and ducting.
- Snow and wind loads: roof trusses must be designed for the local snow load, and the permit file usually needs the sealed truss layout and drawings from the manufacturer.
- Foundation: the engineered design from Step 2 replaces any generic foundation in the original plan.
Budget two to six weeks and roughly $2,000 to $8,000 in 2025 for adaptation, depending on how much changes and whether an energy model is required.
Step 5: Assemble the application package
Requirements differ slightly between cities, but a complete package usually includes:
- A site plan showing setbacks, driveway, easements and, on acreages, the well and septic locations.
- A lot grading plan; Winnipeg and Regina both require grading approval for new homes, and the city may hold a deposit until final grades are confirmed.
- Foundation, floor plans, elevations, cross-sections and construction details.
- The engineer's foundation design and the geotechnical report where required.
- Truss drawings, and a beam and joist layout if engineered wood is used.
- Energy compliance information and HRV specifications.
- A new home warranty registration number, which builders must provide under the provincial warranty programs; owner-builders should ask about the exemption process.
Incomplete files are the main reason reviews stall, so check the city's residential checklist line by line before uploading.
Step 6: Handle the rural extras
On an acreage you are often your own utility. A private septic system needs its own approval: in Saskatchewan this goes through public health, and in Manitoba through the provincial onsite wastewater program, usually with a registered installer designing the system. A new well may need a water rights licence or registration depending on the volume. If you need a new approach off a provincial highway, that is another permit, separate from the RM's.
Acreage owners often build larger and add garage space for equipment, such as this six-bedroom bungalow of 1,722 sq ft with a three-car garage, or this modern farmhouse plan with four bedrooms on three levels including the basement. Septic and well approvals can add four to eight weeks and anywhere from a few hundred dollars in fees to $15,000 to $30,000 or more for the systems themselves in 2025. See more plans with a three-car garage.


Step 7: Submit, pay and wait for plan review
Upload the package to the city portal or deliver it to the RM office, and pay the fees. In the cities, residential permit fees are usually calculated from the floor area or the declared construction value, plus separate charges for plumbing, grading and sometimes a development levy on new lots. In 2025 a typical new single-family home paid roughly $1,500 to $5,000 in building permit fees, before any development charges. RMs often charge less, but contracted inspection fees may be billed separately.
Review times vary with the season. A complete application for a house can clear in two to four weeks in winter and take six to ten weeks in spring, when everyone wants to break ground. Submitting in January or February for a May start is one of the simplest ways to protect your schedule. Answer reviewer comments quickly and in one revised set rather than piecemeal.
Step 8: Book every required inspection
Once the permit is issued, post the placard on site and keep the approved drawings there. Typical inspections for a new house include:
- Piles or footings before concrete, and the foundation before backfill.
- Under-slab plumbing and the plumbing rough-in.
- Framing, once the structure, trusses and windows are in.
- Insulation and vapour barrier before drywall.
- Final inspection, along with separate electrical and gas inspections handled through the provincial utility or safety authority.
Book each one a few days ahead. In winter, the inspector may also check heating and frost protection of fresh concrete. Never cover work that has not passed: opening walls costs far more than a two-day wait.
Step 9: Final approval, grading and occupancy
After the final inspection the authority confirms the house can be occupied; some cities issue a formal occupancy permit, others close the permit file. Final lot grading on clay usually has to wait for the ground to thaw and settle, so in a fall move-in the grading certificate may follow in late spring. Keep every inspection record and the engineer's site reports: lenders, insurers and future buyers will ask for them.
Timeline at a glance
| Step | Typical duration | Typical cost (2025, CAD) |
|---|---|---|
| 1. Jurisdiction and zoning check | 1–2 weeks | Up to about $200 |
| 2. Geotechnical investigation | 2–4 weeks | $2,000–$5,000 |
| 3. Plan selection | 2–6 weeks | Cost of the plan |
| 4. Code and energy adaptation | 2–6 weeks | $2,000–$8,000 |
| 5. Application package | 1–2 weeks | Included in design fees |
| 6. Rural septic, well, access | 4–8 weeks (in parallel) | Fees plus $15,000–$30,000+ for systems |
| 7. Plan review | 2–10 weeks | $1,500–$5,000 in permit fees |
| 8. Construction inspections | Over 6–12 months of building | Usually included in the permit |
| 9. Final and grading approval | 2–4 weeks, grading may wait for spring | Grading deposit refunded on approval |
Counting backwards from a May excavation, most families on the Prairies should have a plan chosen and a soil report ordered by late fall of the previous year. Start with the ground, and the permit follows.