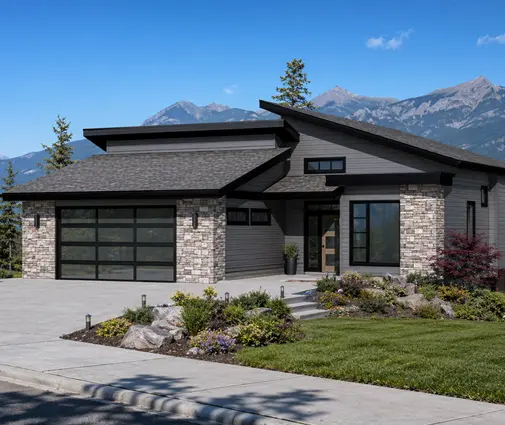
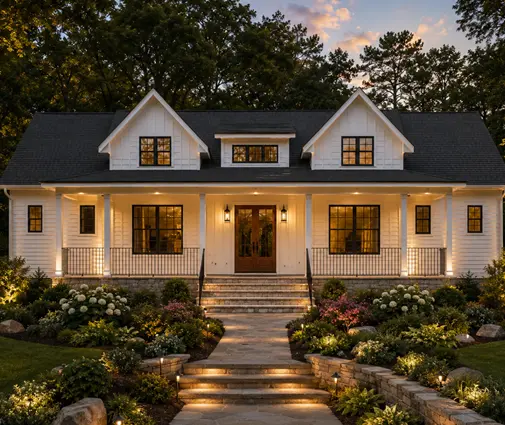
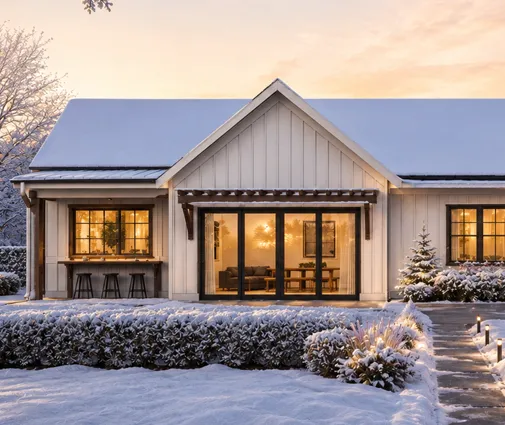
A common first mistake goes like this: someone buys a two-storey plan with a full basement, the kind that works well in suburban Ontario, and then learns that the lot sits on ice-rich permafrost, that the next sealift leaves in July, and that nobody in the community has an excavator free this summer. Building north of 60 is possible and rewarding, but the order of decisions is different. In the south the plan comes first and the site adapts. In the North the ground, the permit authority and the shipping calendar decide what plan makes sense.
This step-by-step plan is for families building a home in Whitehorse, Yellowknife, Iqaluit or a smaller community. Costs are rough 2025 figures in CAD and vary widely between a road-connected town and a fly-in hamlet. Always confirm current rules with the permit authority and a designer who knows your territory.
Step 1: Confirm the land and how you hold it
Before you look at a single floor plan, find out what you actually own. In Whitehorse and Yellowknife most residential lots are titled land, much like in the south. In many smaller communities, and across most of Nunavut, residential land is held under a long-term lease from the municipality rather than owned outright, and the lease can set conditions on use, setbacks and the time you have to build. Rural and unincorporated land may involve territorial land offices, and in some areas First Nations or Inuit land claims settlement lands are a separate system altogether.
Time: a few weeks for a titled lot, several months for a new lease or rural application. Cost: legal and survey fees, often $2,000 to $6,000 in 2025, more if a new legal survey is needed.
Step 2: Find out who issues your building permit
There is no single northern permit office. Roughly, in 2025:
- Yukon: the City of Whitehorse issues permits inside city limits. Some other municipalities run their own inspection; elsewhere the Yukon government's building safety office handles permits, plan review and inspections. Yukon applies the National Building Code with territorial requirements, including energy efficiency rules.
- Northwest Territories: the City of Yellowknife issues building permits and enforces its adopted code and energy standards. In many other communities the local government and the Office of the Fire Marshal play the main role, and the scope of review has been changing, so ask early what applies to a house in your community.
- Nunavut: the territory has its own building code legislation based on the National Building Code, administered by the territorial building official, with municipal development permits on top. Iqaluit also has its own municipal process.
Ask three questions at the first call: which code edition applies, what energy compliance path is accepted (prescriptive or modelled), and whether drawings must be sealed by an engineer. On permafrost the answer to the last one is usually yes, at least for the foundation.
Time: one to two weeks to get clear answers. Cost: nothing yet, but it saves thousands later.
Step 3: Get the ground assessed
Permafrost is patchy. In Whitehorse much of the ground is thawed or has sporadic permafrost; around Yellowknife it varies over short distances between bedrock and frozen fill; in most of Nunavut it is continuous. A geotechnical investigation tells you the depth of the active layer, the ice content and whether bedrock is within reach. It is the single document that decides your foundation.
Time: drilling must usually happen in the snow-free season, so book it the summer before you build. Cost: $5,000 to $20,000 in 2025 depending on access; in remote communities, sharing a drill rig mobilization with neighbours or a public project can cut the bill.
Step 4: Choose a foundation that keeps the ground frozen
A heated basement poured into ice-rich permafrost will thaw the ground beneath it, and the house will settle unevenly. That is why most northern homes on frozen ground sit above it, with an open, ventilated air space underneath that lets winter cold keep the soil frozen. The usual options:
- Adjustable steel piles or screw piles, with jacks at the top so the house can be re-levelled as the ground moves.
- Space frame foundations, a three-dimensional steel truss that spreads the load on pads at grade and tolerates differential movement.
- Timber cribbing or pads on gravel, still used for lighter homes where the ground allows.
- Conventional footings or a basement, only where the geotechnical report confirms thaw-stable ground or bedrock, which is more often the case in parts of Yukon.
Design consequence: no basement means storage, the mechanical room and any water tanks must fit on the main floor. Plans drawn without a basement from the start, such as a one-storey layout, adapt far better than a southern plan with the basement simply deleted.
Cost: an engineered pile or space frame foundation for a compact house commonly runs $30,000 to $80,000 in 2025, highly dependent on location.
Step 5: Pick a compact, simple plan
Every square foot north of 60 is expensive to ship, heat and build in a short season. A simple rectangle with a plain gable roof is easier to frame, easier to seal, sheds snow predictably and keeps the envelope small. Snow and wind loads in the National Building Code climate data vary sharply by location, and Arctic coastal communities face drifting and high winds, so avoid valleys, complex intersecting roofs and long cantilevers.
Good starting points: a 3-bedroom Scandinavian bungalow of 857 sq ft that packs three bedrooms into a tight footprint, a 975 sq ft 2-bedroom cottage with a straightforward shape, and a 750 sq ft two-bedroom cabin for a small household or a first phase. The 800–1000 sq ft range is worth browsing for fly-in communities.
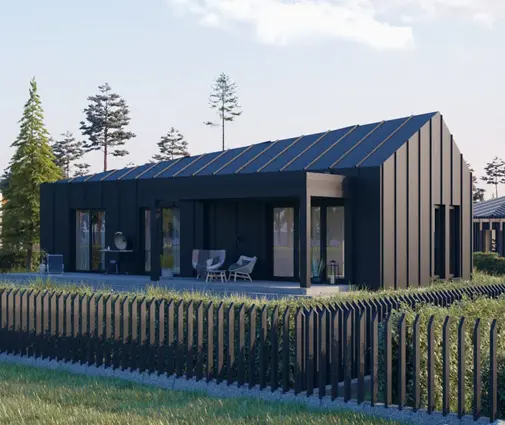
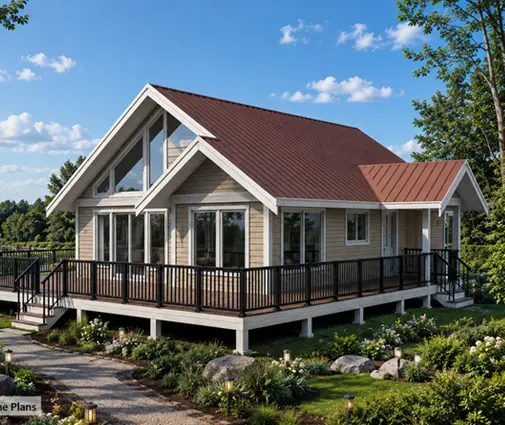
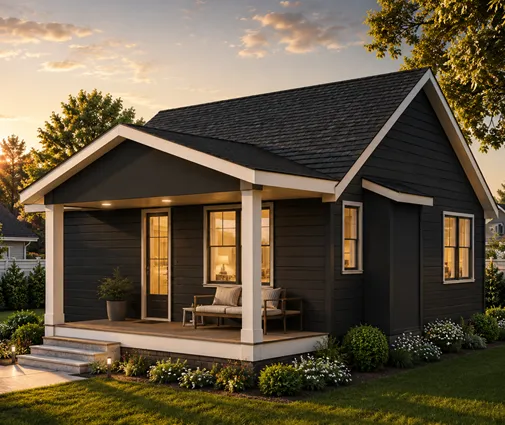
For a larger family in Whitehorse or Yellowknife, a 1038 sq ft three-bedroom bungalow or a 1385 sq ft three-bedroom Scandinavian bungalow with one attached garage bay stays simple while giving more room. An attached garage is handy for plugging in the truck, but it adds heated or semi-heated volume, so weigh it against the budget.
Time: two to six weeks to choose and adapt. Cost: engineering and local adaptation of a stock plan often $5,000 to $15,000 in 2025.
Step 6: Design the envelope and mechanical systems for the cold
Expect insulation well above southern minimums: thick double-stud or exterior-insulated walls, deep attic insulation, and a well-insulated floor over the open crawl space, which is effectively an exterior wall. Airtightness matters, and an HRV is standard; specify a unit with defrost designed for very low temperatures. Cold-climate heat pumps are increasingly used in Whitehorse with a backup, while oil or propane furnaces and boilers remain common further north. Wood stoves are popular where firewood is available.
Many communities rely on trucked water and sewage pickup, so the plan needs a heated room for water and sewage tanks with access for the delivery hose. Confirm energy compliance with the permit office before finalizing; Yukon and Yellowknife in particular set energy requirements that may call for an energy model.
Time: four to eight weeks for drawings and the permit submission. Cost: energy modelling, if needed, roughly $1,000 to $3,000.
Step 7: Order materials around the shipping calendar
Road-connected Whitehorse and Yellowknife can receive trucks year-round, though freight still adds cost. Many NWT communities depend on summer barges or winter roads open roughly January to March, and Nunavut communities receive sealift once a year in summer and fall, with orders typically due in spring. Miss the cutoff and you wait a year or pay for air freight. Order a complete package: framing, sheathing, windows, mechanical equipment, fasteners and spares. A compact plan with standard lumber lengths and few window sizes makes the order simpler and reduces costly gaps.
Cost: freight can add a large share to material prices in remote communities; get quotes early.
Step 8: Build in the short window and pass inspections
Piles are often installed when the ground is frozen and solid, while framing and closing in must happen in the snow-free months, roughly June to September in much of the North. The goal for the first season is a weathertight shell. Interior work can continue through winter. Inspections may be infrequent in remote communities, so ask how they are scheduled and photograph concealed work.
Cost: total costs in 2025 commonly range from about $400 to $600 per sq ft in Whitehorse or Yellowknife to well above that in fly-in communities, where crew travel and lodging are significant.
Step 9: Occupy, monitor and re-level
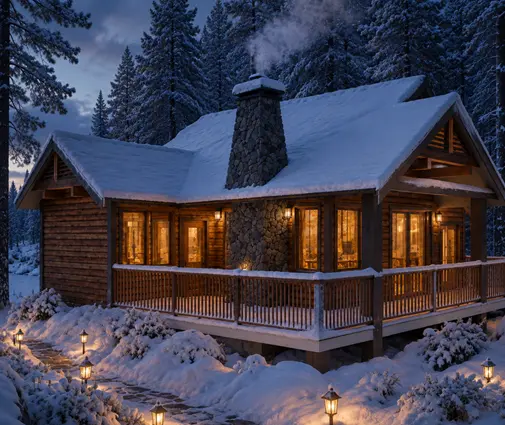
After occupancy, check the foundation each spring and fall. Keep the space under the house open and clear of snow drifts that insulate the ground, and adjust pile jacks if the floor shifts. A small home such as a 1085 sq ft two-bedroom cabin-style plan on adjustable piles is easy to monitor and correct. Browse homes without a garage if you prefer a separate unheated vehicle shelter.


Typical timeline
| Phase | When | Typical duration |
|---|---|---|
| Land and tenure | Year 1, any season | Weeks to several months |
| Permit authority questions | Year 1 | 1–2 weeks |
| Geotechnical investigation | Year 1, summer | 1–2 months incl. report |
| Plan selection and engineering | Year 1, fall | 1–3 months |
| Permit application and review | Year 1 winter to Year 2 spring | 1–3 months |
| Material order for sealift or winter road | Year 2, spring or earlier | Order deadline driven |
| Foundation installation | Year 2, late winter or summer | 1–3 weeks |
| Shell and close-in | Year 2, June–September | 2–4 months |
| Interior finishing and occupancy | Year 2 fall to Year 3 | 3–8 months |
| Foundation monitoring | Every spring and fall | Ongoing |