Sixteen risers. That is roughly what it takes to get from the main floor to the second floor of a typical Canadian two-storey with 9-foot ceilings, and the basement stair needs about as many again. Counted on every level, the stairs in a two-storey home with a full basement can take up 100 to 150 sq ft of floor area. You pay full construction cost for that space. Where the stairs go also decides whether an open-concept main floor really feels open. The steps below take you from code numbers to permit drawings in the order a designer would work through them.
Step 1: Learn the code numbers before you sketch
Houses in Canada are designed under Part 9 of the National Building Code or the provincial version of it, such as the Ontario Building Code (OBC), the BC Building Code or the Quebec Construction Code. The numbers for stairs inside a single home are close from province to province. In recent editions they are roughly:
- Rise (height of each step): 125 to 200 mm, or about 5 in to 7 7/8 in
- Run (horizontal depth per step): at least 210 mm (8 1/4 in), with a minimum tread depth of about 235 mm (9 1/4 in)
- Width: at least 860 mm (about 34 in)
- Headroom: at least 1950 mm (about 6 ft 5 in)
- Handrail height: about 865 to 965 mm (34 to 38 in)
- Guards: required where the drop is more than about 600 mm (2 ft). Inside the home they must be at least 900 mm (about 35 in) high, and higher in some locations.
Codes are updated every few years, and your municipality enforces the edition that is in force when you apply. Have your designer or the plans examiner confirm the current figures. Time: an evening of reading. Cost: nothing.
Step 2: Work out the rise and run from the floor-to-floor height
The stair is calculated from the finished floor-to-floor height, not from the ceiling height. Take a 9-foot ceiling and an engineered joist floor of about 12 in with its subfloor, and you get roughly 121 in (about 3075 mm). Divided by the 200 mm maximum, that gives 15.4, so you round up to 16 risers of about 192 mm (7 9/16 in). With 15 treads at a comfortable 10 in, the flight is 12.5 ft long before any landings.
The minimums are legal, but they make a steep stair. Most people find a rise of 7 to 7 1/2 in and a run of 10 to 11 in comfortable to use every day. Each extra inch of run adds more than a foot to the length of the stair, so settle this now. Time: an hour with your designer. Cost: included in design fees.
Step 3: Choose the shape of the stair
The shape decides the footprint, the cost and how easily the flights stack:
- Straight: the simplest to frame and usually the cheapest. It is also the longest, at about 3 ft by 13 ft plus a clear landing at each end. It suits narrow-lot homes where the stair can run along a side wall.
- L-shaped: a landing breaks the climb and turns the stair into a corner. It fits well beside a foyer and gives a gentler view from the entry.
- U-shaped (switchback): two flights side by side with a landing between them. The footprint is compact, roughly 7 by 10 ft, it stacks neatly over a basement stair, and a fall stops at the landing.
- Open-riser: popular in modern designs. Inside a home, codes generally limit the openings so that a 100 mm sphere cannot pass through. In practice that means riser bars or overlapping treads.
Winders, the pie-shaped steps in a turn, save space. Their angles and use are restricted, though, and many people find them awkward to walk on. Rough 2025 prices for one flight: a site-built straight stair finished in carpet runs $3,000 to $7,000. A hardwood L or U stair with a finished railing runs $10,000 to $25,000. A custom open-riser stair with steel stringers and glass guards can reach $30,000 to $70,000 or more. Prices vary a lot by region. Time: one or two design meetings.
Step 4: Place the stair where it helps the plan
The stair is the one element that has to line up through every floor, so it anchors the layout. You have three common options:
- Near the front entry: the classic choice, which keeps traffic out of the living spaces.
- Along a side wall: protects an open main floor but can cost you windows on that wall.
- In the centre of the house: makes the second-floor hallway short but can split a great room in two.
In an open-concept layout, check what you see from the kitchen and the sofa. A stair wall can screen the entry nicely, or it can block the view to the backyard.
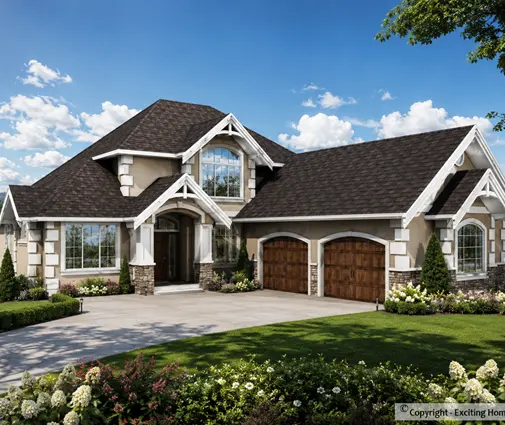
Compare how the stair is handled in a 3-bedroom Craftsman two-storey of 2240 sq ft with how it sits in a 4-bedroom contemporary plan of 2189 sq ft. Many two-storey plans make the stair the hinge between the public front and the private back of the house.


Time: part of concept design, often two to four weeks of revisions. Cost: included in design.
Step 5: Stack the basement stair under the main stair
With frost depths that make full basements common in Canada, most two-storey homes need two flights. Stacking them in the same stairwell has several benefits:
- It uses one footprint instead of two.
- It keeps the floor openings aligned, which simplifies framing.
- Arrivals and departures happen at the same spot on every level.
The basement flight usually runs directly under the upper one, or in the opposite direction in a U-shaped arrangement.
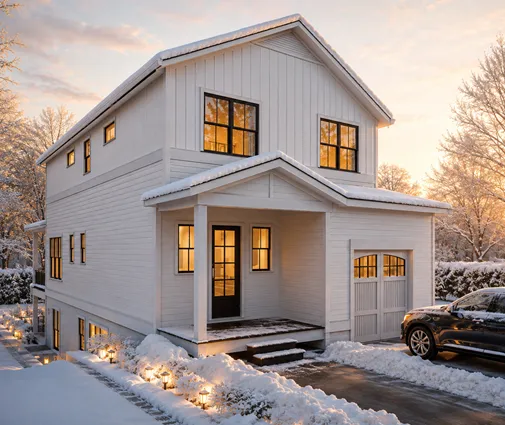
Plans with three levels including the lower floor show how this works: the 3-bedroom Modern Craftsman of 1995 sq ft, the 4-bedroom modern farmhouse of 2082 sq ft and the 5-bedroom transitional plan of 2370 sq ft. More options are in the basement plans collection.


If you might add a secondary suite later, think now about where the basement stair lands. Some suites need a separate entrance and a fire separation between units, and the rules differ by municipality. Time: a few hours of design. Cost: stacking usually saves money compared with two separate stairwells.
Step 6: Check headroom, width and landings
Headroom is measured vertically from the line of the tread nosings to the lowest thing overhead. That might be a beam, the edge of the floor above or a duct. The usual problem is a floor opening that is too short, so the person going down hits the edge of the floor above at the top of the flight. For a 16-riser stair, the opening is typically 10 to 11 ft long.
Width deserves more than the minimum. A finished width of 36 to 42 in makes it much easier to carry a mattress or a sofa up, or a furnace down. Landings at the top and bottom must be at least as wide and as long as the stair. A door must not swing out over the steps. Time: one review of the sections. Cost: fixing it on paper costs nothing, while reframing on site can cost thousands.
Step 7: Get the handrails and guards right
A stair narrower than about 1100 mm usually needs a handrail on one side, while wider or curved stairs need one on both sides. The rail must be continuous and easy to grip. Guards around the stairwell opening and along the edges of landings must meet the height rules from Step 1. They also need:
- no openings a 100 mm sphere can pass through
- no horizontal rails a child can climb
In a modern design like the 4-bedroom modern farmhouse of 4452 sq ft, glass or steel guards fit the style. Expect to pay several hundred dollars per linear foot installed (2025 range), against roughly $100 to $250 for painted wood balusters. Time: a selection meeting and a shop lead time of about 2 to 6 weeks.
Step 8: Treat the stair as a path for heat and sound
An open stairwell acts like a chimney. Warm air rises, so the second floor overheats in summer while the basement stays cool. Plan heat pump and duct zoning so each level has its own supply and return, and let the HRV balance the airflow between floors.
A tall window in the stairwell looks great, but it is a large area of glass that loses heat. Under the BC Energy Step Code and other energy targets, the framing around the stairwell also needs careful air sealing to pass the airtightness test.
Sound travels the same way. A solid-core door at the top or bottom of the basement stair keeps noise from the basement TV or a teenager's room out of the bedrooms. Insulating the stairwell walls helps too. Cost: a door and insulation run about $500 to $1,500 in 2025, far less than fixing the problem later.
Step 9: Put it on the permit drawings and plan the install
Your permit set should include a stair section showing:
- the number of risers and treads
- the rise and run
- the headroom
- the handrail and guard heights
The plans examiner at the municipality checks these figures, and the inspector looks at the stairwell during the framing inspection. Many builders order a prefabricated stair from a stair shop. The shop measures after framing, so leave room in the schedule for that.
Timeline at a glance
| Step | When | Typical time | Typical cost (2025, CAD) |
|---|---|---|---|
| Code numbers and rise/run calculation | Before concept design | 1–2 days | Included in design |
| Stair shape and placement | Concept design | 2–4 weeks | Included in design |
| Stacking, headroom and landings | Design development | 1–2 weeks | Included in design |
| Permit drawings and review | Before construction | 4–12 weeks, varies by municipality | Permit fees vary |
| Framing and inspection | Framing stage | 1–2 days for the stairwell | Part of framing |
| Stairs, rails and guards installed | After drywall | 2–6 weeks lead time, 2–5 days install | $3,000–$70,000+ per flight |