One of the most expensive mistakes in Canadian home building is also one of the cheapest to avoid: nailing siding straight onto the sheathing membrane and assuming the cladding will keep the rain out. It won't, at least not all of it. Every wall takes on some water, through laps, nail holes, window corners and wind-driven rain. What matters is whether that water can drain and dry before it reaches the sheathing.
A rainscreen solves this with a simple detail. Vertical furring strips, usually 3/4 in (19 mm) thick, are fastened over the sheathing membrane, and the siding is attached to the strips. This leaves a ventilated, drained cavity, the capillary break, between the cladding and the wall. Still, many myths surround the detail, especially about who needs it and what it costs. Here are the most common ones.
Myth 1: Rainscreens are only a Vancouver thing
Fact: Coastal British Columbia made rainscreens famous after the leaky condo crisis of the 1990s, but the idea is now built into the National Building Code. Part 9 ties the requirement for a capillary break to the local climate, using a moisture index that reflects rainfall and how easily walls dry. Locations above the threshold must have a drained and vented cavity behind most claddings. That covers much of coastal BC, including Vancouver Island and the Lower Mainland, and a number of places in Atlantic Canada and Newfoundland and Labrador. The exact list of locations and the exemptions differ between the national code, the BC Building Code and other provincial codes, and they change between editions. Ask your municipal building department or your designer which rules apply to your lot before the drawings are finalized.
Myth 2: If the code doesn't require it, you don't need it
Fact: The code is a minimum, not a recommendation. In much of Ontario, the Prairies and Quebec, a direct-applied cladding may pass inspection. But builders and building scientists widely treat a rainscreen as good practice for fibre cement, wood siding and stucco anywhere. These materials absorb or hold water. Wood and fibre cement can cup, peel paint or swell at the joints when they sit wet against the membrane. Stucco is a reservoir that soaks up rain and pushes moisture inward when the sun hits it. A tall wall facing the prevailing wind, little roof overhang or a site near a lake all raise the risk. A modern farmhouse with board-and-batten siding and tight eaves, such as this 4,160 sq ft two-storey farmhouse with four bedrooms, is a good example. Its look works best with a rainscreen behind it, wherever you build it.
Myth 3: Vinyl siding needs furring strips too
Fact: Usually it doesn't. Vinyl and loosely fitted metal siding hang loosely on their fasteners and have hollow profiles that let water drain and air move behind them. For this reason, Canadian codes generally recognize them as already providing a capillary break. That is one reason vinyl stays the budget choice in many subdivisions. The exemption is for the cladding, not the details, though. You still need a proper sheathing membrane, flashed windows and a starter strip that lets water out at the bottom. If you switch from vinyl to fibre cement late in the design, the wall assembly changes too, and so does the quote.
Myth 4: The air gap makes the wall colder
Fact: The cavity sits outside the insulation and the sheathing membrane, so it is not counted as part of the wall's effective R-value. It does not reduce it either. The air in the gap is outdoor air on purpose: it carries moisture away. With exterior insulation, which is now common under the BC Energy Step Code and in high-performance builds elsewhere, the furring strips do double duty. They are screwed through the rigid or mineral wool insulation into the studs and give the siding a solid nailing base. The real thermal issue is long fasteners and thick insulation, so the cladding attachment needs to be designed, not improvised on site.
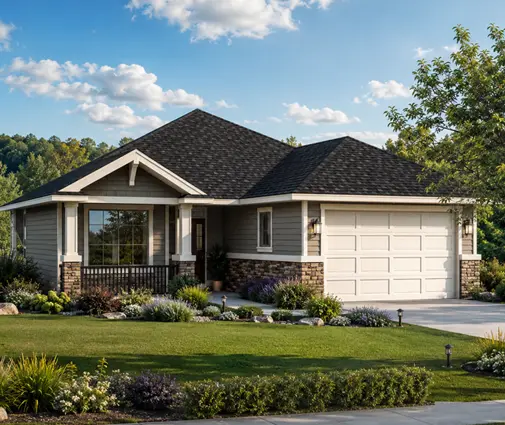
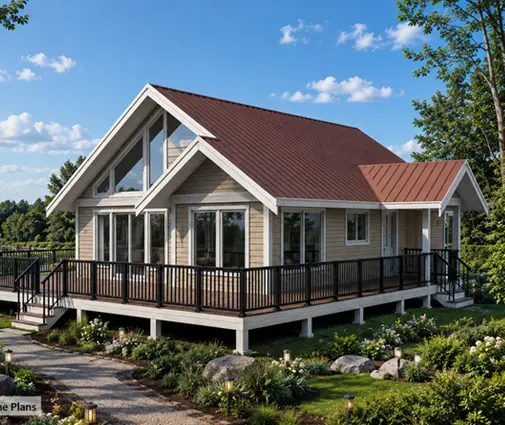
Craftsman and Northwest-style homes with lots of wood trim and shingle accents benefit the most from a drained wall. Here are three that show the look:


Myth 5: It's just strips and siding, nothing else changes
Fact: The furring is the easy part. Every opening and edge of the wall changes, and this is where most rainscreens fail:
- Windows and doors. The cladding moves out by the depth of the gap, so the window trim and the jamb extensions get deeper. The sill needs a sloped flashing with end dams that drains to the outside of the cladding. The head flashing has to send water out of the cavity instead of into it.
- The base of the wall. The bottom of the cavity must stay open so water can drain and air can enter. It is closed with a perforated metal or plastic insect screen to keep out wasps and rodents, and it sits above a base flashing that kicks water past the top of the foundation. Keep the required clearance between the cladding and the finished grade. For wood-based siding it is commonly around 8 in (200 mm), but check your code.
- The top of the wall. The cavity vents at the soffit or under a top flashing, never into the attic.
- Penetrations. Dryer vents, HRV hoods, hose bibs and light boxes need mounting blocks that bridge the gap and are flashed to the membrane.
These details belong on the drawings. If your plans were drawn for direct-applied siding, ask the designer or the person adapting them for your province to add wall sections showing the furring, flashing and trim depths.
Myth 6: Stucco is fine directly on the wall if you use a good membrane
Fact: Stucco is the cladding that most needs a drainage cavity. Even with two layers of building paper and a corrugated drainage mat behind the lath, a stucco wall holds a lot of water. In the rainy parts of the coast, a full rainscreen with a ventilated gap is expected practice, and often required. Elsewhere, a drained cavity is still the safer choice, especially on two-storey walls with few overhangs. A contemporary design with large flat stucco planes, like this 1,686 sq ft modern prairie-style home with two bedrooms, shows how much wall area is exposed to the weather when the roof gives little protection.
Myth 7: A rainscreen doubles your cladding budget
Fact: It adds a noticeable but modest amount. As a rough 2025 range, furring, screens, extra flashing and the added labour cost about $2 to $6 CAD per square foot of wall. The low end is simple wood strapping on a plain wall. The high end is a wall with many windows, exterior insulation or a stucco system. A typical two-storey house of around 2,200 to 2,800 sq ft of living space has roughly 2,500 to 3,500 sq ft of exterior wall to clad. The extra cost then lands somewhere between about $5,000 and $20,000, depending on the region, the cladding and the trades available.
| Item (2025, approximate) | Typical extra cost |
|---|---|
| Wood or plastic furring strips, installed | $1.50 to $3 per sq ft of wall |
| Window and door trim and flashing changes | $100 to $300 per opening |
| Insect screen and base flashing | $8 to $20 per linear foot |
| Rainscreen stucco system vs direct-applied | $3 to $6 per sq ft of wall |
These are planning numbers only; get quotes from local cladding contractors. Compare them with the cost of tearing off rotted sheathing on a five-year-old house, and the rainscreen is one of the better-value lines in the budget.
Myth 8: A simple house doesn't need to think about it
Fact: A simple shape makes a rainscreen cheaper, not unnecessary. Fewer corners, fewer roof-to-wall intersections and windows that line up between floors mean less flashing and faster installation. A compact cottage such as this 1,701 sq ft two-storey cottage with three bedrooms is easy to strap and trim. Taller, more complex homes take more planning. This four-storey coastal design of 3,001 sq ft has tall wall areas exposed to wind-driven rain, exactly where a drained cavity matters most. If you are comparing designs, browse the two-storey house plans with the cladding in mind. Big blank gables and tight eaves cost more to protect.
Farmhouse and coastal designs often combine siding types, which multiplies transitions to flash:



Conclusion
A rainscreen is a strip of air, a few rows of furring and some careful flashing. In much of coastal BC and parts of Atlantic Canada it is the law. Almost everywhere else, it is the difference between siding that lasts and siding that rots the wall behind it. Decide on it early, while you choose the cladding. Make sure the window, base and penetration details are on the drawings. Budget a few dollars per square foot of wall. Then confirm the current requirements for your location with your municipality or a designer who works under your provincial code. If you like the look of wood or fibre cement, start with Craftsman house plans or farmhouse plans and plan the air gap from day one.