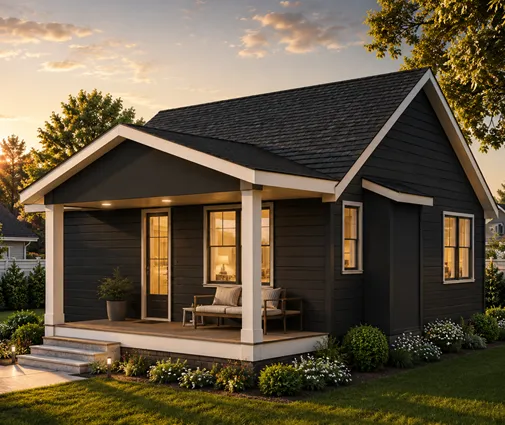
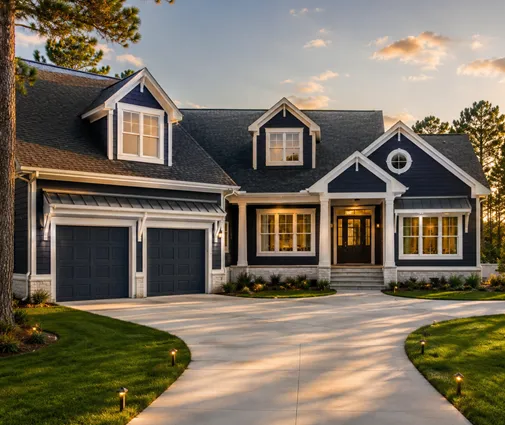
A common story in new Canadian subdivisions goes like this. The house is framed, the sod is down, the deck is built, and then the family applies for a pool permit. They learn that the pool can't sit in the rear utility easement, that the patio door now opens straight into the fenced pool area and needs extra hardware, and that the only side yard wide enough for an excavator has the air conditioner and the gas meter in it.
All of this can be avoided if the pool or hot tub is drawn on the site plan before the house plan is final. Rules differ from one municipality to the next, and Quebec adds province-wide pool safety requirements on top of local bylaws. Use the checklist below as a guide, and confirm the current rules with your municipality's building department before you commit to a layout.
Stage 1: Read the lot before you choose the house
- Easements: find every utility, drainage or access easement on your survey. Pools, hot tub pads and often permanent decks are generally not allowed inside them.
- Setbacks: ask what distance the pool's water edge and its equipment must keep from the rear and side lot lines and from the house. These are set in the zoning bylaw.
- Lot coverage: check whether the pool, the pool house and raised decks count toward maximum lot coverage or a minimum landscaped area. On a tight suburban lot, a large footprint home can use up most of the allowance.
- Grading plan: in most new subdivisions, the lot already has an approved grading plan. Note the swales and the direction water must flow.
- Soil and water table: a high water table or heavy clay affects the excavation, the pool type and the cost.
Sketch the pool on the survey early, even as a rough rectangle with its setbacks drawn around it. If what remains for the house forces a narrower footprint, you'd rather know now. A compact single-storey home such as this 1,492 sq ft modern mountain design with a full basement leaves far more of the backyard free than a sprawling plan, and the basement keeps bedroom count up without widening the footprint.
Stage 2: Plan the enclosure and the doors together
- Fence height: municipal pool enclosure bylaws commonly ask for a barrier in the range of roughly 1.2 to 1.5 m (about 4 to 5 ft). Confirm the exact figure for your town.
- Gates: expect self-closing and self-latching gates, with the latch at a set minimum height or on the pool side. Gates usually must swing away from the pool.
- Climbability: rules usually limit horizontal rails, gaps and footholds. A decorative fence may not qualify.
- House wall as barrier: some municipalities let a wall of the house form part of the enclosure. Doors in that wall may then need alarms or self-closing hardware.
- Hot tub cover: many bylaws accept a lockable safety cover instead of a fence for a hot tub, but not all do.
- Window and deck levels: a deck that sits higher than the fence can count as a way into the pool area.
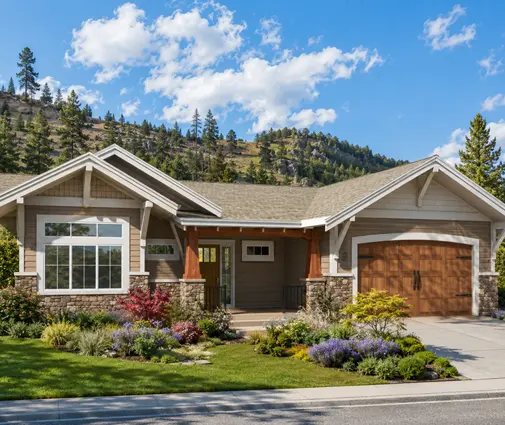
This is where the floor plan really matters. Decide whether the patio door opens into the fenced zone or onto a separate patio outside it. A layout with the kitchen at the rear gives you a direct view of the water from the sink, which parents value, while a mudroom or side entry lets kids come in wet without crossing the main living area. This one-storey Craftsman with three bedrooms and a full basement keeps living space on the ground floor, so the main rooms naturally face the yard. An L-shaped plan can wrap around the pool area and form one side of the enclosure on its own.


Stage 3: Grading, drainage and the services
- Grading approval: many cities require a revised grading or drainage plan with the pool permit. A pool must not send water toward neighbours or block the lot's swales.
- Discharge: ask where you may drain or backwash pool water. Rules for chlorinated or salt water discharge into storm sewers and onto lots vary widely.
- Electrical permit: pumps, heaters, lighting and hot tubs need an electrical permit and inspection under your provincial electrical safety authority, plus proper bonding.
- Panel capacity: a heat pump for the house, an EV charger, a pool heater and a hot tub can exceed a standard service. Size the electrical service now.
- Gas line: if you want a gas pool heater or outdoor kitchen, plan the line during construction rather than trenching through finished landscaping.
- Equipment location: pumps and heaters often have their own setback and noise rules. Keep them away from bedroom windows.
Coordinate the pool's grading with the final lot grading certificate your builder must obtain. If the pool is installed after that certificate, you may need a new approval, and in some municipalities a security deposit tied to grading can be held until the work is signed off. Ask your builder and the municipality how the timing works on your lot.
Stage 4: Keep the access open
- Excavator route: a mini excavator usually needs a clear path of roughly 6 ft or more; a larger machine and a concrete truck need much more. Keep one side yard free.
- Side yard clutter: don't put the AC unit, gas meter, window wells or a chimney chase on the side you'll use for access.
- Fence timing: build the permanent fence on the access side last, or design a removable panel.
- Soil disposal: a pool excavation produces many truckloads of soil. Plan where it goes; it can sometimes be used in the final grading of the house.
- Same-time excavation: if the budget allows, digging the pool while the basement is open can save on mobilization costs.
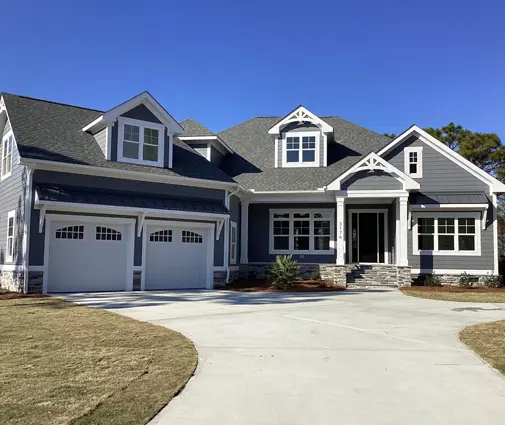
Narrow lots with an attached garage often have one tight side yard and one usable one. On a two-storey plan such as this 3,251 sq ft Modern Craftsman, the second floor carries the bedrooms, so the footprint stays smaller and leaves room for a proper access path. Larger homes like this four-bedroom modern farmhouse or this Craftsman with a three-car garage suit wider suburban lots and acreages, where access is rarely the problem but setbacks from septic systems and wells must be added to the list.


Stage 5: Design for a Canadian winter
- Hot tub path: a hot tub is used all winter. Keep it a few steps from a door, on a path you can shovel.
- Roof snow: never place a hot tub or pool edge under eaves where snow and ice slide off the roof.
- Deck structure: a filled hot tub is very heavy. A tub on a deck needs a structural design reviewed with the deck permit; a concrete pad at grade is simpler.
- Wet entry: a mudroom, a powder room or a basement bathroom near the yard saves the floors in summer and winter alike.
- Winterizing: leave space for the pool cover, storage for equipment and a frost-protected spot for any lines that must stay live.
For budgeting, as of 2025 an in-ground pool in Canada commonly costs somewhere between about $50,000 and well over $100,000 CAD once fencing, landscaping and electrical work are added, while a quality hot tub with its pad and wiring often lands in the $10,000 to $25,000 range. Permit fees are usually modest by comparison, but delays from a rejected site plan cost far more. If you dream of an outdoor kitchen beside the pool, draw it into the same site plan so one set of drawings covers it all.
The most common mistakes
- Building the house and deck first, then discovering the pool fits only inside an easement.
- Placing the patio door so it opens into the pool enclosure without planning the required hardware.
- Blocking the only excavator route with the AC unit, meter or a finished fence.
- Ignoring the subdivision grading plan and having to redo landscaping after inspection.
- Undersizing the electrical service for a heat pump, a pool heater and a hot tub together.
- Putting the hot tub under a roof edge that drops snow all winter.