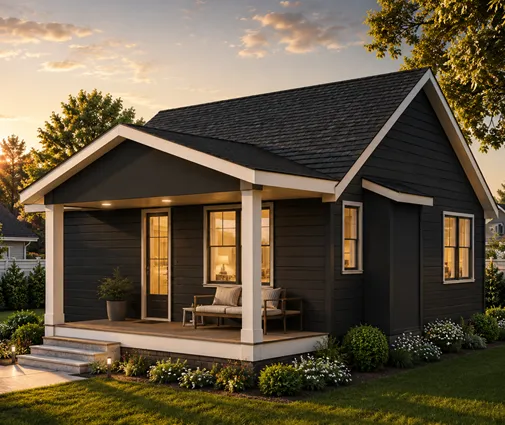
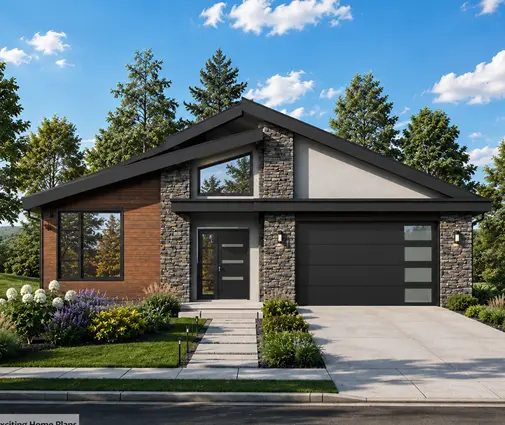
A family buys an infill lot, picks a two-storey plan they love, and sends it to a designer for permit drawings. Three weeks later the zoning examiner sends it back: the house is 0.6 m too tall. Nobody added a storey or a tower. The plan simply had 9-foot ceilings, a steep roof and a basement that sat a little high out of the ground, and the city measured height in a way the family never thought to ask about.
Height is one of the most common reasons a house plan stalls at the zoning stage in Canada. The rules are not hard, but they differ from one municipality to the next, and the differences can easily be worth a metre. This guide explains where height is measured from, where it is measured to, how the parts of a house add up, and what you can change in a plan to stay under the limit.
Why height limits trip up so many two-storey plans
Most low-density residential zones in Canadian cities cap the height of a detached home somewhere in the range of roughly 8.5 to 11 m (about 28 to 36 ft), and many also limit the number of storeys. Those numbers sound generous for a two-storey home, and for a simple design on a flat lot they usually are. The trouble starts when several reasonable choices stack up: a taller main floor, a steep roof for snow and looks, and a foundation that stands proud of the ground to get light into the basement.
Many plans in a catalog are drawn to be built on a range of lots, so their height on paper is not the height the zoning examiner will see on your site. The same drawings can pass in one town and fail in the next because the two bylaws measure differently.
Where the measurement starts: the grade
Every height rule starts from a reference elevation, and this is where the biggest differences between municipalities hide.
Average grade around the house
A common approach takes the ground elevations at the corners of the building (or at points along every wall) and averages them. On a flat lot that is simple. On a lot that falls toward the back, the average sits lower than the front step, so the house looks taller to the bylaw than it does from the street.
Grade at the front of the lot
Some cities, especially older ones with tight infill rules, measure from the average ground elevation along the front property line or from points set by a surveyor near the street. This stops owners from raising the lot with fill to gain height, and it means a lot that slopes down from the road can actually work in your favour.
Crown of the road
A few bylaws use the centreline elevation of the street in front of the lot. On a lot that sits well above the road this is punishing, because the climb from the street counts against your height before the foundation even starts.
Existing grade versus final grade
Watch whether the bylaw refers to the ground as it is before construction or as it will be after landscaping. Where the final grade counts, many municipalities limit how much you may raise it, so you cannot simply berm soil around the walls to "lower" the house. Ask for the definition in writing.
Where the measurement ends: peak, midpoint or eaves
The top end of the measurement matters just as much. The table below sums up the usual methods and what each one rewards.
| Measured to | How it works | What it favours |
|---|---|---|
| Highest point (peak) | The ridge or the top of a flat roof, whichever is highest | Low-pitched and flat roofs; steep roofs pay the full price |
| Midpoint of the roof | Halfway between the eaves and the ridge of a sloped roof | Steeper roofs, since only half the rise counts |
| Top of the walls or eaves | Often a separate limit on wall or eave height, alongside an overall cap | Hip roofs and storey-and-a-half designs with low knee walls |
| Angular plane or envelope | An imaginary sloped line from the lot lines the house must stay within | Roofs that slope away from neighbours, stepped upper floors |
Many bylaws combine two of these, for example an overall height to the peak plus a separate limit on the height of the main walls. Chimneys, vent stacks and small rooftop features are often excluded, but parapets and roof decks usually are not. Check every clause, not just the headline number.
How the parts of a house add up
It helps to build the height of a typical Canadian two-storey from the ground up. Take a house 32 ft deep with the ridge running side to side, a gable roof at an 8/12 pitch, and these common dimensions:
- Exposed foundation wall: about 2 ft above grade, typical where frost depth calls for a full basement and the builder wants dry window wells.
- Main floor framing: about 1 ft of joists and subfloor.
- Main floor ceiling: 9 ft.
- Second floor system: roughly 1 ft 2 in.
- Upper ceiling: 8 ft.
- Truss heel: about 6 in, often more in energy-efficient designs that want full insulation depth over the walls.
- Roof rise: half the span (16 ft) at 8/12, so about 10 ft 8 in.
That adds up to about 32 ft 4 in to the peak, or close to 9.9 m. Measured to the midpoint of the roof the same house is about 27 ft, roughly 8.2 m. One house, two answers, and the gap is bigger than many owners expect. On a lot that falls 3 ft from front to back, an average-grade bylaw can push the number up again.
Notice how much of the height is not living space. The exposed basement wall, the floor systems and a thick truss heel together add five feet or more. Taller main-floor ceilings, popular in larger homes, add another foot each time you go from 9 to 10 ft.
A plan like this four-bedroom two-storey with a gabled Craftsman front is a good example of the type: generous main floor, upper bedrooms, and a roof whose pitch decides a lot about where the height lands. A more compact option is this contemporary two-storey of 2189 sq ft with a basement, whose low-slope roof lines keep the overall profile modest.


Tactics that keep a plan under the limit
If the numbers come in too high, there are several ways to fix the design before you ask the committee of adjustment or the board of variance for relief. A variance takes time, costs fees, and invites neighbours to comment, so it is worth exhausting these first.
Lower the roof pitch
Going from 8/12 to 6/12 on our 32-ft-deep example drops the ridge by about 2 ft 8 in. Under a peak-based bylaw that alone often solves the problem. Keep snow loads in mind: lower pitches are fine across most of the country when the trusses are engineered for the local load, but in heavy-snow regions talk to your truss supplier about drifting and valleys.
Turn the ridge or switch to a hip roof
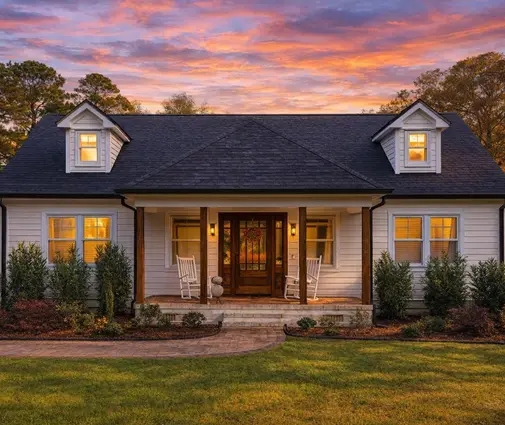
The rise depends on the span the roof covers, so run the ridge along the long side of the house and let the roof cover the short dimension. A hip roof does not lower the ridge on its own, but it brings the eaves down on all four sides and keeps the bulk away from the side lot lines, which helps a lot where the bylaw limits eave height or uses an angular plane. Browse the hip roof plans if this approach suits your street. This storey-and-a-half cottage design with dormers shows another route: upper rooms tucked partly into the roof, so the main walls stay low.
Set the foundation lower
Every inch the basement sits deeper comes straight off the measured height. Dropping the top of the foundation from 2 ft above grade to about 8 in is often achievable, though you must keep the minimum clearance between the soil and the wood framing that the building code and your designer require, and you will need proper window wells and drainage. On lots with poor soil or a high water table this may not be possible, so get advice before you commit.
Trim ceiling heights and floor systems
A 9-ft main floor with 8-ft bedrooms upstairs is a sensible balance. Engineered floor joists can sometimes be specified a size shallower with closer spacing, saving a couple of inches per floor. Small savings add up when you are a few inches over.
Use the slope of the lot
On a lot that falls away from the street, a walkout basement can sit in the hill and the house can read as a two-storey from the front. Whether that helps depends entirely on how the bylaw defines grade, so confirm before you design around it. The sloped lot collection is a good place to look for plans already designed this way.
Checking a plan before you buy it
A little homework early saves a redesign later. Before you commit to a plan, gather these from the municipality's zoning bylaw or the planning desk:
- The maximum height and storey count for your zone, plus any separate wall, eave or angular plane limits.
- The exact definitions of "grade" and "height", including which roof point counts.
- Whether your lot sits in an infill area, a heritage district or a zone with special overlay rules.
- A topographic survey of the lot, so the grade can be calculated from real elevations rather than guesses.
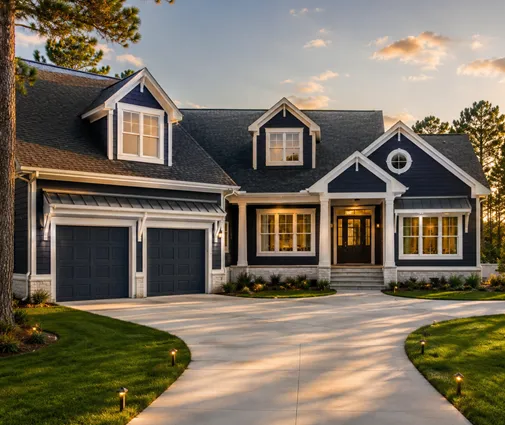
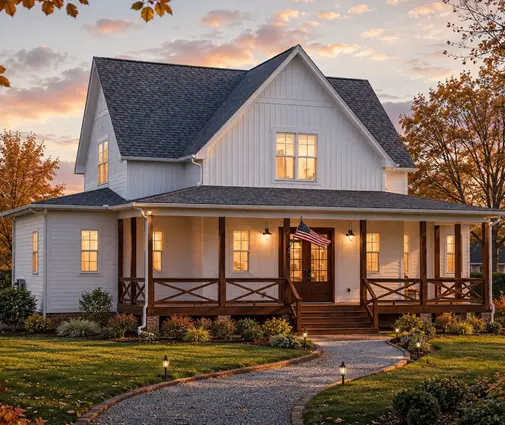
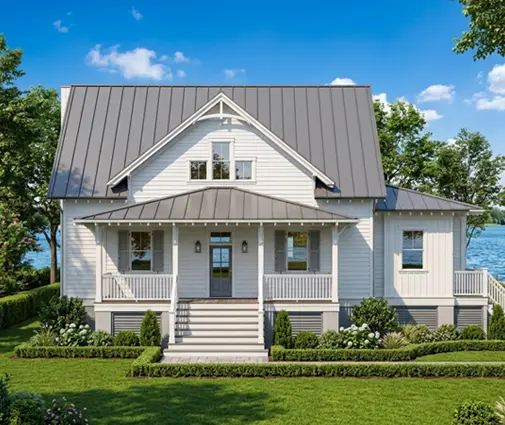
Then compare the section drawing of the plan with those numbers. A farmhouse-style home such as this four-bedroom two-storey with a steep front gable may need a pitch adjustment under a peak-based bylaw yet pass easily where the midpoint counts. A gentler profile, like this lake-cottage plan with three bedrooms upstairs and a wide porch, often fits with room to spare. Taller layouts, such as this compact plan of 1984 sq ft spread over three levels, need the most careful check, since a storey limit can rule them out regardless of height in metres.
Ask your designer or architect to mark the measured height on the drawings using the bylaw's own method. Examiners appreciate it, and it forces the calculation to happen before the application goes in, not after.
FAQ
Does a basement count as a storey?
Usually not, as long as it stays mostly below ground. Many bylaws count it as a storey once the floor above sits more than a set distance over grade, often in the range of 1.2 to 2 m. A walkout on a steep lot can cross that line, so check the definition in your bylaw.
Can I build a dormer if the house is already at the height limit?
Often yes, because dormers sit below the ridge. They may still count toward wall height or an angular plane, and some infill bylaws limit how much of the roof can be dormered.
Is a minor variance for height hard to get?
It depends on the size of the request and on your neighbours. Small overages with a good design reason are often approved, but the process adds months and is never guaranteed. Fixing the design first is almost always faster.
Who confirms the height before a building permit is issued?
The municipality's zoning or plans examiner reviews height as part of the permit application. Some cities later ask for a surveyor's certificate confirming the foundation elevation, so build exactly to the approved drawings.