The most common crawl space mistake in Canada is copying a southern detail: screened vents in the foundation wall and batts stuffed between the floor joists. By February the floor above is cold, the water lines are close to freezing, and every vent pulls damp outdoor air into a space where it can condense on the coldest surface. In a climate with long heating seasons, the better approach is to bring the crawl space inside the thermal envelope: seal it, insulate the walls instead of the floor, cover the ground, and give it a little conditioned air. Building science and Canadian practice have moved this way for good reason.
If you are building without a full basement, because of bedrock, a high water table, a tight budget or a design choice, the steps below take you from the drawings to the final inspection. Costs are typical 2025 ranges in CAD and vary a lot by region, so get local quotes and confirm the details with your municipality's building department or your designer before you build.
Step 1: Decide on a conditioned crawl space at the design stage
Settle the foundation type before the plans are finalized, not when the excavator arrives. A conditioned crawl space changes the drawings: the insulation moves from the floor to the foundation walls, a heat source is added below, and ductwork and plumbing can be run down there without freeze protection. Tell your designer you want an unvented, conditioned space, and ask how your province treats it. In most of Canada, the crawl space provisions in Part 9 of the building code allow it as long as it is insulated, ventilated or heated as part of the house, and protected from soil gas.
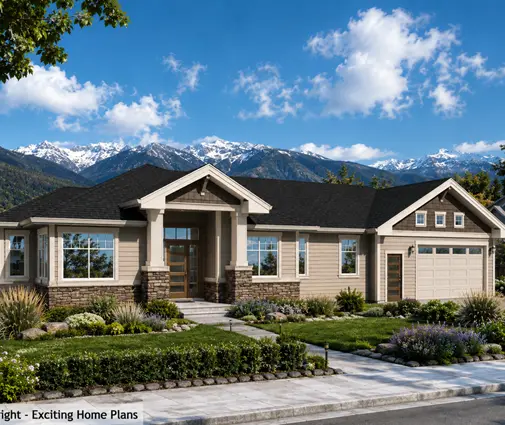
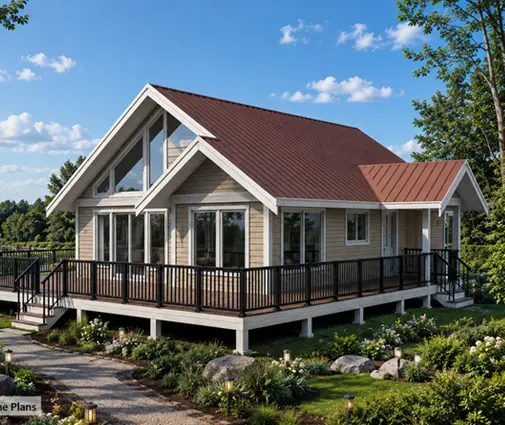
Single-storey homes benefit most, because the whole floor sits over the crawl space. A compact cottage like this two-bedroom lake cabin of 975 sq ft has a small footprint that keeps the foundation simple, while a wide one-level plan such as the prairie-style ranch spread over 4167 sq ft has a lot of floor to keep warm, so the choice of wall insulation over floor insulation matters even more. You can browse more options among the one-storey house plans.
Time: 1 to 3 weeks of design work. Cost: usually included in the design fee; engineering for poor soils is extra.
Step 2: Set the height and plan access for service
A crawl space you cannot crawl through is a maintenance problem waiting to happen. Plumbers, HVAC technicians and home inspectors all need to reach the traps, cleanouts, shut-off valves and duct joints. The code sets minimum clearances and access opening sizes, but they are minimums. A comfortable working height is roughly 3 to 4 feet from the ground cover to the underside of the joists, and many builders go to around 4 feet when the main trunk ducts run below.
Plan the access hatch with the same care. Put it where you can reach it without moving furniture, often in a utility room, closet floor or through the foundation wall from outside with an insulated, weatherstripped door. Make it large enough to pass a sump pump or a dehumidifier, and keep a clear path from the hatch to every mechanical component. Include a light and an outlet near the hatch.
Time: part of design. Cost: an insulated access door runs about $200 to $800; extra wall height adds concrete and forming cost.


Step 3: Build footings and walls below frost depth, with drainage
A crawl space does not let you skip frost protection. Footings still go below the local frost line, which in much of Canada means 4 feet or more, deeper on the Prairies and in the North. That is why a crawl space in Canada saves less than you might expect: you are digging a good part of the way down anyway. Use poured concrete, concrete block or insulated concrete forms (ICF), which give you the formwork and the wall insulation in one step.
Install perimeter drainage at the footings, dampproof or waterproof the exterior of the walls, and grade the lot so water flows away from the house. On wet sites, slope the interior grade to a sump pit. Water is the main enemy of any crawl space, sealed or vented.
Time: 1 to 2 weeks including curing. Cost: in 2025, footings and walls for a typical 1,200 to 1,500 sq ft footprint commonly run $25,000 to $50,000, depending on height, access and soil.
Step 4: Lay the ground cover and handle radon
Radon is present across Canada, with high readings in many regions, and a sealed crawl space must keep soil gas out of the house. Start with a layer of clean crushed stone over the ground, then a heavy polyethylene ground cover (commonly 6 mil, many builders now use 10 to 20 mil for durability). Lap the seams generously and tape them, run the sheet up the foundation walls and seal it, and seal around every pipe and post. Some builders pour a thin concrete skim slab over the poly to protect it.
Rough in a radon pipe through the stone layer and the ground cover and cap it, so a fan can be added later if a test shows high levels. Current codes in most provinces require soil gas protection, and the rough-in costs very little during construction compared with retrofitting later.
Time: 1 to 2 days. Cost: about $1,500 to $5,000 for stone, membrane and the radon rough-in; add $2,000 to $4,000 for a skim slab.
Step 5: Insulate the foundation walls, not the floor
In a conditioned crawl space, the walls are the thermal boundary. Use rigid foam (EPS, XPS or polyiso where permitted) on the interior or exterior of the walls, or let ICF do the job. Required levels vary by province and by the energy compliance path. In 2025, most new homes land somewhere around R-12 to R-24 for below-grade walls, and stricter local programs push higher. In some regions, a strip of insulation under or around the perimeter of the ground cover is also worth adding.
Foam plastic generally needs a thermal or ignition barrier unless the product is rated for exposed use. Ask your inspector what is accepted for a crawl space that is entered only for service. Leave the floor joists uninsulated, so the warmth of the house keeps the crawl space above freezing.
Time: 2 to 4 days. Cost: roughly $3,000 to $9,000 for a typical footprint, more with higher R-values.
Step 6: Seal and insulate the rim joist
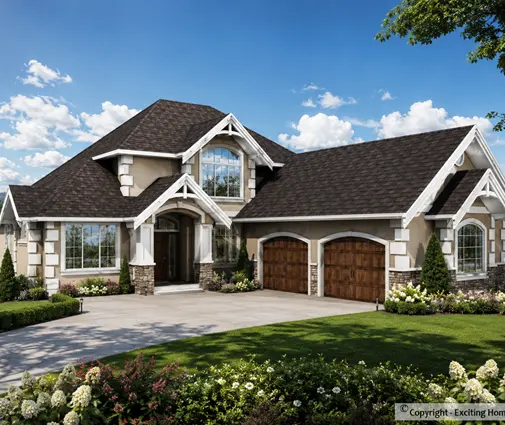
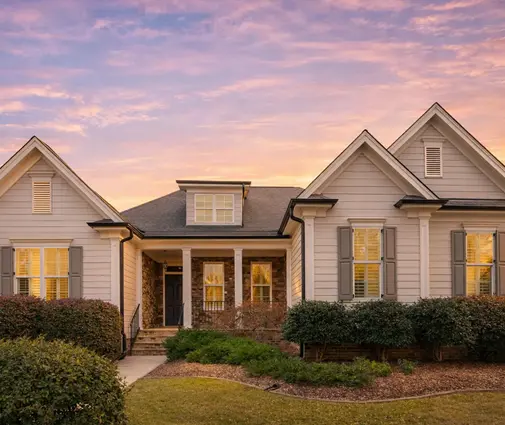
The rim joist, where the floor framing sits on the foundation, is the leakiest and coldest spot in most Canadian homes. Seal the sill plate to the concrete with a gasket, then insulate and air-seal each joist bay. Closed-cell spray foam does both in one pass. Cut-and-cobbled rigid foam with sealed edges is a cheaper option, but more labour. Two-storey homes have long perimeters and more rim area, so plans like this modern farmhouse with four bedrooms upstairs or the more compact traditional two-storey with a ranch look both reward careful work here.
Time: 1 day. Cost: about $1,500 to $4,000 for spray foam on a typical house.


Step 7: Supply heat and air, and control humidity
A sealed crawl space must not become a stagnant box. The code generally treats a heated crawl space as part of the house, so it needs a heat source and some air movement. The usual solutions are a small supply register from the forced-air system with a return path to the house, a connection to the HRV or ERV, or a dedicated dehumidifier in damp areas. With a heat pump or a hydronic system, your designer can size a small supply or a separate heater.
Keep vents to the outside closed or omit them. Add a humidity sensor so you can see the conditions without crawling in. Readings that stay well below 60% relative humidity are a good sign. Larger single-level homes like the contemporary one-storey with a long, wide footprint often benefit from two supply points so no corner stays cold. Wide plans like the European-style bungalow with two bedrooms also give you room to run ducts under the floor rather than through the attic.
Time: 1 to 3 days during mechanical rough-in. Cost: $300 to $1,500 for a supply branch; $1,500 to $3,000 for a ducted dehumidifier.
Step 8: Pass inspections, then test for radon
Schedule the footing and foundation inspections, and make sure the inspector sees the ground cover and the radon rough-in before anything covers them. Take photos of every layer for your records. After you move in, run a long-term radon test over the heating season, ideally three months. If the result is above the federal guideline of 200 Bq/m³, connect a fan to the roughed-in pipe. Check the crawl space once or twice a year for moisture, pests and damaged membrane.
Time: inspections take hours; the radon test takes about 3 months. Cost: test kits run around $50 to $150; an active fan system typically costs $1,500 to $3,500 if needed.
Timeline and cost at a glance
| Step | When | Duration | Typical cost (CAD, 2025) |
|---|---|---|---|
| Design and decision | Before permit | 1 to 3 weeks | In design fee |
| Height and access planning | Design | Part of design | $200 to $800 for the hatch |
| Footings, walls, drainage | Weeks 1 to 2 on site | 1 to 2 weeks | $25,000 to $50,000 |
| Ground cover and radon rough-in | After backfill | 1 to 2 days | $1,500 to $5,000 |
| Wall insulation | Before framing or after | 2 to 4 days | $3,000 to $9,000 |
| Rim joist sealing | After framing | 1 day | $1,500 to $4,000 |
| Heat, air and humidity | Mechanical rough-in | 1 to 3 days | $300 to $3,000 |
| Inspections and radon test | Construction and first winter | About 3 months | $50 to $3,500 |
A finished conditioned crawl space is usually 3 to 4 feet high. A full basement is around 8 to 9 feet. In 2025, a crawl space typically costs roughly a third to a half less than an unfinished full basement on the same footprint, which on an average house can mean $20,000 to $50,000 or more. Because frost depth already forces deep footings, the gap is smaller than many expect. If extra living or storage space matters to you, compare both options with your builder, and look at the house plans with a basement before you decide.