Many Canadian homeowners notice their teleposts only when they get the quote to finish the basement. The rec room they pictured, with a sectional, a big screen and a ping-pong table, has a line of adjustable steel columns every eight feet down the middle. By then the main floor is framed, the ducts are hung and the posts are holding up the house. Moving them now means shoring, a new beam and an engineer, and the bill can run past what the flooring costs.
The same open room is much cheaper to get on paper. It depends on three decisions about the main floor: how far the joists span, what kind of beam carries them, and where that beam sets its ends down. The steps below follow the order a new build actually goes in, so each choice is made before it gets expensive to change.
Step 1: Decide What "Open" Means for Your Basement
Start with the room, not the structure. Sketch the finished basement on the foundation outline: where the rec room goes, where the bedrooms, bathroom and mechanical room go, and which walls will exist anyway. A post that lands inside a future wall between a bedroom and the furnace room costs nothing to keep. A post in the middle of a 24-foot media wall is the one you want gone.
Write down one or two clear dimensions, such as "26 by 18 feet with no posts." Your designer can price that. "As open as possible" is too vague to price.
Time: a weekend. Cost: nothing but graph paper.
Step 2: Choose a Plan Whose Structure Helps You
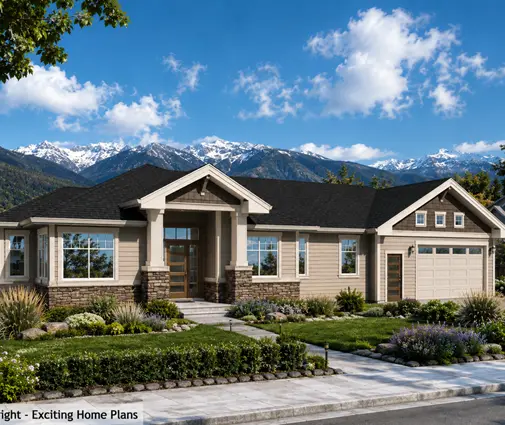
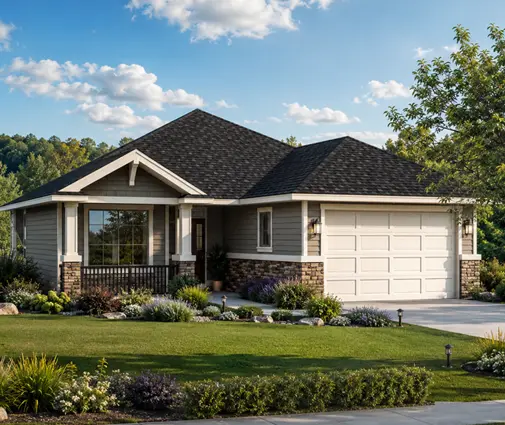
Some houses are easier to open up than others. The best case is a rectangular bungalow with a trussed roof. Roof trusses usually span from front wall to back wall, so the interior main-floor walls carry little or no roof and snow load, and the basement beam only has to hold up the floor. A compact layout like this three-bedroom Craftsman bungalow or the modern ranch plan with a simple footprint leaves a lot of room for that.
A two-storey home is different. Bedroom walls upstairs often stack on a main-floor wall, which stacks on the basement beam. The beam then carries two floors and sometimes part of the roof. That is still possible to clear-span, but it costs more, so look at where the loads come down. In a plan like this four-bedroom two-storey, the question for the designer is whether the upper bearing walls can be aligned so they land at the foundation walls or at a single column hidden in a partition.
Browse the plans with a basement with this in mind: the depth of the house front to back is the span you have to solve.


Time: part of normal plan selection. Cost: none extra.
Step 3: Pick the Floor System Before the Beam
The joists decide how many beams you need. Most Canadian main floors are about 26 to 32 feet deep. Ordinary 2x10 or 2x12 lumber can't cross that in one piece, so it lands on a central beam, and that beam lands on teleposts. Deeper engineered products change that:
- Wood I-joists (commonly 11-7/8", 14" or 16" deep) span farther than sawn lumber and stay straighter. They often let you move the beam or use a single long beam in place of several short ones.
- Open-web floor trusses (often 16" to 24" deep) can clear-span the full depth of many houses. Then there is no central beam at all, and ducts, drains and HRV lines run through the web without bulkheads.
The trade-off is height. A 20-inch floor truss takes about 8 inches more than a 2x12 does, so ask for a 9-foot foundation wall if you want a comfortable finished ceiling downstairs. In 2025–2026 a deeper engineered floor typically adds roughly $1 to $4 per square foot of floor area over a standard I-joist floor, depending on depth, region and supplier. Get a quote from a local truss plant rather than relying on any rule of thumb.
Time: 1–2 weeks for supplier layouts and quotes. Cost: often a few thousand dollars over standard framing on a 1,500–2,000 sq ft floor.
Step 4: Compare Steel and LVL Beams, Flush and Dropped
If a full clear span with joists alone isn't practical, the next option is a stronger beam that spans longer with fewer posts, or none. You have two materials and two positions:
| Option | What it does | Typical 2025–2026 cost (CAD, supply and install) | Watch out for |
|---|---|---|---|
| Dropped LVL beam | Multi-ply laminated veneer lumber under the joists; spans more than a built-up 2x beam | About $30–$70 per linear foot | Creates a bulkhead; long spans need deep, heavy members |
| Flush LVL beam | Sits within the joist depth; joists hang from it in hangers | About $40–$90 per linear foot plus hangers | Must be at least as deep as the joists; spans are limited |
| Dropped steel W-beam | Shallower than wood for the same load; the classic long-span solution | About $3,000–$8,000 for a typical house-length beam, including delivery and lift | Needs a crane or telehandler; bulkhead still shows |
| Flush steel beam | Steel set into the floor depth with wood nailers and hangers | About $5,000–$12,000 including fabrication and labour | More detailing; joist shrinkage and squeaks if poorly built |
These ranges vary with steel prices, region and access to the site, so treat them as a starting point only. As a rule, steel wins when the span is long and headroom matters, and LVL wins when spans are moderate and the framer wants to stay with wood. A dropped beam is cheaper. A flush beam gives a flat ceiling, which matters most in a rec room where a bulkhead would cut across the projector screen.
Time: decided during design. Cost: as above, compared with roughly $1,500–$3,000 for a conventional built-up beam and posts.
Step 5: Trace Where Every Load Lands
Removing posts doesn't remove loads. It moves them to the ends of the beam. A long steel beam may put a very concentrated load on the foundation wall, so it usually needs a beam pocket, a thickened pilaster or a larger footing below. Any column you keep must sit on a properly sized pad footing poured with the rest of the foundation, not added later.
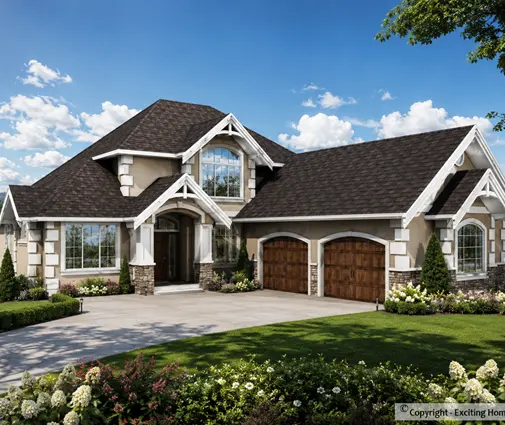
Check the main floor too. A kitchen island with stone, a heavy tub upstairs or a masonry fireplace all add point loads. On a larger home such as this ranch plan with an attached three-car garage, the garage side is often the natural place for a load to come down, because the foundation wall is already there.
Time: part of design review. Cost: footing changes are usually a few hundred dollars if made on paper, many thousands if made after the pour.
Step 6: Bring in the Engineer Before the Drawings Are Final
Part 9 of the National Building Code and the provincial codes based on it include span tables for ordinary lumber joists and built-up wood beams. Once you move to long steel beams, unusual LVL spans or posts removed under bearing walls, you are usually outside those tables. Most municipalities then ask for an engineer's stamped design or a manufacturer's sealed layout. Rules differ by province and city. Ontario, for example, has its own requirements for who can sign house drawings. Confirm with your local building department what it will accept.
Ask for it early. Give your designer the dimension from Step 1 and ask three questions:
- Can the main floor clear-span this room with joists or trusses alone, and at what depth?
- If not, what flush beam (steel or LVL) gets us there, and what does it need at each end?
- What foundation wall height keeps at least 8 feet of finished ceiling under the deepest member?
In 2025–2026 an engineer's beam and floor review for a single-family house typically costs about $800 to $2,500. Truss and I-joist suppliers often include a sealed layout with the order.
Time: 1–3 weeks. Cost: engineering fee as above.

Step 7: Get It Through the Permit and the Framing Inspection
Submit the beam and floor design with the permit drawings, not as a revision. Include the truss or joist layout, the beam size, the bearing details and the footing sizes. If the supplier changes a product after the permit is issued, send the updated sealed layout to the municipality before framing. Inspectors will check that what is installed matches what was approved.
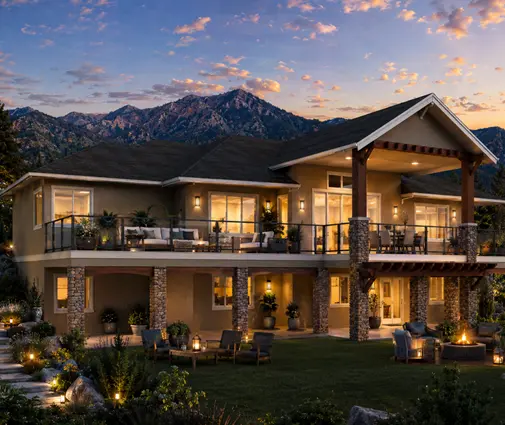
On site, tell the framer and the HVAC installer what the plan is. Ducts that drop below a flush beam bring back the bulkhead you paid to avoid. On a home like this six-bedroom one-storey, with many rooms upstairs to feed, plan the main trunk line inside the floor depth from the start.
Time: follows the normal permit timeline in your municipality, often several weeks. Cost: included in the permit fee.
Step 8: Protect the Open Space When You Finish the Basement
Years later, someone will finish the basement, maybe you, maybe a contractor who never saw the drawings. Keep a copy of the beam design with the house documents. Mark on the basement plan which walls are non-bearing. Before you close the ceiling, check with your municipality what fire protection and drywall the finished ceiling needs. Engineered joists in particular can carry specific requirements. With that done, a 1,500 sq ft one-storey home can have a rec room that reads like part of an open-concept plan rather than a basement.
Time: part of the finishing project. Cost: standard finishing costs only.
Timeline at a Glance
| Step | When | Typical duration | Typical extra cost (2025–2026, CAD) |
|---|---|---|---|
| 1. Define the open room | Before choosing a plan | A weekend | None |
| 2. Choose a suitable plan | Plan selection | Part of selection | None |
| 3. Pick the floor system | Early design | 1–2 weeks | About $1–$4 per sq ft of floor |
| 4. Choose the beam | Design | With step 3 | About $1,500–$12,000 depending on type |
| 5. Trace loads and footings | Design | With step 4 | Low if on paper |
| 6. Engineer's review | Before drawings are final | 1–3 weeks | About $800–$2,500 |
| 7. Permit and framing inspection | Permit and construction | Several weeks | Included in permit |
| 8. Finish the basement | After move-in or at build | Varies | Standard finishing only |