You lie in bed at 11 p.m. and can follow the hockey game playing in the basement, play by play. Upstairs, someone walks to the bathroom and every step travels through the ceiling. A toilet flushes and you hear the water run down the wall beside your headboard. This is how many new homes in Canada sound, and it has little to do with build quality. A wood-frame house is light and stiff, and sound moves through it easily.
The good news is that most of the fix is cheap if you plan it before the drywall goes up, and some of it costs nothing at all. Building codes in Canada set sound ratings between separate dwelling units, such as the two sides of a duplex or a house and its legal secondary suite, but generally not between rooms inside a single-family home. Inside your own house, quiet is your decision. Here is how to plan it, step by step.
Step 1: Learn the Two Numbers That Matter, STC and IIC
Before you talk to a designer or builder, know the two ratings they will use.
- STC (Sound Transmission Class) measures how well a wall or floor blocks airborne sound: voices, music, the TV. Higher is better. A plain interior 2x4 wall with 1/2-inch drywall on both sides and empty cavities is usually somewhere in the mid-30s. At that level you can understand normal speech through it. In the high 40s to low 50s, loud speech becomes a faint murmur.
- IIC (Impact Insulation Class) measures how well a floor-ceiling stops impact noise: footsteps, dropped toys, a chair dragged across the floor. Hard flooring over a wood subfloor with no ceiling treatment scores low. Carpet, underlay and a decoupled ceiling raise it a lot.
A rule of thumb: walls are mostly an STC problem and floors are mostly an IIC problem. Lab ratings are best-case numbers. On site, gaps around outlets, ducts and pot lights can cost you several points.
Time: an evening of reading. Cost: nothing.
Step 2: Fix the Layout First, Because It Is Free
The cheapest soundproofing is distance and buffer space. Changes on paper cost nothing. The same changes after framing cost thousands.
- Stack the bathrooms and laundry. Put the upper bathroom directly over the main-floor powder room or laundry, not over the living room. One vertical drain stack is quieter and cheaper than drains snaking across ceilings.
- Use closets as buffers. A row of clothes closets between two bedrooms, or between a bedroom and a bathroom, is one of the most effective sound barriers you can build. You get about two feet of air and hanging clothes for free.
- Keep the media room away from bedrooms. In a house with a full basement, put the rec room under the garage, kitchen or living room, not under the primary suite.
- Separate the primary suite. A main-floor primary bedroom with the kids' rooms upstairs, or a primary suite at the opposite end of a hallway, solves most bedtime noise conflicts.
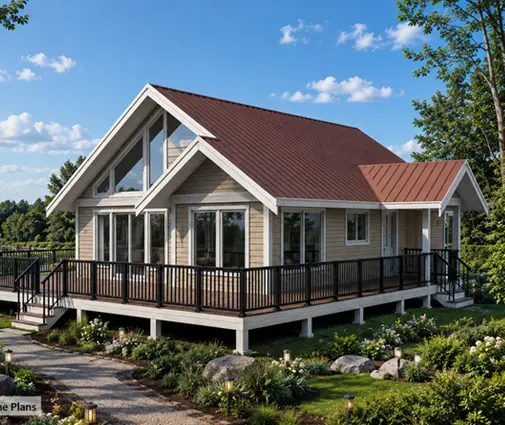
Look at real floor plans with this in mind. In a two-storey home like this 4-bedroom European-style plan with a basement, at 2189 sq ft, check what sits under each upstairs bedroom and where the basement family room lands. A larger home such as this 4907 sq ft two-storey with a full basement has enough room to put the media space far from the sleeping wing. A plan with the bedrooms grouped on one side, like this 4-bedroom Craftsman cottage at 3145 sq ft, makes a quiet wing easier to achieve.
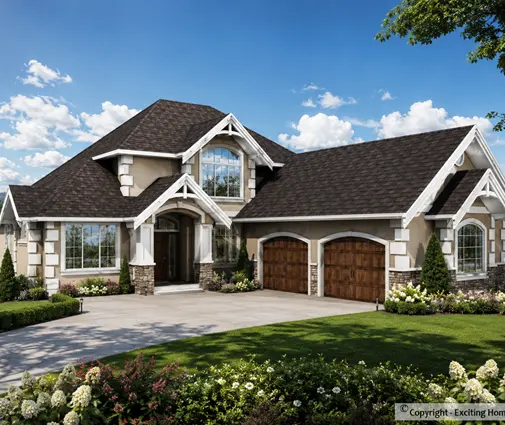
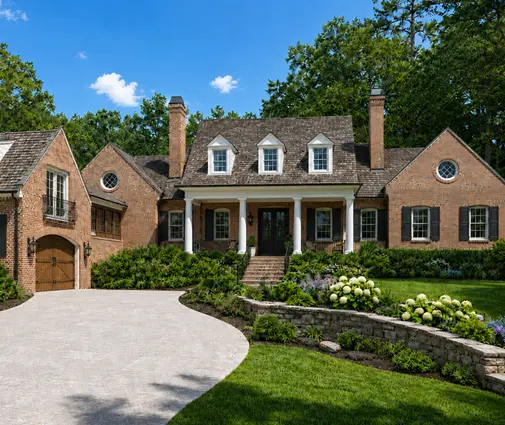
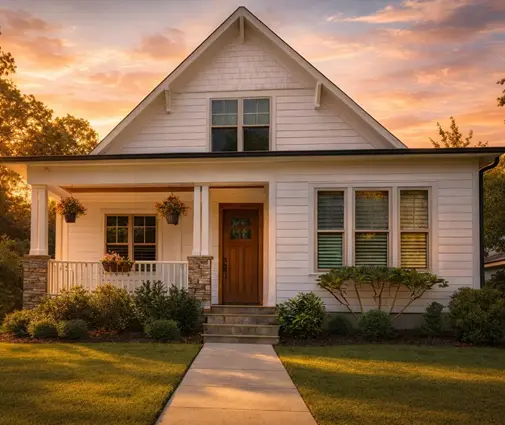
You can browse more layouts in the house plans with a basement and pay attention to where the stairs and bathrooms fall.
Time: a few hours with your designer during the planning stage. Cost: nothing, or a small fee for plan revisions.
Step 3: Build a Stiffer, Quieter Floor System
Squeaks and footstep boom start in the floor structure. Ask for these items during framing:
- Glued-and-screwed subfloor. Use subfloor adhesive on every joist and screws instead of nails only. This is standard practice for many Canadian builders, but confirm it in writing. It prevents the squeaks that make every step audible below. Expect a few hundred dollars per floor in extra materials and labour.
- Deeper or stiffer joists. A floor that bounces also transmits more sound. Engineered I-joists or open-web floor trusses sized for stiffness, not just the code minimum, feel and sound more solid. The premium is usually modest on a typical house. Your truss or joist supplier can quote it.
- Acoustic underlay under hard flooring upstairs, especially for laminate and engineered hardwood in bedrooms and hallways. Budget roughly $1 to $3 per sq ft for the underlay, 2025 to 2026 prices.
Time: decided before framing, no extra build time. Cost: roughly $500 to $3,000 for a typical two-storey home, depending on the upgrades.
Step 4: Fill Interior Walls with Mineral Wool
In Canada, interior partitions are usually left empty. Filling them with mineral wool batts made for sound control is the best-value upgrade in this guide. Combined with tight drywall work, it can raise a standard 2x4 wall several STC points and noticeably cuts voices and TV noise.
Where to use it:
- Walls around every bedroom, especially the primary bedroom
- Walls around bathrooms and the laundry room
- Walls around the basement media room and the home office
- Any wall that carries a drain pipe
| Room | Typical wall area | Approximate added cost, 2025–2026 (materials and install) |
|---|---|---|
| Secondary bedroom | 250–350 sq ft | $300–$600 |
| Primary bedroom | 350–500 sq ft | $450–$850 |
| Bathroom | 200–300 sq ft | $250–$500 |
| Basement media room | 400–600 sq ft | $500–$1,000 |
Costs vary by region and builder, so get a line-item quote. Seal the bottom plate and electrical boxes with acoustic sealant too. A $15 tube can save the work from being undone by a gap.
Time: about half a day per floor for the insulation crew. Cost: see the table above.
Step 5: Decouple the Ceilings That Matter
Mineral wool in the floor cavity helps with airborne sound, but footsteps travel through the joists straight into the drywall below. Resilient channel (metal strips that hang the ceiling drywall slightly off the joists) or sound isolation clips break that path and improve both STC and IIC.
Use it in two places: the basement ceiling under the main living area or bedrooms, and the main-floor ceiling under upstairs bathrooms. Upgrading to 5/8-inch drywall at the same time adds mass and helps further.
One warning: resilient channel works only if it is installed correctly. A single drywall screw driven into a joist "short-circuits" the system. Ask your drywaller if they have installed it before, and consider clips if they have not, since clips are more forgiving.
Time: adds roughly one day to drywall on a typical floor. Cost: roughly $2 to $5 per sq ft of ceiling installed with insulation, so about $1,500 to $4,000 for a 700 to 900 sq ft basement rec area.
Step 6: Quiet the Plumbing
Drain noise is the most common complaint in new homes, because plastic ABS pipe is light and carries the sound of rushing water.
- Cast iron for the main stack is the quietest option, but it is the most expensive: often $1,500 to $4,000 more than ABS for a typical house, depending on the plumber.
- Insulated ABS is the budget route: wrap the stack and horizontal drains in mineral wool or an acoustic pipe wrap and fill the cavity around them. Expect about $200 to $600 per stack.
- Use cushioned pipe clamps so pipes do not touch framing directly, and ask about water hammer arrestors near fast-closing valves such as the dishwasher and washing machine.
- Keep drains out of bedroom walls wherever possible. This goes back to Step 2.
Taller homes need more care because water falls further. In a three-level plan like this 4-bedroom Modern Craftsman at 2347 sq ft or this 4-bedroom New American design at 2359 sq ft, check that the bathrooms line up vertically and the stack runs through a closet or hallway wall, not a bedroom wall.
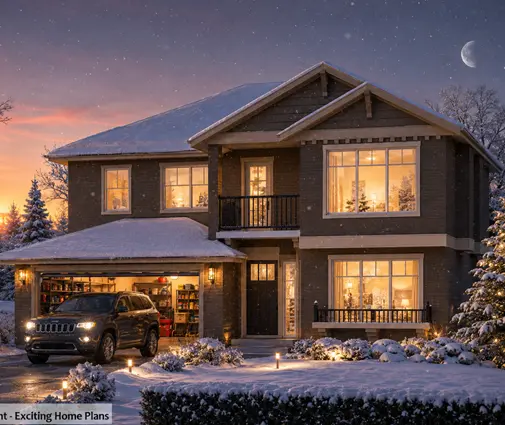


With a large family, plumbing noise adds up quickly. In a 5-bedroom contemporary plan at 2427 sq ft, several bathrooms run at bath time. Insulating the drains there pays off every evening.
Time: no extra time if planned at rough-in. Cost: $200 to $4,000 depending on the choice.
Step 7: Upgrade Doors and Seal the Gaps
A great wall with a hollow-core door is a weak wall. Sound takes the easiest path.
- Solid-core doors for the bedrooms, bathrooms, office and media room typically cost $150 to $400 more per door than hollow-core, depending on style.
- Perimeter weatherstrip and a door sweep or automatic drop seal on the media room and primary bedroom: $50 to $250 per door.
Because of HRVs and forced-air heating in Canadian homes, rooms need a return-air path when the door is closed. That is why interior doors are often undercut. Ask your HVAC designer for transfer grilles with a bend or lined jumper ducts instead of a big undercut. Air can still move while sound has to turn corners.
Time: no extra build time. Cost: roughly $200 to $650 per door for the upgrade and seals.
Step 8: Place and Isolate the Mechanical Equipment
Your furnace or heat pump air handler, HRV and water heater run day and night. Place them in the basement mechanical room away from the space under the bedrooms. Ask for flexible duct connectors at the air handler, anti-vibration pads under equipment and an insulated mechanical room wall with a solid door. Keep the outdoor heat pump unit away from bedroom windows and from the neighbour's bedroom side. Check your municipality's noise and setback rules for its location.
Time: part of HVAC design, about an hour of discussion. Cost: roughly $300 to $1,000 for pads, connectors and the room wall.
Timeline and Budget at a Glance
| Step | When to do it | Approximate cost (CAD, 2025–2026) |
|---|---|---|
| 1. Learn STC and IIC | Before choosing a plan | $0 |
| 2. Quiet layout | Plan selection and design | $0 to small revision fee |
| 3. Floor system | Before framing order | $500–$3,000 |
| 4. Mineral wool in walls | After rough-in, before drywall | $250–$1,000 per room |
| 5. Decoupled ceilings | Drywall stage | $2–$5 per sq ft |
| 6. Plumbing | Design and plumbing rough-in | $200–$4,000 |
| 7. Doors and seals | Interior finishing | $200–$650 per door |
| 8. Mechanical isolation | HVAC design and install | $300–$1,000 |
A sensible package for a typical 2,000 to 2,500 sq ft family home is a quiet layout, mineral wool around the bedrooms and bathrooms, insulated drains, a decoupled basement ceiling and solid-core bedroom doors. In 2025 to 2026 that package often lands somewhere around $4,000 to $10,000. If you plan a legal secondary suite, the code does set sound and fire separation requirements between the units. Confirm the current rules with your municipality or a designer before you finalize the plan. If you are still choosing a layout, start with the two-storey house plans and read every floor with your ears as well as your eyes.