Here is a common mistake. The drawings say "R-60 blown-in attic insulation", the inspector signs off, and everyone assumes the whole ceiling is covered. Then the first cold snap arrives, and frost lines appear along the bedroom ceilings near the outside walls. By February there is an ice dam over the eavestrough. The insulation was there, just not where it mattered most.
A bungalow puts the whole house under one roof, so per square foot of living space it has more attic than any other house shape. That makes the ceiling the most important part of the building envelope, and the edge of that ceiling, where the trusses sit on the walls, is the weakest spot. Below are eight myths about raised-heel trusses, attic insulation and ice dams, and the facts that should guide your plans and your builder's quote.
Myth 1: If the attic is rated R-60, the whole ceiling is R-60
Fact: With a standard truss, the top and bottom chords meet just above the wall plate, leaving only about 4 to 5 inches of height at the outside edge of the wall. Reaching R-60 takes roughly 16 to 20 inches of blown cellulose or fibreglass, depending on the product. At the eaves you might get R-10 to R-15, and the insulation slowly thickens over the next few feet toward the full depth. A raised-heel truss (also called an energy-heel truss) lifts the top chord so there are 12 to 18 inches or more above the wall plate. Insulation can then run at full depth right over the exterior wall. Check the required ceiling R-value for your climate zone with your municipality or designer. Under the National Building Code and the provincial codes it varies a lot from the coast to the North.
Myth 2: Thin insulation at the edges is a tiny area, so it doesn't matter
Fact: Do the math on a typical bungalow. Picture a 28-foot-deep house where the first 3 feet along each long wall are under-insulated. That is more than 20% of the ceiling, before you count the ends of a hip roof, where the problem wraps around all four sides. On a compact plan like this 1,292 sq ft three-bedroom bungalow with a single garage, the perimeter is a large share of the total ceiling. Heat follows the easiest path, so a strip of R-12 loses far more than its share. It is also where the top plates, drywall corners and electrical penetrations sit.


Myth 3: Raised-heel trusses are a costly custom upgrade
Fact: They are an ordinary product for Canadian truss plants. The truss designer simply sets a taller heel. In 2025–2026, many builders quote roughly $15 to $40 extra per truss. A 1,600 sq ft bungalow at 24 inches on centre needs around 30 to 40 trusses. Add taller blocking or heel panels, a little more siding or fascia, and sometimes a slightly taller soffit, and the total usually lands between about $800 and $2,000. Get real quotes, because lumber prices and regions differ. The cheapest time to decide is before the trusses are ordered. Once they are on the walls, nothing can be done at the eaves except costly spray foam.
Myth 4: Raised heels change the look of the house
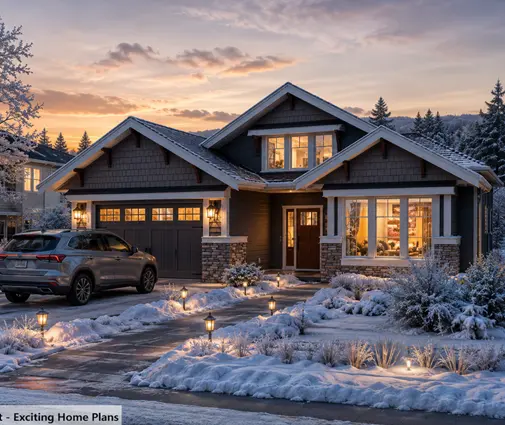
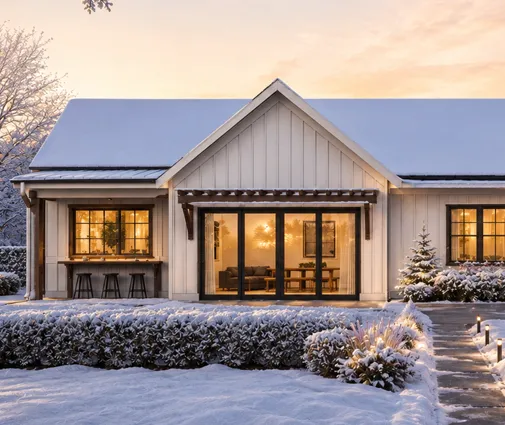
Fact: The extra height at the wall can be hidden in a deeper fascia, a frieze board, or by dropping the soffit slightly. Most visitors never notice. It does matter more on low-slope roofs, where the space near the eaves is tight even with good trusses. The Prairie-style 1,634 sq ft three-bedroom with a 2.5-bath layout or the 1,706 sq ft modern farmhouse ranch are the kinds of designs where your designer should specify the heel height and roof slope together. Browsing one-storey house plans, look at the roof pitch shown on the elevations and ask early how much heel it allows.
Myth 5: Soffit vents are enough; baffles are optional
Fact: Without baffles, blown insulation slides into the soffit and blocks the air path, and wind blowing through the soffit cools the top of the insulation, a problem known as wind washing. Install a baffle (a rigid or foam vent chute) in every truss bay. It should run from the top plate up past the depth of the insulation and leave a clear channel of a couple of inches under the roof sheathing. Fit a solid wind dam at the plate as well. Attic venting is typically sized as a ratio of the insulated ceiling area, often 1/300, split between the soffits and the roof or ridge vents. Your designer or the local code will confirm the number. Raised heels make baffles easier to install, because there is room for both the insulation and the air channel.
Myth 6: The vapour barrier is about moisture, so a few holes don't matter
Fact: In a Canadian ceiling the polyethylene, sealed at every joint with acoustical sealant, also does the job of an air barrier. Warm, humid air leaking through gaps carries far more heat and moisture into the attic than diffusion ever could. That moisture becomes frost on the underside of the sheathing. Keep the ceiling as simple as possible:
- Avoid recessed pot lights in the insulated ceiling, or use airtight IC-rated housings sealed to the poly.
- Run plumbing stacks, wiring and bath fan ducts through sealed gaskets or boots, and insulate any duct that crosses the attic.
- Keep HRV ducting and the air handler out of the attic where possible. If ducts must go there, bury them deep in insulation.
- Seal the top plates of interior walls, which are easy to forget.
Many municipalities now ask for a blower-door test, especially in British Columbia under the Energy Step Code and in Ontario under the energy efficiency packages. A tight ceiling is often the easiest place to earn those results.
Myth 7: The attic hatch goes wherever the framer finds a spot
Fact: An attic hatch in a bedroom closet or hallway is a weak, leaky hole in your best-insulated surface. If the plan has an attached garage, put the access in the garage ceiling instead, or use a gable-end access from outside. If the hatch has to be indoors, use an insulated, weatherstripped hatch with a latch that compresses the seal. Build a dam around it so blown insulation does not fall in when it is opened. The 1,649 sq ft four-bedroom Craftsman bungalow with a basement and two-car garage is a good example of a layout where the garage ceiling is the natural spot. Mark it on the drawings so it is not improvised on site.
Myth 8: Ice dams are a roofing problem, and heating cables fix them
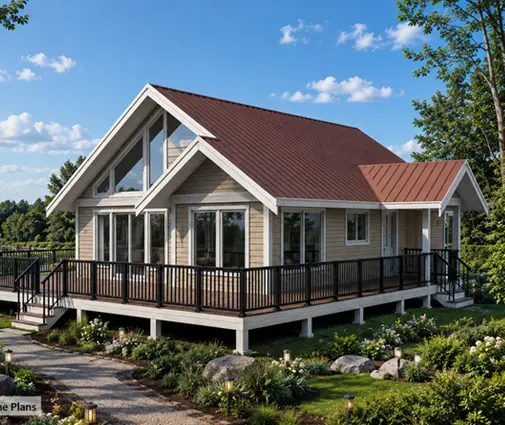
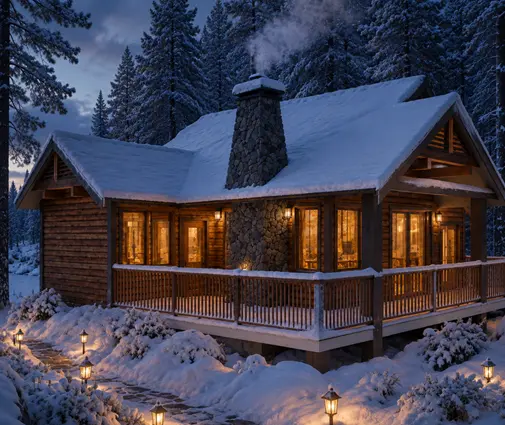
Fact: Ice dams form when heat escaping through the ceiling melts snow on the upper roof, and the water refreezes over the cold eave. The fix is in the attic: air sealing first, then full insulation over the walls, then good ventilation. Eave protection membrane under the shingles is required in most snowy regions and limits the damage when ice does form. Heating cables treat the symptom and use power all winter. Small houses face the same physics. A 750 sq ft two-bedroom cottage or a 1,085 sq ft rustic cabin in snow country benefits as much from a raised heel as a larger home, and often more, because its short trusses leave so little height at the eave.

Bonus myth: It never pays back
Fact: The heating savings alone are modest but real. For a mid-size bungalow in a cold climate, filling the perimeter strip to full depth might save roughly $60 to $200 a year in 2026, depending on your fuel, your heat pump or furnace, and your climate zone. That gives a simple payback of somewhere around 5 to 20 years. The bigger returns are harder to put in a spreadsheet: no frost lines on the ceiling, no ice-dam leaks into the walls, and warmer bedroom corners. You only get one chance to choose the truss, and the house will stand for decades.
When you pick a plan, whether it is a compact cottage or something in the 1,500–2,000 sq ft range, ask your designer and truss supplier for four things in writing. The heel height. The target R-value at the outside face of the wall. Baffles in every bay. A hatch location outside the heated ceiling. Then confirm the current insulation and airtightness requirements with your municipality. Those details cost little on paper and make a big difference in how your bungalow feels every January.