The most common insulation mistake in Canadian new builds is reading the label on the batt. An R-20 batt in a 2x6 wall does not give you an R-20 wall. Once the studs, plates and headers are counted, the whole assembly usually lands somewhere around R-15 to R-17. Building codes in Canada now work with this effective value, often written as RSI in metric, and that changes how you should plan walls, attics and basements from the first sketch.
This guide works through the decisions in order, from finding your climate zone to checking whether the extra insulation pays for itself. The figures are typical ranges for 2025 and are meant for planning. Provincial codes differ and are updated often, so confirm the exact requirements with your municipality's building department, your designer or an energy advisor before you finalize drawings.
Step 1: Find Your Climate Zone
The National Building Code (NBC) groups Canada into climate zones by heating degree-days (HDD), which measure how cold a place is over a full year. The zones are 4, 5, 6, 7A, 7B and 8. Rough examples:
- Zone 4: coastal BC, including Vancouver and Victoria (under about 3,000 HDD)
- Zone 5: southern Ontario around Toronto and Windsor, the BC interior valleys
- Zone 6: Ottawa, Montreal, Quebec City, most of the Maritimes, Prince George
- Zone 7A: Calgary, Edmonton, Regina, Saskatoon, Winnipeg, northern Ontario
- Zone 7B: Whitehorse, northern Prairies, Labrador
- Zone 8: Yellowknife, Iqaluit and the far North (7,000 HDD and up)
Time: under an hour. Cost: free. The HDD value for your town appears in the climate data appendix of your provincial code, and the building department will confirm it.
Step 2: Learn Your Code Minimum and Compliance Path
Most of Canada bases its energy rules for houses on Section 9.36 of the NBC. Ontario uses its own OBC with the SB-12 supplementary standard. BC uses the BC Building Code together with the Energy Step Code, and many BC municipalities require a higher step than the provincial minimum. Quebec has its own energy requirements in its construction code. Newer national editions add performance tiers that some provinces are adopting in stages.
There are usually two ways to comply. The prescriptive path sets a minimum value for each assembly. The performance path models the whole house, which lets you trade a little wall insulation against better windows or a heat pump. The table shows approximate prescriptive effective minimums under recent NBC editions for houses without an HRV. Your province may differ, and installing an HRV can lower some values.
| Zone | Above-grade walls | Attic | Foundation walls | Window U-value (max) |
|---|---|---|---|---|
| 4 | about R-16 (RSI 2.78) | R-39 (RSI 6.91) | about R-11 (RSI 1.99) | about 0.32 (1.80) |
| 5 | about R-17 (RSI 2.97) | R-49 (RSI 8.67) | about R-17 (RSI 2.98) | about 0.32 (1.80) |
| 6 | about R-17 (RSI 2.97) | R-49 (RSI 8.67) | about R-17 (RSI 2.98) | about 0.28 (1.60) |
| 7A | about R-17 (RSI 2.97) | R-59 (RSI 10.43) | about R-20 (RSI 3.46) | about 0.28 (1.60) |
| 7B and 8 | about R-17.5 (RSI 3.08) | R-59 (RSI 10.43) | R-20 to R-22.5 | about 0.25 (1.40) |
Time: one to two weeks with your designer. Cost: energy modelling by a registered energy advisor typically ran about $800 to $2,500 in 2025. It is required for Step Code homes and for the performance path.
Step 3: Choose Your Wall Assembly
Most new homes start with 2x6 framing at 16 or 24 inches on centre. There are two serious ways to go past the code minimum.
2x6 with exterior rigid insulation
You add 1.5 to 3 inches of mineral wool or foam board outside the sheathing, then strap and clad over it. The continuous layer cuts thermal bridging through the studs and keeps the sheathing warmer, which lowers condensation risk. Expect about R-22 to R-30 effective. The trade-offs are deeper window bucks and fastening details that siding crews need to know.
Double-stud wall
Two stud walls are framed with a gap between them, giving 10 to 12 inches in total, and the cavity is filled with dense-pack cellulose or batts. This gives about R-35 to R-40 effective using familiar framing skills and cheap insulation. It also uses floor area: each foot of exterior wall takes up 4 to 6 extra inches. The outer sheathing runs cold, so careful airtightness and a vapour-open exterior matter.
| 2x6 + 2" exterior mineral wool | Double-stud 12" cellulose | |
|---|---|---|
| Effective R-value | about R-24 to R-26 | about R-35 to R-40 |
| Extra cost over code wall (2025) | about $5 to $9 per sq ft of wall | about $6 to $12 per sq ft of wall |
| Floor area lost | none inside | noticeable on small plans |
| Best fit | Zones 4 to 6, Step Code upper steps | Zones 7A to 8, near-net-zero goals |
Time: decide before construction drawings are finished, because wall thickness changes the foundation and window details.
Step 4: Plan the Attic and Roof
The attic is the cheapest place to add R-value. Blown cellulose or fibreglass is inexpensive, and space is rarely a limit. Going from R-50 to R-60 or R-70 often adds only about $1 to $2 per square foot of ceiling. The details that matter more than the depth are raised-heel ("energy heel") trusses, so the insulation keeps full depth over the exterior walls, and a sealed ceiling plane with no leaky pot lights or attic hatch. Vaulted and cathedral ceilings are harder to insulate and should be designed with the roof assembly in mind.
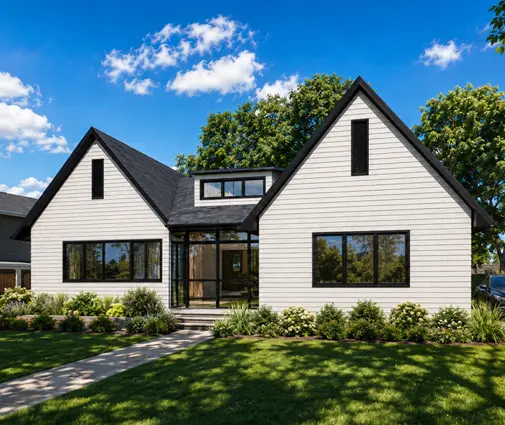
Single-storey homes have a large attic relative to their floor area, so this step affects them most. A compact bungalow like this 3-bedroom Craftsman of 1657 sq ft with a basement gets a lot of value from a deep, well-sealed attic. A longer ranch such as the 1993 sq ft modern farmhouse bungalow spreads more ceiling and wall over the same living space, which raises heat loss.
Time: part of truss design, one to three weeks lead time. Cost: energy heels add little to truss cost when ordered at the start.
Step 5: Insulate the Basement and Slab
Frost depth makes full basements standard in most of Canada, and an uninsulated basement can be one of the largest heat losses in the house. Common choices:
- Interior framed wall with batts and a rigid foam layer against the concrete. Typical result is R-17 to R-24, and it is the usual code approach.
- Insulated concrete forms (ICF), which give about R-22 to R-24 continuous, with the insulation built into the wall itself.
- Under-slab rigid insulation, from 2 inches (about R-10) up to 4 inches (R-20) in cold zones. It costs roughly $2.50 to $5 per sq ft of slab installed in 2025. It is required in some cases, such as in-floor heating, and recommended almost everywhere else.
If you plan a finished basement suite, insulate well from the start, because opening walls later is expensive. Plans built around a lower level, like this 6-bedroom bungalow of 1568 sq ft or the 5-bedroom Craftsman of 1692 sq ft, place bedrooms below grade, so comfort there depends on this layer. You can see more options in the house plans with a basement.


Time: decided before excavation. Cost: going from code to R-24 walls and R-10 under the slab often adds about $4,000 to $9,000 on a typical basement.
Step 6: Select Windows and Doors
Windows lose far more heat per square foot than any wall. Good double-pane low-e units meet code in zones 4 and 5. Triple-pane units with U-values around 0.18 to 0.22 are worth considering in zones 6 and colder. In 2025, triple glazing typically cost about 10 to 25 percent more than comparable double glazing. Triple glazing also keeps the inside glass warmer, so you get less condensation and fewer cold drafts by large windows.
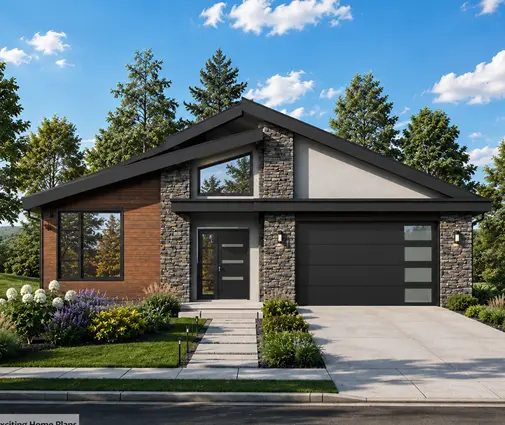
Orientation matters as much as the spec. Put most of the glass to the south, keep the north side modest, and add shading on the west. A design with a modern mountain look such as this 5-bedroom, 1492 sq ft plan with a basement can work very well if the large glazed walls face the sun.
Time: order 8 to 16 weeks ahead in busy seasons.
Step 7: Air Seal, Ventilate and Size the Heating
Insulation underperforms in a leaky house. Plan a continuous air barrier and get a blower-door test at the pre-drywall stage, which typically costs about $300 to $600. Recent Canadian new builds commonly test between 1.5 and 3.5 air changes per hour at 50 Pa. Step Code and high-performance homes often aim lower. A tight house needs mechanical ventilation, and an HRV (or an ERV in some climates) usually costs about $3,000 to $6,000 installed.
With a better envelope, heating loads drop enough that a smaller cold-climate heat pump may be enough. Ask for a room-by-room load calculation instead of a rule-of-thumb size.
Step 8: Compare Extra Cost With Heating Savings
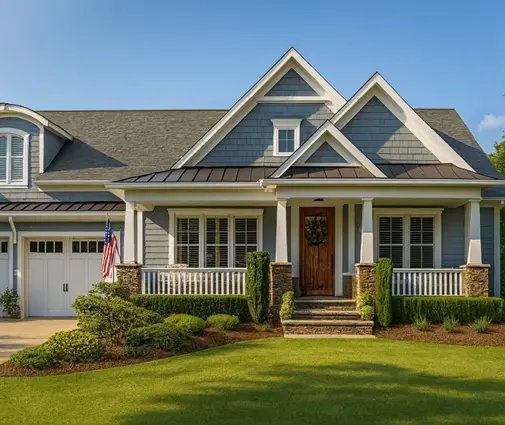
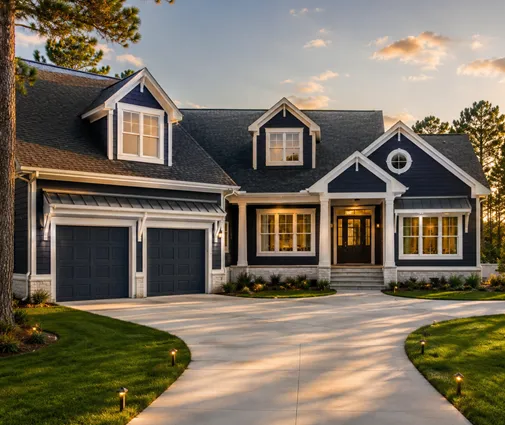
Here is a rough example for a 2,500 to 2,800 sq ft two-storey home in zone 6 or 7A, such as a 3-bedroom modern Craftsman of 2663 sq ft or the 4-bedroom, 2827 sq ft two-storey. In 2025, going from code minimum to R-25 walls, an R-60 attic, R-24 basement walls, R-10 under the slab and triple glazing often added about $15,000 to $30,000 to the build. Heating energy use can fall by roughly 25 to 40 percent. On an annual heating bill of $2,000 to $3,500, that is about $500 to $1,400 a year, depending on fuel and rates.
The payback is long if you look at it narrowly. But envelope upgrades last the life of the house, while mechanical systems get replaced. Upgrades also allow smaller heating equipment, and they make the home more comfortable. Rebates and incentive programs change often, so check what your province and utility offer when you build. Two-storey homes have less roof and foundation per square foot of floor than bungalows, so they reach high performance more cheaply. You can browse two-storey house plans or compare them with one-storey designs.

Timeline at a Glance
| Step | When | Typical duration | Typical cost (2025, CAD) |
|---|---|---|---|
| 1. Climate zone | Before choosing a plan | 1 hour | Free |
| 2. Code and compliance path | Design stage | 1 to 2 weeks | $800 to $2,500 modelling |
| 3. Wall assembly | Before construction drawings | 1 to 2 weeks | $5 to $12 per sq ft of wall extra |
| 4. Attic and trusses | Truss order | 1 to 3 weeks | $1 to $2 per sq ft extra |
| 5. Basement and slab | Before excavation | Decided at permit | $4,000 to $9,000 extra |
| 6. Windows | Order at framing start | 8 to 16 weeks lead | 10 to 25% premium for triple |
| 7. Air sealing and HRV | Framing to pre-drywall | 2 to 4 weeks | $3,300 to $6,600 |
| 8. Cost vs savings | Before the permit application | A few days | Included in modelling |