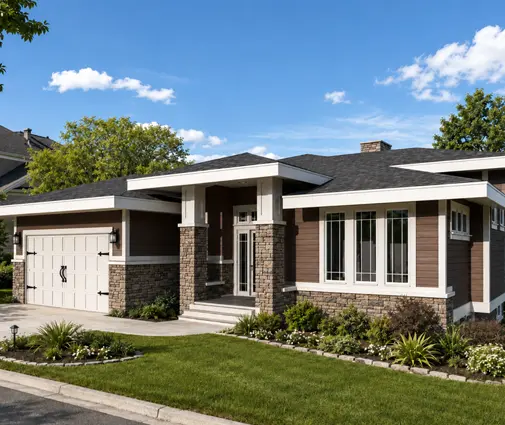
The most common passive solar mistake in Canada happens before anyone draws a line. A family buys a lot, picks a house plan they love, and sets it parallel to the street. If the street happens to run north–south, the big living room windows end up facing east or west. The house then gets morning glare, afternoon overheating in July and very little useful sun in January.
In Canada the winter sun sits low, roughly 15 to 25 degrees above the horizon at noon in December for most of the populated south. That low angle is good news. Sunlight comes deep into a south-facing room, while a well-sized roof overhang keeps out the high summer sun. You do not need a special "solar house" to use it. You need the right plan, turned the right way, with the right windows. The checklist below follows the order in which those decisions are usually made.
Stage 1: Read the lot before you choose the plan
- True south: find it with a site survey or a mapping tool, not a phone compass. Magnetic declination in Canada can be 10 degrees or more, and the direction depends on where you live.
- Orientation tolerance: aim for the long side of the house within about 15 to 20 degrees of true south. Beyond 30 degrees, the winter gain drops and the summer gain from the west rises.
- Winter shading: check what blocks the low sun between about 9 a.m. and 3 p.m. in December. On a suburban lot this could be a neighbour's two-storey home. On an acreage it is usually a stand of spruce or a ridge.
- Setbacks and bylaws: confirm with your municipality how far you can rotate or shift the house on the lot. Front-yard setbacks and garage access often limit the options more than people expect.
- Slope: a south-facing slope is ideal for a walkout basement that gets direct sun.
Advice: deciduous trees on the south side are a gift. They shade in summer and let most of the light through once the leaves drop. Evergreens to the south are a problem, but the same evergreens to the north and northwest make an excellent windbreak. If you are still choosing between two lots, the one with an open southern exposure is worth more to your heating bill than a slightly bigger yard.
Stage 2: Size the south glazing, and do not overdo it
- Glazing ratio: as a starting rule of thumb, south windows equal to about 7 to 12 percent of the heated floor area work without extra thermal mass. More than that can overheat the house on sunny days and lose heat at night.
- Solar heat gain coefficient (SHGC): ask for a higher SHGC on the south windows so they let the sun's heat in. Use a lower SHGC on west windows to cut summer overheating.
- Triple glazing: in most of Canada, triple-glazed, argon-filled units are now common on energy-focused builds. Check that the south units still have a reasonable SHGC, because some low-e coatings block much of the useful gain.
- East, west and north: keep them modest. North windows are for light and views only.
- Code compliance: the energy tiers of the National Building Code, Ontario's OBC, Quebec's rules and the BC Energy Step Code treat windows as part of the whole-house performance. Your energy advisor should model the plan before you finalize window sizes.
Advice: plans from the large windows collection are great candidates, but only if the glass faces the right way on your lot. A wall of glass looking at the view to the west is the classic overheating trap. Ask your designer to run the energy model with the actual orientation. It often shows that one smaller west window and one larger south window give the same light with a lower bill.
Stage 3: Get the overhangs right
- Overhang depth: at southern Canadian latitudes, a south eave of roughly 2 to 3 feet usually shades a standard-height window at summer noon and still lets the winter sun under it. Taller windows need a deeper overhang or a higher window head.
- Window head height: the gap between the top of the window and the soffit matters as much as the overhang. Keep it small and consistent.
- Shoulder seasons: the sun's angle in late August matches mid-April, but August is much hotter. Plan for exterior shading or a pergola with removable cover, not a fixed overhang alone.
- Snow load: deeper overhangs carry snow. Your framer or engineer should size them for the local snow load, which varies a lot between, say, Windsor and the Rockies.
- West sun: overhangs barely help on the west because the evening sun is low. Use trees, a covered porch or fewer windows there.
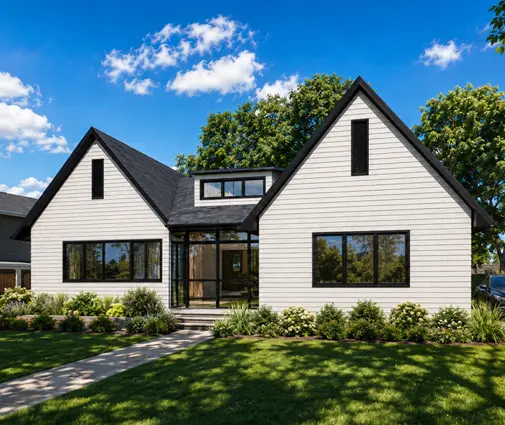
Advice: many plans drawn for warmer climates have shallow eaves or none at all. Modern and Scandinavian designs with clean rooflines often fall in this group. A one-storey Scandinavian-modern plan of 2168 sq ft with 3 bedrooms can work very well for passive solar, but expect to add a deeper south overhang or a canopy over the main windows.
Stage 4: Decide where the thermal mass goes
- Slab in the sun: a concrete floor directly behind the south glass stores daytime heat and releases it in the evening. The sun has to reach it, so carpet or thick rugs cancel most of the benefit.
- Insulation under the slab: a slab-on-grade or a basement slab must sit on rigid insulation. Otherwise it sends the stored heat into the ground.
- Basement reality check: a full basement is common in Canada because of the frost depth, but a buried basement slab gets no sun. It only acts as solar mass in a walkout with south-facing windows.
- Interior mass: tile on the main floor, a masonry feature wall or a stone fireplace surround in the sunlit room all add useful mass in a wood-frame house.
- Ventilation: an HRV and a heat pump spread the gain through the house and handle the cloudy weeks. Passive solar supplements the mechanical system. It does not replace it.
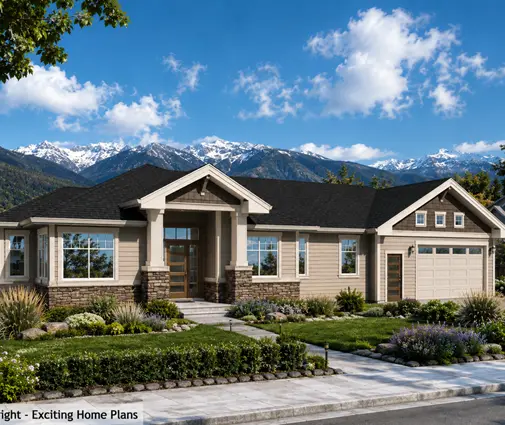
Advice: if your lot slopes to the south, look at plans with a basement that can be built as a walkout. A modern mountain bungalow of 1603 sq ft with 3 bedrooms and a basement or a 1577 sq ft craftsman ranch with a basement fits that approach. The lower level then becomes bright, warm living space instead of a dark storage floor. The basement collection is a good place to compare more options.


Stage 5: Check the layout, then mirror if you need to
- Living spaces south: the kitchen, the family room and the dining area belong on the sunny side, because you use them in daylight.
- Buffers north: garages, closets, laundry, the mudroom, stairs and bathrooms work well along the north wall, where they shield the living space from cold winds.
- Bedrooms: east suits morning light. South works too in a bungalow, but upstairs south bedrooms in a two-storey home can overheat in summer.
- Depth of the plan: sun reaches about 15 to 20 feet into a room, so a long, shallow house uses it better than a deep, square one.
- Mirroring: if the plan is right but the garage lands on the south, ask for a mirrored (reversed) version before you order construction drawings. It is far cheaper than changing the walls later.
Advice: a single-storey layout spreads the living space along one long wall, which is why bungalows are so easy to adapt. A 4-bedroom, 1714 sq ft modern craftsman bungalow with a basement or a 3-bedroom farmhouse bungalow of 1993 sq ft shows how a two-car garage can sit at one end, the end you turn north. For a two-storey family home, look at the 2589 sq ft modern farmhouse with 4 bedrooms. The mirroring test is the same: put the great room on the sunny side and the garage on the cold side. Browse more one-storey plans if your lot is wide enough for a long south wall.

The most common mistakes
- Setting the house parallel to the street without checking where true south is.
- Adding too much south glass with no thermal mass, which makes the house overheat on sunny days.
- Choosing low-SHGC windows everywhere, which blocks the winter gain you designed for.
- Copying shallow eaves from a plan drawn for a warmer climate.
- Expecting a buried basement slab to store solar heat.
- Ordering construction drawings before deciding whether the plan should be mirrored.
- Skipping the energy model and the conversation with the municipality about your province's current code requirements.