A common mistake: a family buys a lot, picks a house plan, gets a framing quote, and only then hears from the building department that the house must hit a specific energy target. By that point the window schedule is fixed, the basement layout is set, and every fix costs money. Most of the confusion comes from a handful of myths about EnerGuide ratings and the newer tiered energy requirements. Here is what is true, and what it means for the plan you are about to choose.
Myth 1: An EnerGuide label is a pass-or-fail grade
Fact: The EnerGuide rating for a new home is an estimate of how much energy the house will use in a typical year, shown in gigajoules per year (GJ/year). Lower is better. The label also shows a reference house: a similar home built to the minimum energy requirements in your region. That comparison is the useful part. A 2,800 sq ft two-storey home might be rated at, say, 90 GJ/year while its reference house sits at 120 GJ/year, which tells you it performs about 25% better than code minimum. The number covers space heating, cooling, hot water, ventilation, lighting and appliances under standard assumptions, so your actual bills will depend on how your family lives in the house.
Myth 2: The energy advisor shows up when the house is finished
Fact: The work starts on paper. A registered energy advisor takes your drawings, wall and roof assemblies, window specifications, foundation details and planned equipment, and models the house in software approved by Natural Resources Canada. This pre-construction model shows whether the design reaches the target and which changes give the best return. On site, the advisor usually runs a blower door test to measure airtightness, often once mid-construction (before drywall, when leaks are still easy to seal) and again at completion. The final EnerGuide label is issued after that last test, based on what was actually built.
Myth 3: There is one national energy standard, so every province is the same
Fact: The 2020 National Building Code introduced five performance tiers for houses. Tier 1 matches the earlier baseline, and each higher tier requires the home to use less energy than the reference house: roughly 10% for Tier 2, 20% for Tier 3, 40% for Tier 4 and 70% for Tier 5. But the National Building Code is a model code. Each province decides what to adopt, when, and at which tier, and some let municipalities go further. As of 2025 the picture looked roughly like this:
| Province | Approach to house energy efficiency | What to check |
|---|---|---|
| British Columbia | BC Energy Step Code, with a province-wide minimum step for Part 9 homes and many municipalities requiring higher steps | The step your municipality requires, and any local carbon requirements |
| Ontario | Ontario Building Code with its own energy compliance packages (SB-12) rather than the national tier labels | Which compliance package or performance path your designer is using |
| Quebec | Quebec Construction Code with its own energy efficiency chapter for houses | Current provincial requirements and any municipal additions |
| Other provinces and territories | Adopting the 2020 NBC energy provisions on their own timelines and at different tiers | The tier in force on the date you apply for your permit |
These requirements have been changing every few years, so confirm the rule that applies to your lot with your municipal building department or your designer before you finalize a plan.
Myth 4: Reaching a higher tier just means thicker insulation
Fact: Insulation helps, but the higher tiers are reached through a combination. Airtightness is often the cheapest gain: a carefully sealed wood-frame house with good air barrier details can drop its energy use noticeably without changing a single wall assembly. Windows matter a lot, because even a good triple-pane unit loses far more heat than an insulated wall. Mechanical systems count too: a cold-climate heat pump, an HRV or ERV with good heat recovery, and an efficient water heater can carry a house from Tier 2 to Tier 3 territory. An energy advisor's model shows which mix is cheapest for your design, which often surprises people who assumed R-values were the only lever.
Myth 5: A bungalow is always the most efficient choice
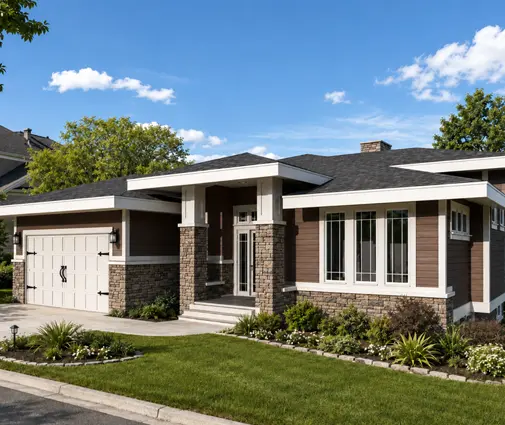
Fact: What matters is how much exterior surface wraps each square foot of living space. A simple two-storey box puts the same floor area under a smaller roof and on a smaller foundation, so it usually loses less heat per square foot than a long single-storey home. A compact bungalow can still do very well. A design like this 1,207 sq ft three-bedroom bungalow with a basement keeps the footprint tight, and this 1,669 sq ft four-bedroom Craftsman bungalow doubles its usable space by stacking bedrooms or a rec room below grade. A sprawling ranch is a different story: a home like this 4,167 sq ft single-storey Modern Mountain ranch has a lot of roof and perimeter to insulate, so plan for a stronger envelope if you want a higher tier.


For two-storey options, a straightforward footprint like this 2,243 sq ft three-bedroom Cape Cod style home or this 2,905 sq ft two-storey Modern Farmhouse gives the energy model a good starting point. You can browse more two-storey house plans with that in mind.
Myth 6: The basement does not count toward the energy rating
Fact: With frost depths that make deep foundations standard across much of Canada, the basement is part of the heated envelope in most new homes, and the energy model treats it that way. Foundation walls and the slab lose heat to the ground, and the above-grade portion of basement walls behaves like any other exterior wall. The good news is that basement space is cheap floor area: adding a finished lower level, as in this 1,556 sq ft five-bedroom plan with a basement, increases living space without adding roof or much exterior wall. Ask your designer how the foundation will be insulated (inside, outside or under the slab), because that detail can shift the rating more than people expect. Our house plans with basements are a good place to compare layouts.
Myth 7: Large windows will always sink the rating
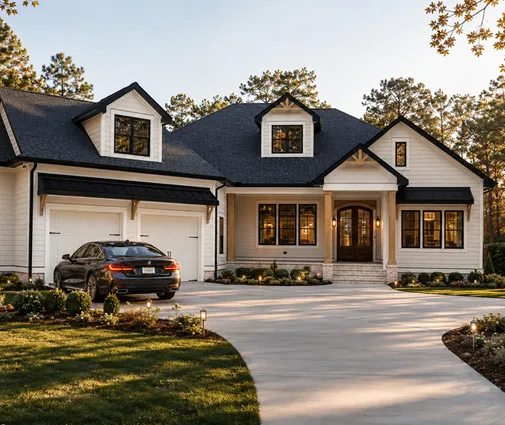
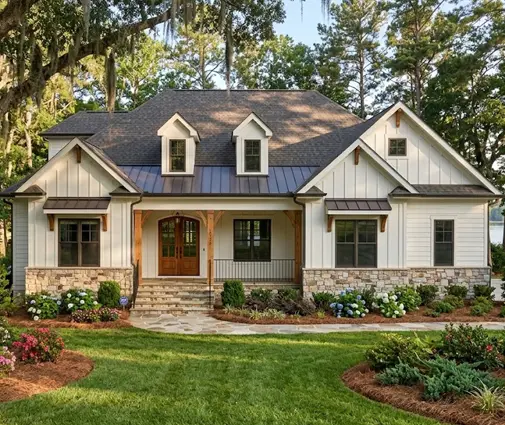
Fact: Window area does push energy use up, but orientation and quality decide how much. South-facing glass brings in useful winter sun; large north and west windows mostly lose heat or cause summer overheating. Many designs with generous glazing still reach a good tier with better-performing windows and smart placement. If you love the look of homes with large windows, have the energy advisor model the window schedule before you order anything. Moving some glass from the north wall to the south wall is free on paper and expensive after framing.

Myth 8: You only need an energy advisor for rebates, and they cost a fortune
Fact: In many jurisdictions, an energy model and an airtightness test are the normal way to show compliance with a performance path or a higher tier, so the advisor is part of getting the permit, not an optional extra. Where a prescriptive path is still allowed, you may not strictly need one, but the model often saves money by showing where you are overbuilding. In 2025, a pre-construction evaluation plus blower door testing for a single detached home typically cost somewhere around $800 to $2,000 CAD, depending on the region, the size of the house and the number of tests. Get quotes from advisors registered with a licensed service organization, and ask what is included: plan review, upgrade recommendations, mid-construction test, final test and the EnerGuide label.
Conclusion
The energy target for a new Canadian home is decided early, mostly by choices that come with the house plan: the shape, the number of storeys, how much glass faces which way, and how the basement is handled. Before you commit, find out which tier or step your municipality requires, book an energy advisor to model your preferred plan, and use the results to compare options. A compact form, a well-insulated basement, a sensible window layout and efficient mechanicals will get most families to the required tier without heroic, costly upgrades, and leave lower energy bills for every winter that follows.