The drawings go in, and six weeks later the plans examiner sends them back. The side elevation has red circles around three windows, a note about "unprotected openings exceeding the permitted percentage", and a request for a 45-minute fire-rated wall with non-combustible cladding. On narrow city lots and infill lots across Canada, this is one of the most common permit surprises. It comes from the spatial separation rules in Part 9 of the National Building Code and in the provincial codes based on it, such as the Ontario Building Code, the BC Building Code and the Quebec Construction Code.
The idea is simple. A house fire radiates heat through its windows, and that heat can ignite the house next door. The closer a wall is to the property line, the less glass it may have and the better it must resist fire. The steps below take you from survey to inspection so you can design for these rules from the start, not fix them afterwards.
Step 1: Get a current survey and the zoning setbacks
Everything starts with where the property lines really are. Order a current survey or a real property report if the one you have is old or doesn't show fences and existing structures. Then check the zoning bylaw for the minimum side yards on your lot. On many urban lots in Toronto, Ottawa, Calgary or older parts of Vancouver, side yards of 0.9 to 1.2 m (about 3 to 4 ft) are common, which is exactly where the fire rules start to bite.
- Time: 1 to 3 weeks for a survey, depending on the season and the surveyor's workload.
- Cost: in 2025, roughly $1,500 to $3,500 CAD for a typical residential lot survey; more for acreages or complex lots.
Step 2: Measure the limiting distance of each wall
Limiting distance is the distance from an exposing building face (the wall facing a property line) to that property line, measured at right angles. On a wall facing a street, a lane or a public thoroughfare, the code generally lets you measure to the centreline of that street instead, which is why front and rear walls on lane lots rarely have problems. Where two buildings sit on the same property, such as a house and a detached garage suite, the distance is measured to an imaginary line between them.
Two details catch people out. First, the measurement is taken to the face of the wall, so a thick cladding system or exterior insulation eats into it: a foundation set exactly 1.2 m from the line may give you a limiting distance a few centimetres short. Second, a wall that steps in and out can be treated in sections, each with its own limiting distance. That is a design tool, as Step 5 shows.
Step 3: Work out how much glass each side wall may have
Next, your designer calculates the area of the exposing building face (the wall area facing the line, usually per fire compartment) and compares the glazed area on it to the table in the code. The allowed percentage depends on two things:
- Limiting distance: the shorter it is, the lower the percentage. At very short distances, generally under 1.2 m, ordinary glazed openings are essentially not permitted.
- Size of the wall: for the same distance, a smaller face is allowed a higher percentage than a large one.
As the distance grows, the percentage climbs quickly, and at larger distances the limit disappears entirely. Glass doors count as glazed openings, and so do sidelights. A long two-storey side wall of 40 by 20 ft is 800 sq ft (about 74 m²), and at 1.2 to 2 m from the line it may only be permitted a small fraction of that as windows. The exact values differ slightly between the national and provincial editions, so have your designer use the table in the code that applies to your municipality.
- Time: a few hours of a designer's time if done at the start.
- Cost: usually included in design fees; very expensive if found only at permit review.
Step 4: Check what the wall itself has to be
Close to the line, the code also regulates how the wall is built, not just the windows in it. In broad terms, under recent editions of the NBC and similar provincial codes:
- When the limiting distance is under about 1.2 m, the exposing face typically needs a 45-minute fire-resistance rating, usually achieved with Type X gypsum board inside and a tested wall assembly.
- At the shortest distances, the cladding generally has to be non-combustible: masonry, stucco on suitable lath, metal, or products tested and listed as non-combustible. Vinyl siding and wood shakes are usually out on those walls. Confirm each specific product with the examiner.
- Soffits and eaves near the line need protection too. Vented vinyl soffits on the side of a house within about 1.2 m of the line are a classic deficiency; unvented metal or other protected soffits are typically required.
In 2025, a rated wall adds a modest amount to drywall costs, while switching one side wall from vinyl to fibre cement panels, stucco or brick can add several thousand dollars, depending on wall area and region.
Step 5: Rearrange the side elevations
This is where good design saves the plan. Designers working on narrow lots use the same moves again and again:
- Push light to the front and rear. Living rooms, kitchens and primary bedrooms go to the street and backyard, where glazing is effectively unlimited. Stairs, bathrooms, laundry and closets go on the side walls.
- Use high and narrow windows. A few small clerestory windows use little of the allowed area and still bring daylight into a hallway or stair.
- Step the wall back. Recessing part of the side wall by even 1 to 2 ft increases the limiting distance for that section, which can raise its allowed percentage.
- Bring light from above. Skylights and roof windows are not on the exposing face, so they don't count against side wall glazing. Check fire rules for roofs near the line with your designer.
- Remember egress. Bedrooms still need a window or door meeting egress rules. On a tight lot, put bedrooms on the front or rear wall so the egress window is not fighting the glazing limit.
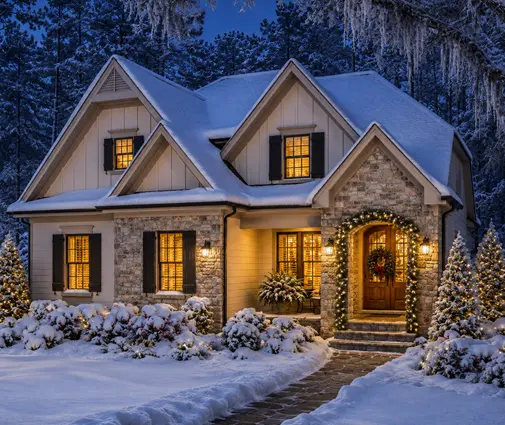
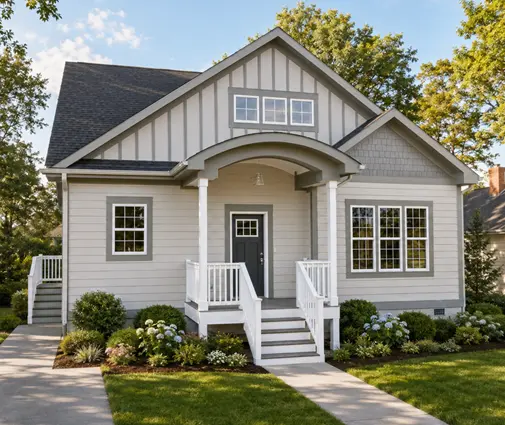
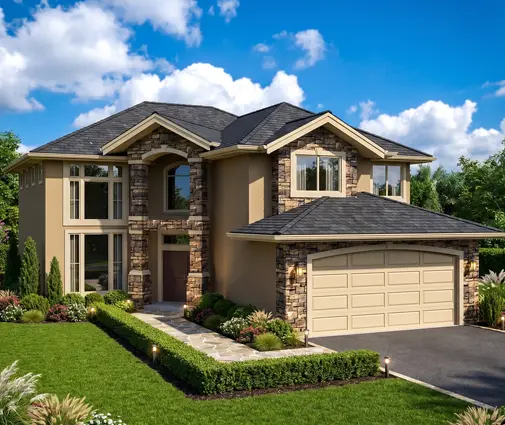
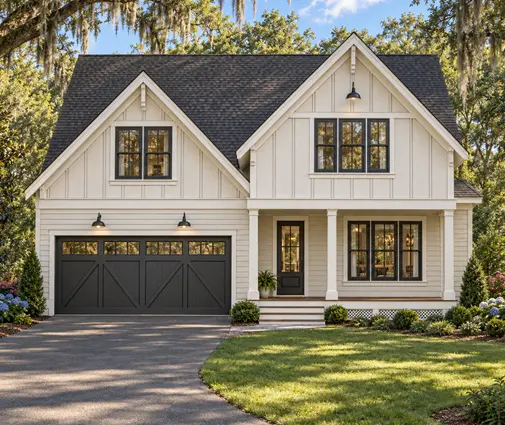
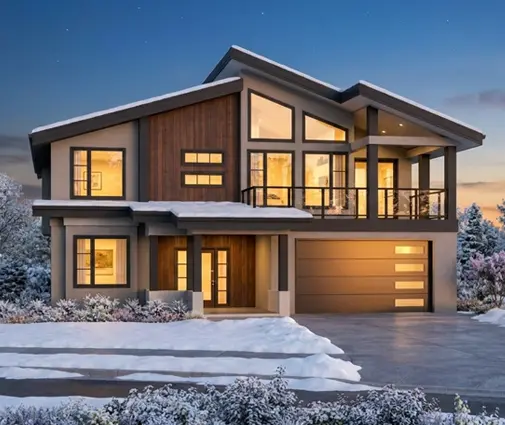
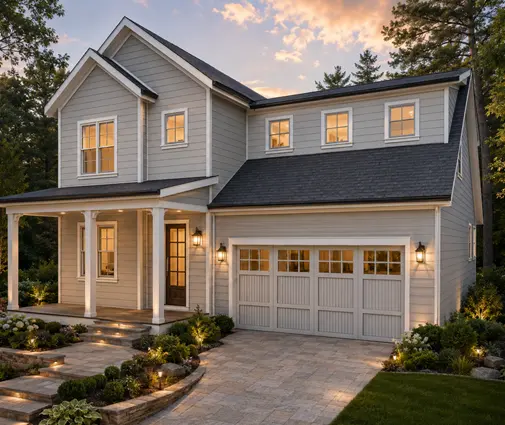
Plans that already put the main rooms at the front and back are the easiest to adapt. A compact design such as this 4-bedroom, 1945 sq ft two-storey cottage keeps the footprint modest, while a 4-bedroom Craftsman plan of 2285 sq ft with a basement fits the Canadian habit of full basements below the frost line. On a taller house, like this three-storey 2396 sq ft modern farmhouse, the side walls are larger, so the glazing calculation matters even more. Browse narrow lot house plans as a starting point, but expect every side elevation to be checked against your own lot.

Step 6: Weigh the alternatives when the windows still don't fit
If the design really needs more glass on a side wall, there are options, each with a price:
- Sprinklers. Some codes give credit for a residential sprinkler system, allowing more glazed area. In 2025 a house system can cost from several thousand to well over $10,000, and depends on your water service.
- Fire-rated glazing. Rated windows exist, but they often cost several times as much as ordinary units and rarely open.
- Agreements with the neighbour. Some provinces, including Ontario, allow a limiting distance agreement registered on title, which lets you measure to a line on the neighbour's land. It needs legal work and the neighbour's consent.
- Move the house. If zoning allows, shifting the house toward one side gives the other side a much larger limiting distance.
Step 7: Adapt the plan and produce permit drawings
A stock plan is drawn without your lot in mind, so its side elevations need to be checked and adjusted by a local designer, a BCIN-qualified designer in Ontario, or an architect. The drawings should show the limiting distance, the face area, the allowed and proposed glazing, the wall assembly and the cladding on each side elevation. Examiners appreciate a clear spatial separation table on the drawings. Larger homes such as this 5-bedroom modern plan of 2782 sq ft or a 4-bedroom modern farmhouse of 2505 sq ft usually need a wider lot, but the same calculation applies to every side wall. If your lot is narrow, a compact two-storey house plan often gives you more room on each side than a sprawling single-storey one.
- Time: 2 to 6 weeks for adaptation and permit drawings.
- Cost: in 2025, roughly $2,000 to $8,000 CAD for adapting a plan, depending on the changes and the province.

Step 8: Submit the permit and answer the examiner
Apply to your municipality's building department. If the examiner sends comments on spatial separation, answer them in writing with revised elevations and calculations rather than arguing. Many cities also let you book a pre-application meeting, which is worth it on an infill lot.
- Time: often 4 to 12 weeks in 2025, longer in large cities or with revisions.
- Cost: permit fees vary by municipality, typically several thousand dollars for a new house; check your city's fee schedule.
Step 9: Build it as drawn and pass the inspections
The framing inspection is where window sizes, rated drywall and soffits get checked. Don't let a window supplier "upsize" a side window or swap a solid door for a glazed one, and make sure the siding installer knows which walls need non-combustible cladding. A home like this 3-bedroom, 2583 sq ft farmhouse may look identical with or without a rated side wall, but the inspector will know the difference.
Timeline at a glance
| Step | Typical time | Typical cost (CAD, 2025) |
|---|---|---|
| Survey and zoning check | 1–3 weeks | $1,500–$3,500 |
| Limiting distance and glazing calculation | A few days | Part of design fees |
| Wall and cladding requirements | Part of design | Several thousand dollars for cladding upgrades |
| Side elevation redesign | 1–2 weeks | Part of design fees |
| Alternatives (sprinklers, agreements) | 2–8 weeks if needed | From several thousand to $10,000+ |
| Plan adaptation and permit drawings | 2–6 weeks | $2,000–$8,000 |
| Permit review | 4–12 weeks or more | Municipal fee schedule |
| Construction inspections | During the build | Included in permit |
The rules differ slightly between the National Building Code and each provincial code, and they are updated with each edition. Before you finalize a plan for a narrow or infill lot, check the current requirements with your municipality's building department or a qualified designer, and make the side elevations the first thing you review, not the last.