Picture a couple who relocated from Munich to Kitchener. At their first walkthrough of a new bungalow they asked the builder when they could install their own kitchen. The builder was puzzled. In Canada the cabinets, counters and sink are part of the house, and they were already sitting in the trailer outside. That small misunderstanding sums up a real difference between markets. Before you finalize a plan, it helps to know what is normal here and what is normal elsewhere, and how both affect your budget and your schedule.
Below is a practical sequence for a compact one-storey home. Each step compares Canada with the United States, Germany, Poland and Romania, then brings the point back to your own build.
Step 1: Find out what "kitchen included" means in your contract
In Canada, the cabinetry, countertops, sink and faucet are almost always built into a new house. Lenders and appraisers treat them as fixtures, so they count toward the value of the home. Appliances are less consistent. Some builders bundle a fridge, range, dishwasher and microwave hood. Others give an allowance. Some leave them out entirely. The US follows much the same logic.
Elsewhere the default is very different. In Germany, the fitted kitchen, or Einbauküche, is often treated as furniture, and plenty of owners and tenants unbolt it and take it to their next home. In Poland, new homes are usually handed over in stan deweloperski, meaning walls and plumbing stubs only, and the buyer orders a kitchen afterward. Romania works the same way with homes delivered "la gri" or semi-finished.
What to do: ask for a written schedule that lists cabinet line, door style, counter material, every appliance by model or allowance, and the hood. Time: one or two meetings during the contract stage. Cost: nothing, but this is where hidden upgrades show up.
Step 2: Choose a layout that suits a compact footprint
Below roughly 1,300 sq ft, the kitchen usually shares space with the dining and living areas. Four shapes come up again and again:
- Galley: two parallel runs. It is the most efficient option, and it works well in narrow cabins.
- L-shape: two walls meeting at a corner. It leaves the rest of the room open for a table.
- Peninsula: an L or U with one arm left open. You gain seating without needing walkway space on all four sides.
- Island: the most popular choice in Canadian and American show homes. It needs about 42 in of clearance on every side, so it can crowd a small room.
European homes of a similar size lean toward straight runs and L-shapes with a separate dining table. Islands are less common there unless the room is generous.
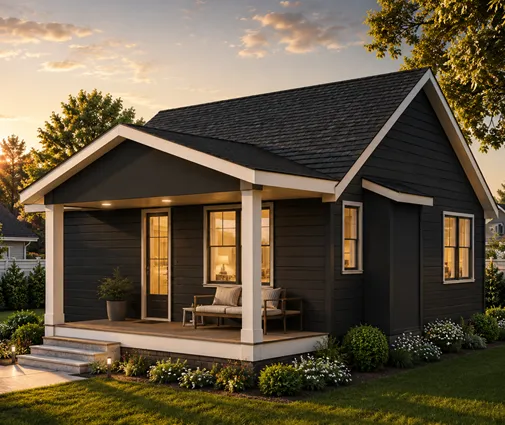
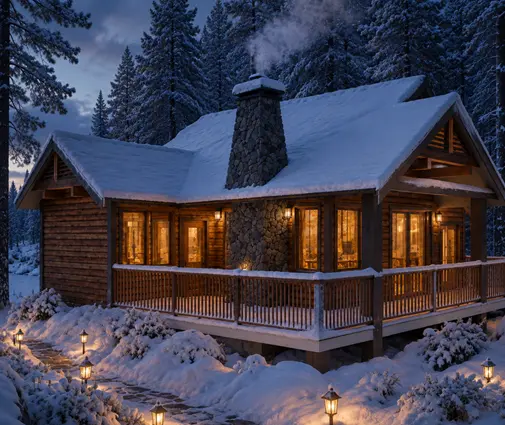
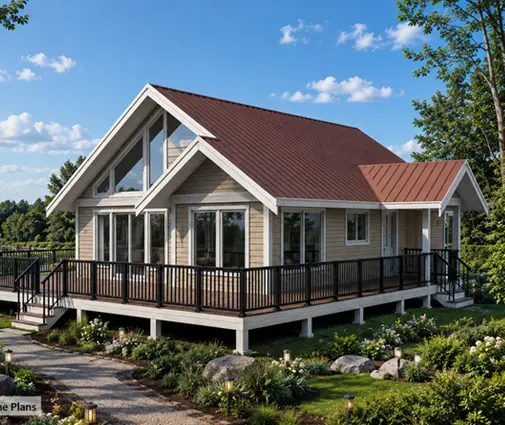
A small footprint such as this 750 sq ft lakeside cabin with two bedrooms suits a galley or a tight L. Something closer to this Scandinavian-inspired bungalow just under 1,000 sq ft gives you a bit more room to experiment. If you want the cooking area to anchor the home, browse plans with a centrally placed kitchen.
Time: a week of sketching with your designer. Cost: usually covered by plan modification fees if you change anything.
Step 3: Size the room around North American appliances
This is where imported ideas often go wrong. North American appliance sizes differ from European ones:
- Ranges: the standard is 30 in wide, and pro-style units run 36 in or more.
- Fridges: usually 30 to 36 in wide and noticeably deep.
- Base cabinets: typically 24 in deep, with counters around 25 in.
- Dishwashers: 24 in wide.
Europe, including Germany, Poland and Romania, builds around the 60 cm module. Ovens, dishwashers and integrated fridges all slot into 60 cm wide cabinets, and narrow 45 cm dishwashers are common in small homes. The US and Canada share the same imperial system, so parts and replacements cross the border easily. A German kitchen shipped to Canada, by contrast, may leave awkward gaps around local appliances.
What to do: choose your appliances before the cabinet drawings are final, and keep at least 40 in between facing counters in a galley. Time: two to three weeks of shopping. Cost: in 2025 a mid-range package of fridge, range, dishwasher and hood typically ran about CAD 5,000 to 10,000.
Step 4: Plan the range hood for an airtight house
Modern Canadian homes are built tight to meet energy targets, and they rely on an HRV or ERV for fresh air. A powerful hood in a sealed house can depressurize the building. It may pull air back down a chimney or simply perform poorly. Many jurisdictions on both sides of the border require make-up air once exhaust passes a certain flow. The exact threshold and method vary, so confirm them with your municipality or a mechanical designer.
In Germany, houses with a wood stove and an exhaust hood often need an interlock or window switch. Recirculating hoods with carbon filters are also widespread across Europe. Most Canadian designers still prefer a hood ducted to the exterior, sized to the cooktop rather than oversized.
Switching to induction takes combustion gases out of the picture, and it pairs naturally with a heat pump in an all-electric house.
Time: settled at the mechanical design stage. Cost: roughly CAD 800 to 3,000 for a ducted hood, plus make-up air equipment if required.
Step 5: Rough in the services early
A Canadian range needs a dedicated 240 V circuit, and induction may need a heavier one. Counters need several separate 120 V circuits for small appliances, plus GFCI protection near the sink as your provincial electrical code requires. If you want gas, the line has to be planned before drywall.
European kitchens use different circuits and connections, which is one more reason a transplanted kitchen rarely fits without rework.
In a home with a basement, such as this three-bedroom single-level design with a full lower floor, running plumbing and ducts below the kitchen is straightforward. That also makes a future island sink easier to add.
Time: during framing, about one to two weeks of trades. Cost: usually inside the electrical and plumbing contracts. Late changes cost more.
Step 6: Compare budgets realistically
The figures below are broad 2025 ranges for a mid-range kitchen in a compact house. They include cabinets, counters, sink, appliances and installation. Get local quotes before you commit.
| Country | Usual delivery | Mid-range kitchen, 2025 |
|---|---|---|
| Canada | Built in by the builder, appliances often extra or by allowance | CAD 25,000 to 50,000 |
| United States | Built in, appliances often included | USD 20,000 to 40,000 |
| Germany | Bought separately, often moved with the owner | EUR 10,000 to 25,000 |
| Poland | Bought separately after handover | PLN 30,000 to 70,000 |
| Romania | Bought separately after handover | RON 25,000 to 60,000 |
Do not convert these and call one country cheaper. Labour, counter materials and what the price covers all differ. The real lesson for a Canadian buyer is different: because your kitchen is financed inside the mortgage, upgrades feel painless at signing but stay with you for 25 years.
Step 7: Order cabinets and appliances on time
Custom or semi-custom boxes from a Canadian shop often take six to ten weeks. Quartz counters are templated only after the cabinets are installed, which adds another one to two weeks. Appliance stock can be thin for specialty models, so order early and store the units, or arrange delivery for when the drywall is done.
A family layout such as this four-bedroom bungalow under 1,250 sq ft often needs a larger fridge and a full-size dishwasher, so lock those in first.
Cost: deposits of 30 to 50 percent are typical for cabinetry.


Step 8: Install, inspect and move in
Installation of cabinets, counters, backsplash and appliance hookups usually takes two to three weeks of a Canadian build. Final plumbing, electrical and mechanical inspections, including the hood duct, come before occupancy. Compare that with a Polish or Romanian buyer, who often waits two or three months after handover before the kitchen is usable.
In a farmhouse-style home like this 1,292 sq ft three-bedroom with a country look, or any other open-concept layout, take a moment to check sightlines from the sink and range before the final finishes go in.
Timeline at a glance
| Step | When | Typical duration |
|---|---|---|
| Define what is included | Contract | 1 to 2 weeks |
| Choose layout | Design | 1 week |
| Select appliances and sizes | Design | 2 to 3 weeks |
| Hood and make-up air design | Mechanical design | 1 week |
| Rough-in services | Framing | 1 to 2 weeks |
| Budget and quotes | Before permit | 2 weeks |
| Order cabinets and appliances | After drywall date is known | 6 to 10 weeks lead time |
| Install and inspect | Finishing | 2 to 3 weeks |



