The most common reason a house permit stalls in Canada has nothing to do with the house itself. It's a missing document. An owner submits a beautiful set of floor plans and elevations, then gets a letter from the building department asking for a grading plan, truss drawings, an energy compliance report and a heat loss calculation. Each one adds days or weeks, and each one has to come from a different professional.
The fix is to treat the application as a package. Some parts come from your house plan, some come from suppliers, and some must be prepared locally by someone who knows your lot, your climate zone and your provincial code. Use the checklist below to assemble it before you apply, and confirm the exact list with your municipality. Requirements differ between cities, rural townships and provinces, and they change.
Stage 1: The lot and the site plan
- Survey: a current legal survey or real property report showing lot lines, easements and existing structures. Many municipalities won't accept an old one.
- Site plan: the house footprint drawn to scale on the lot, with setbacks to every property line, driveway, decks, and any accessory buildings.
- Grading and drainage: existing and proposed elevations, top of foundation wall, swale directions, and where downspouts and sump discharge go. Subdivisions often require a lot grading plan stamped by an engineer or a surveyor.
- Zoning numbers: lot coverage, building height, floor area and parking, checked against the zoning bylaw before you finalize the design.
- Services: water, sewer and storm connections in town, or well and septic locations on an acreage, with the separation distances the province requires.
- Other approvals: conservation authority, heritage, development permit area or highway access, if your lot falls under any of them.
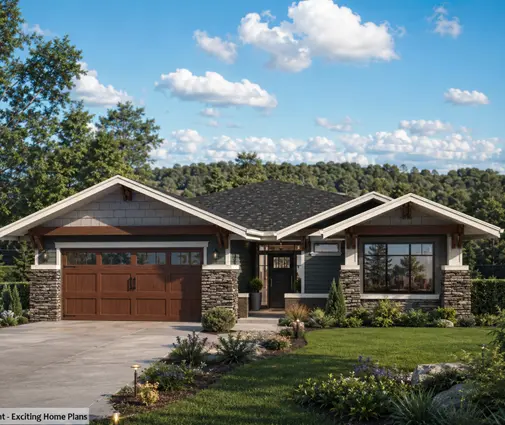
Do the zoning check first. A wide single-level home like this 2951 sq ft three-bedroom ranch with a three-car garage fits easily on an acreage, but on a 50-foot suburban lot its footprint may break the side setbacks or lot coverage. If your lot falls away from the street, look at plans designed for sloped lots so the grading plan and the foundation work together instead of fighting each other.
Stage 2: The architectural drawings from your house plan
- Foundation plan: footing sizes, wall thickness, footing depth below frost line, window wells, beam pockets and posts. In much of Canada footings sit at 4 ft or deeper, and your building official will check this.
- Floor plans: every level, including the basement, with dimensions, room names, door and window sizes, stairs, smoke and CO alarm locations.
- Elevations: all four sides, with finished grade, cladding, roof pitch, and the window areas needed for spatial separation (limiting distance) calculations near property lines.
- Cross sections: at least one through the full height of the house, showing floor-to-floor heights, stair headroom and the roof structure.
- Wall, floor and roof assemblies: every layer listed, with the insulation R-values, air barrier and vapour barrier that your climate zone requires.
- Roof plan: slopes, overhangs, valleys and attic ventilation.
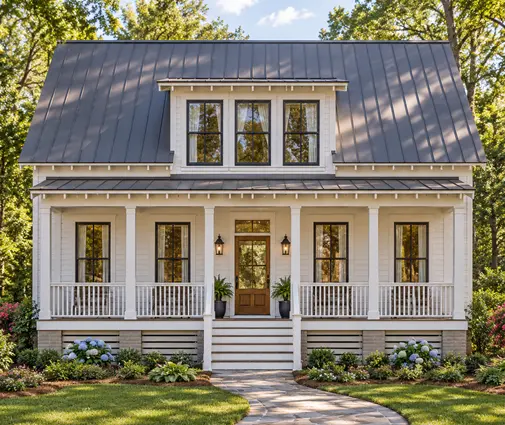
A purchased plan usually gives you the foundation, floor plans, elevations, sections and roof plan. What it can't know is your snow load, your frost depth or your energy rules, so a local designer or engineer typically reviews the set and adds notes, assemblies and details to match the code you build under. In Ontario, the person who signs the design generally needs a BCIN or must be an architect or engineer, with a limited exemption for owners designing their own home. Starting with a plan that already has a basement saves a lot of redrawing: this 1515 sq ft four-bedroom bungalow with a basement and this 1722 sq ft one-storey Craftsman with six bedrooms and a basement are good examples. A plan drawn without one, like this 1701 sq ft two-storey cottage with three bedrooms, needs a new foundation plan before it goes in. You can browse more house plans with a basement.

Stage 3: Structural documents from suppliers and engineers
- Truss layout: the roof truss plan from the truss manufacturer, with individual truss drawings, bearing points, girder trusses and point loads. These are usually sealed by the manufacturer's engineer.
- Engineered beams: sizing sheets for LVL, glulam or steel beams and headers, generated by the lumber supplier for your actual loads.
- Floor system: I-joist or open-web floor truss layout, if you're not using dimensional lumber.
- Snow and wind loads: confirmed for your municipality's climatic data, especially in high-snow areas and exposed rural sites.
- Engineer's design: required for anything outside the simple prescriptive rules for houses, such as long open spans, tall walls, large window walls, retaining walls or an unusual foundation.
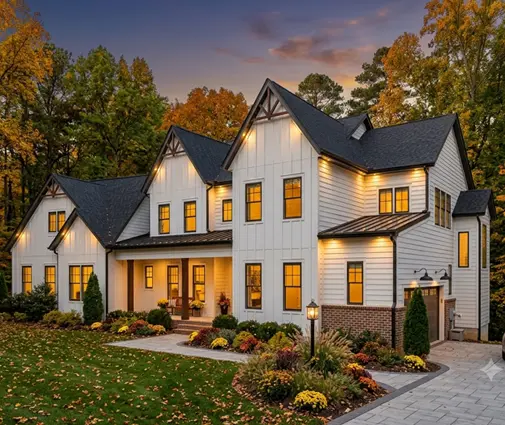
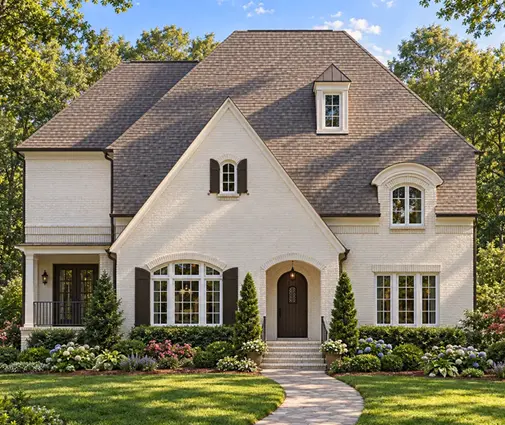
Many municipalities let you submit the truss and beam documents later, before framing inspection, but some want them with the application. Ask early, because truss drawings come with a firm order or a quote, and that takes time. Large homes almost always need engineering somewhere. A plan such as this 4664 sq ft three-storey farmhouse with four bedrooms and a basement or this 5705 sq ft French Country home with five bedrooms on three levels will have open spans and heavy roof loads that a supplier or engineer must size for Canadian snow.
Stage 4: Energy compliance and HVAC design
- Compliance path: prescriptive (a table of minimum R-values and window performance) or performance (an energy model). In Ontario this is SB-12; in BC, many municipalities require a Step Code level; Quebec has its own energy efficiency requirements.
- Energy model: when you use the performance path or the Step Code, a registered energy advisor models the house and often does a pre-drywall and final airtightness test.
- Heat loss and heat gain: a room-by-room calculation for the heating and cooling system, typically following the CSA F280 method.
- Duct layout: supply and return locations and sizes, and the equipment selected, whether a furnace or a heat pump.
- Ventilation design: the HRV or ERV, its capacity, and where it draws and exhausts air.
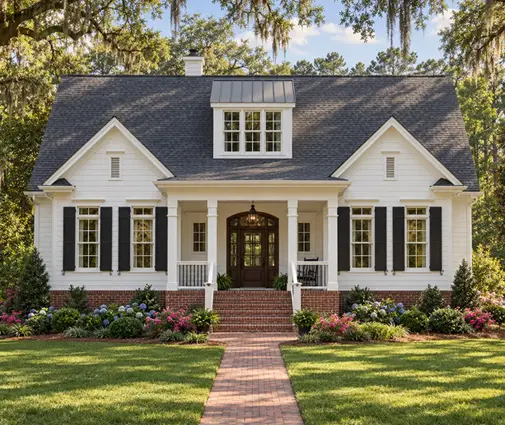
These documents are always local. They depend on your climate zone, your windows, the orientation of the house and the equipment your contractor installs, so no stock plan can include them. In 2026 an energy model or an HVAC design usually costs from a few hundred to a couple of thousand dollars each, depending on the size of the house and the region; get quotes. Bigger houses also mean more zones and a more complex duct design, so a home like this 4539 sq ft two-storey farmhouse with four bedrooms and a basement needs a careful mechanical layout. Bring the energy advisor in before you order windows, not after.
Stage 5: Forms and the final review
- Application form: completed and signed, with the owner's authorization if a builder or agent applies.
- Designer information: names and qualifications of everyone who prepared drawings, where your province requires it.
- Consistent sets: the same house on every drawing, with matching dimensions, window sizes and heights.
- Fees and deposits: permit fees, development charges, and lot grading or damage deposits, which can add up to a large sum in some cities.
- Digital format: many municipalities now accept only online submissions in PDF, with specific file naming rules.
Before you submit, sit down with the full package and compare the drawings against each other. Building officials spot inconsistencies quickly, and every revision restarts part of the review.
Why applications get sent back
- Missing grading plan or one that doesn't match the subdivision's approved grades.
- Foundation not adapted: footing depth, wall height or insulation that doesn't suit a Canadian basement.
- No energy compliance document, or a compliance path that doesn't match the windows and assemblies drawn.
- Missing heat loss and ventilation design, or one prepared by someone without the required qualification.
- Truss or beam documents missing where the municipality wants them up front.
- Setback or height errors found at the zoning review, which can mean a redesign or a minor variance application.
- Drawings that don't agree with each other on window sizes, ceiling heights or dimensions.