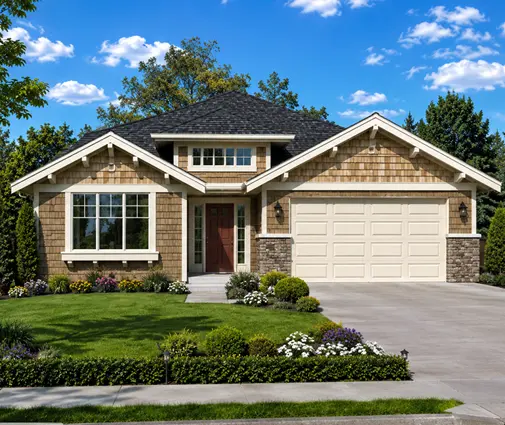
R-22 is printed on the bag of batts. Once the studs, plates, headers and corners are counted, the wall behind your drywall performs closer to R-17. That gap explains a lot of the confusion about walls in new Canadian homes. Most builders now work with one of three assemblies: a standard 2x6 wall with cavity insulation, a 2x6 wall wrapped in exterior rigid insulation, or a double-stud wall filled with cellulose or batts. Each has a place. Each also has myths attached to it, and those myths can cost you money, floor area or a wet wall.
Myth 1: A 2x6 wall with R-22 batts is an R-22 wall
Fact: R-22 is the nominal value of the insulation in the cavity, not the wall. Wood conducts heat far better than fibreglass or mineral wool, and in a typical 2x6 wall at 16 inches on centre, framing covers roughly a fifth to a quarter of the surface. The effective value of the whole assembly usually lands in the mid-to-high teens. This is why energy codes increasingly ask for effective values. Ontario's SB-12 compliance packages, the BC Energy Step Code and the energy requirements in the National Building Code all ask for them. If your designer quotes only cavity R-values, ask for the effective number.
Myth 2: Exterior foam traps moisture and rots the wall
Fact: Exterior insulation that is too thin can cause trouble. Exterior insulation that is thick enough does the opposite. Warm, moist indoor air that gets into the wall condenses on the first cold surface it meets, usually the back of the sheathing. Insulation on the outside keeps the sheathing warmer, which moves the dew point outward and away from the wood. The risk comes when a thin layer of low-permeance foam, such as foil-faced polyiso or thick XPS, keeps the sheathing cold enough to condense moisture but also stops the wall from drying outward. Canadian codes deal with this by tying the minimum ratio of outboard to inboard insulation to the heating degree-days of your location. The colder the place, the more of the insulation has to sit outside. Check the current table with your municipality or designer. Vapour-open options like mineral wool board avoid much of the drying problem.
Myth 3: Once you add exterior insulation, you can skip the vapour barrier
Fact: In most of Canada, a warm-side vapour barrier is still expected. That usually means 6-mil polyethylene, sealed and lapped, or an approved alternative such as vapour-retarder paint or a variable-permeance membrane where the code and the local building official accept it. Exterior insulation changes how forgiving the wall is. It does not replace interior vapour and air control. Get the air barrier right first. Air leaking through gaps carries far more moisture into a wall than vapour diffusing through drywall. An HRV and a blower-door test, now standard on many new builds, are part of the same package.
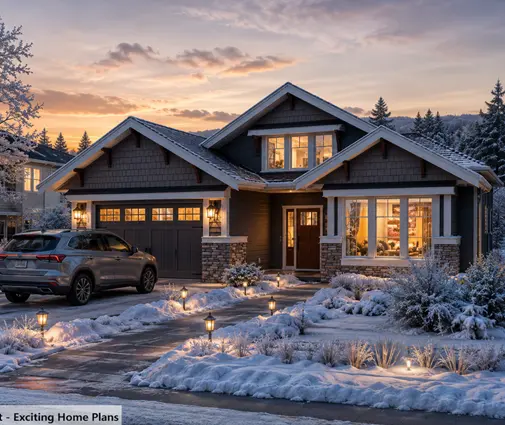
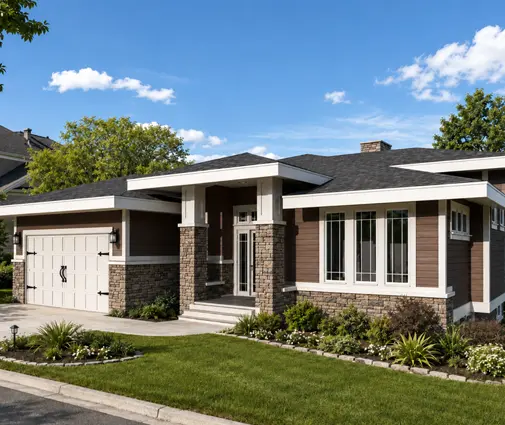
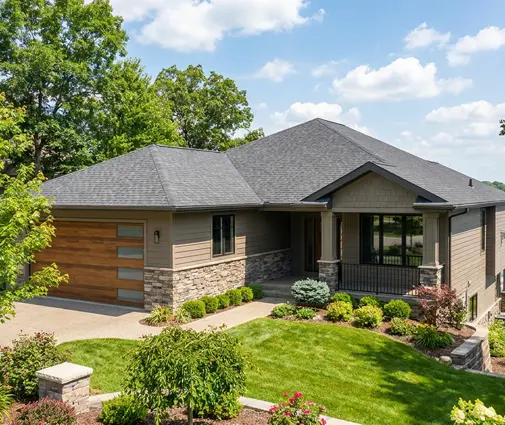
Most of the plans below are compact bungalows over a full basement, the kind of house where a wall upgrade pays back over decades of heating seasons:
Myth 4: The thicker the wall, the safer it is
Fact: A double-stud wall usually consists of two 2x4 walls set apart for a total depth of around 10 to 12 inches. It can reach roughly R-35 to R-40 with very little thermal bridging, which is excellent. But the thicker the insulation inside the sheathing, the colder that sheathing gets in January. If indoor air leaks into a double-stud wall in Winnipeg or Edmonton, the outer OSB or plywood can collect frost and moisture all winter. Double-stud walls work very well when the air sealing is careful, the vapour control is sound, the cladding has a drained, ventilated rainscreen and the crew has built them before. Without those conditions, the same wall is riskier than a plain 2x6.
Myth 5: High-performance walls double the cost of the house
Fact: Walls are only part of the budget. The premium depends on the materials, the cladding attachment and local labour. The table gives rough indications for 2025–2026 that vary by region and builder, so ask for priced options on your own plan.
| Assembly | Typical effective R-value | Extra cost vs. basic 2x6 | Main risk |
|---|---|---|---|
| 2x6 with R-20/R-22 batts | Mid-to-high teens | Baseline | Thermal bridging, air leaks |
| 2x6 + 1.5–2 in. exterior insulation | Roughly R-24 to R-28 | Often a few dollars per sq ft of wall, more with heavy cladding | Too-thin low-perm foam; window and cladding details |
| Double-stud, 10–12 in. | Roughly R-32 to R-40 | Extra framing labour and fill; deep window bucks | Cold sheathing if air sealing fails |
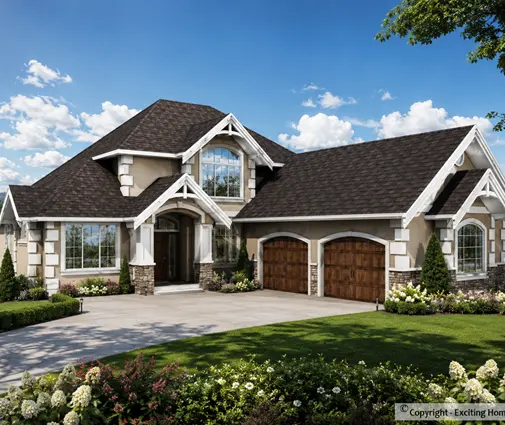
On a modest home such as this 3-bedroom Craftsman bungalow of 1638 sq ft with a basement, the above-grade wall area is small enough that even the most expensive option adds a manageable sum. In return, a smaller heat pump may be enough.
Myth 6: Wall thickness does not matter when choosing a plan
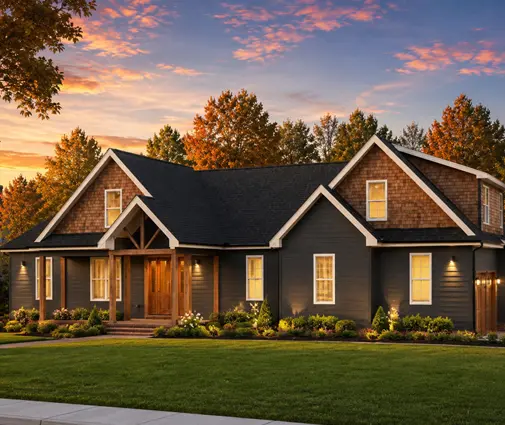
Fact: Many plans are drawn with 2x4 or 2x6 walls. Going from a 6.5-inch wall to a 12-inch double-stud adds about 5.5 inches on every exterior side. On a bungalow with a perimeter of around 180 feet, such as this 4-bedroom, 1649 sq ft one-storey bungalow, that is roughly 80 sq ft of floor area. You either give it up inside or add it to the footprint. On an acreage, nobody notices. On a 40-foot suburban lot, it matters, because many zoning bylaws measure setbacks and lot coverage to the outside face of the wall. Check how your municipality measures before you lock in the assembly. For a tight lot, see the narrow-lot plans. On these lots, 2x6 with a moderate layer of exterior insulation is often the best compromise.
Myth 7: Deep walls are only a framing question
Fact: Thick walls change the windows, the trim and the look of the house. Builders mount a window "outie" (near the exterior face) or "innie" (recessed, with a deep interior sill). Each choice affects flashing, heat loss at the frame and the appearance of the facade. Exterior insulation also makes cladding attachment more complex. You need strapping through the foam, longer fasteners and sometimes clips for heavy stone or fibre cement. A two-storey house with many large windows, like this 3-bedroom modern farmhouse of 2665 sq ft, needs these details on the drawings, not improvised on site. The same goes for a 4-bedroom two-storey of 2189 sq ft with a basement, where long window walls repeat the same detail many times.
Myth 8: One wall assembly is best everywhere in Canada
Fact: The right wall depends on climate zone, budget and lot. As a rough guide:
- Zones 4 and 5 (coastal BC, much of southern Ontario): a well-sealed 2x6 wall plus 1 to 1.5 inches of exterior insulation is usually a strong, affordable choice. On the wet coast, a drained rainscreen matters as much as the R-value.
- Zone 6 (Ottawa, Montreal, Quebec City, much of the Maritimes): 2x6 with 2 inches or more of exterior insulation, sized to the code ratio, is the mainstream high-performance option. Quebec's Novoclimat-type targets and many Step Code upper tiers sit comfortably here.
- Zones 7A, 7B and 8 (the Prairies, northern regions, the territories): either thicker exterior insulation or a carefully detailed double-stud wall. A double-stud wall makes sense if you build on an acreage where the extra footprint costs nothing and your builder has a proven track record with it.
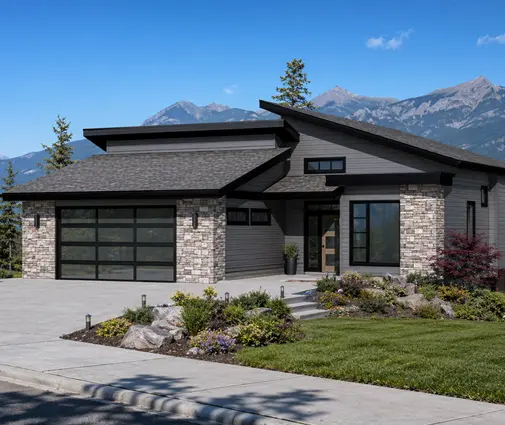
On a tight budget, put the money into airtightness and a properly installed 2x6 wall before you spend on thickness. With a mid-range budget, add exterior mineral wool. With a net-zero goal and a builder who knows the system, a double-stud or thick exterior insulation package becomes worth it. A compact plan like this 5-bedroom modern mountain bungalow of 1676 sq ft keeps the wall area low, which makes any of these upgrades cheaper per bedroom.
What to take away
The best wall for your house is the one your climate, your lot and your builder can all support. Ask for effective R-values, check the exterior-to-interior insulation ratio for your location, confirm how setbacks are measured, and get window and cladding details drawn before framing starts. If you are still choosing a layout, the plans with a basement are a natural starting point for most Canadian climates. Confirm the final assembly with your designer and your municipal building department before you apply for the permit.