It is a January morning, -27°C, and the heat pump has gone quiet. The house is fine. The unit is not: it sits on a pad at grade, buried to the top of the coil in snow that slid off the roof overnight, with a sheet of ice from its own defrost cycle spreading across the path to the side door. Nothing is wrong with the equipment. It was simply put in the wrong place.
Today's cold-climate heat pumps can keep heating well below -20°C, but only if air moves freely through the outdoor coil and the meltwater has somewhere to go. Most placement problems are decided long before the installer arrives, when the house is drawn on the lot and nobody marks where the unit will sit. The ideas below show how to get it right, each one tied to a plan that illustrates the point.
1. Lift it above the snow you actually get
A unit on a pad at grade works in Victoria. In most of Canada it needs to sit higher than the snow that builds up over a winter, plus a margin for drifting. Installers generally use a ground stand with legs or a wall bracket that keeps the base of the unit at least 12 to 24 inches above the typical snowpack; in snow-belt areas around the Great Lakes or in the mountains, more. In 2025 a sturdy stand or bracket added roughly $150 to $600 to the installation, depending on the model and the wall. Check the manufacturer's minimum clearance, which is the figure your installer has to follow.
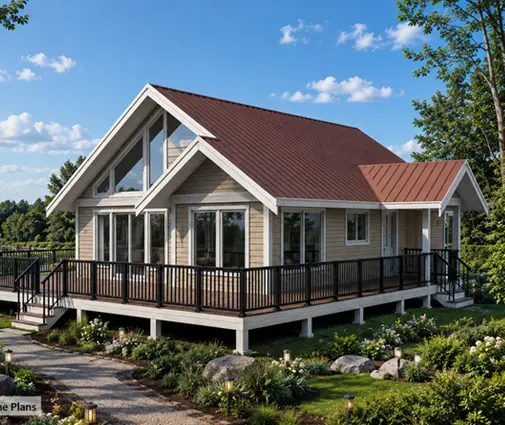
A compact cottage like this 975 sq ft Scandinavian-style bungalow shows why this matters: on a rural lot nobody clears snow around the house every day, so the unit has to stay clear on its own until spring.
2. Keep it out from under the drip line
Snow and ice slide off a sloped roof in sheets, and meltwater drips along the eave all winter. A unit under that line gets hammered, iced over and sometimes damaged. The safest spot is usually a gable end wall, where no roof plane discharges overhead. On a single-storey home with a simple roof, such as this traditional three-bedroom bungalow, the two gable walls give you clean, protected locations; browse other gable roof plans and look at which walls sit under an eave and which do not. If the unit must go under an eave, plan a small canopy or a gutter above it.

3. Stay away from where the snow gets piled
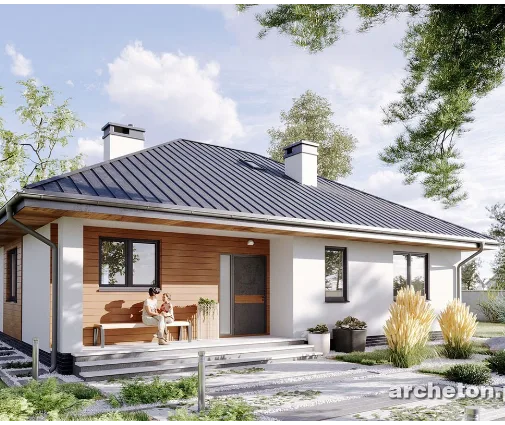
Think about where snow ends up, not only where it falls. The side of the house next to the driveway collects whatever the plough, the snowblower and the shovel throw. Put the unit there and it will be buried by February. On this one-storey, three-bedroom plan, drawing the driveway on one side and the unit on the opposite wall, or at the back, keeps the two apart. Also keep it away from roof valleys and inside corners where drifts form, and do not aim its discharge into the prevailing winter wind if you can avoid it.
4. Send the defrost water somewhere harmless
In cold weather the unit regularly reverses to melt frost off its coil, and that water pours out of the base. Several litres a day is common in damp winter weather. If it lands on a concrete walkway or a driveway, it becomes ice. Set the unit over a bed of clear crushed stone that drains, away from paths, stairs and doors, and slope the grade away from the foundation. Some homeowners add a heated drain pan or a drain line, which your installer can advise on.
A modern single-level plan like this two-bedroom contemporary bungalow, with its clean, uncluttered walls, makes it easy to pick one side with no entrance and dedicate it to mechanical equipment.
5. Respect the neighbours and the bedrooms
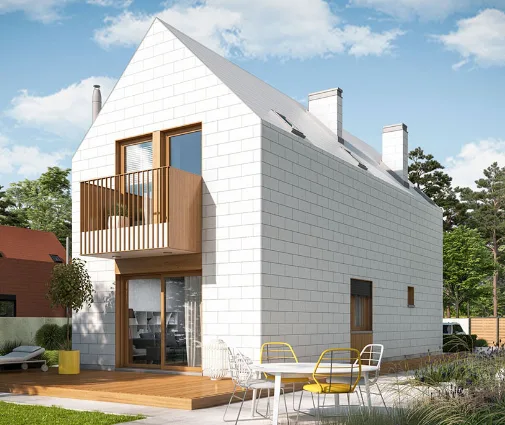
Modern units are quiet, but they do run at night and the fan ramps up in deep cold. Many Canadian municipalities limit noise at the property line, with stricter limits overnight, and some have bylaws written specifically about air conditioners and heat pumps. Check yours before you settle on a spot. Inside the house, the same logic applies: keep the unit away from bedroom windows. In a two-storey home such as this four-bedroom plan with the bedrooms upstairs, a wall below the kitchen or living room is a better choice than one below the main bedroom. Mounting on rubber pads or a ground stand rather than a wall bracket on a bedroom wall also cuts vibration.
6. Check the side-yard rules before you squeeze it in
Narrow suburban lots often leave only 4 to 6 feet between the house and the property line, and that side yard looks like the obvious place for equipment. Many zoning bylaws say otherwise: some restrict mechanical units in side yards below a certain width, require a minimum distance from the lot line, or keep that strip clear for access and drainage. The exact rule varies from one municipality to the next, so ask the planning department early.
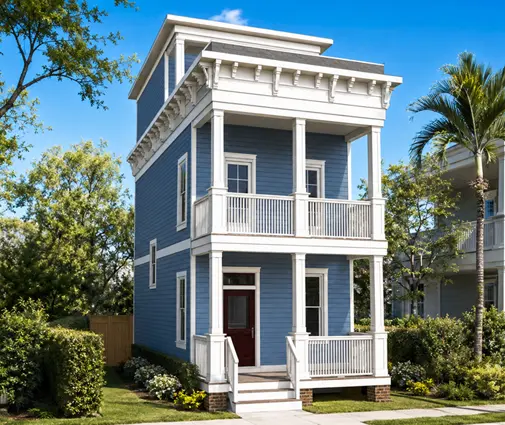
Tall, slim homes such as this four-storey narrow house of 1260 sq ft usually solve it with a rear-yard location or a wall bracket on the back wall. Other narrow lot plans deserve the same check before you commit to a layout.

7. Keep the line set short
The refrigerant lines between the outdoor unit and the indoor equipment have a maximum length set by the manufacturer, and a long run can need extra refrigerant and costs some efficiency. Every extra metre of line set also means more insulation to protect and more wall penetrations to seal in a tight, well-insulated envelope. The best location is often directly outside the mechanical room, so the lines pass straight through the wall. In this three-storey farmhouse cottage, placing the unit outside the ground-floor utility area avoids running lines up through two floors.
Mark it on the site plan before you break ground
All of these choices come together on one drawing. Before the permit application, mark the unit on the site plan with its stand, the gravel bed for drainage, the line set route, and the distance to the property line. Show where the driveway snow will go. Even the smallest home benefits: on this 750 sq ft lake cabin there may be only one wall that is not under an eave, not near the door and not facing the lake neighbours.
Canadian winters are hard on outdoor equipment, but the right spot costs almost nothing when it is chosen on paper. Talk to your designer and your heat pump installer together, confirm the bylaws with your municipality, and give the unit a place where it can keep the house warm on the coldest night of the year.



