It is March, the family has lived in the new house for one winter, and someone opens the basement door and wrinkles their nose. The drywall looks fine and nothing is dripping, yet the air smells like a cellar. In most cases nothing went badly wrong. Several small decisions about the soil, the concrete and the ventilation were simply left to chance. A radon reading taken that same month could show a problem nobody can smell at all.
Other countries face the same physics but regulate it differently. Looking at the United States, Germany and Poland shows which parts of the Canadian approach are strong and where a homeowner here has to be more careful. The eight steps below follow the order of a real project, from choosing a plan to the first long-term test after moving in.
Step 1: Accept that radon is a local question
Radon is a radioactive gas that seeps out of soil and rock. It gathers in the lowest, tightest rooms of a house. Health Canada's guideline for homes is 200 becquerels per cubic metre. Its message is that any house in any province can exceed it, and the only way to know is to measure. In practice, no map lets a Canadian builder skip the precautions.
The American system leans on maps. The EPA divides counties into three zones by predicted potential, and its action level of 4 picocuries per litre (about 148 Bq/m³) is actually stricter than ours. Germany's radiation protection law has the federal states designate radon priority areas, with a reference value of 300 Bq/m³. Poland follows the European directive with the same 300 Bq/m³ level. For you, the lesson is simple: zone maps help set priorities, but they do not replace a barrier under the slab.
Time: an evening of reading. Cost: nothing.
Step 2: Put the soil-gas barrier and rough-in on the drawings
National model codes have long asked for an air barrier between the soil and the living space, plus a rough-in that lets a fan be added later. The rough-in is a pipe that starts in the clean gravel under the slab, is capped and labelled, and can be extended to the outdoors. Provincial versions differ in the details, so confirm with your municipality which edition applies to your permit.
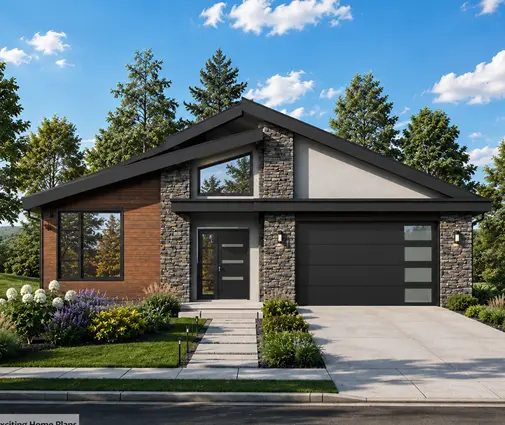
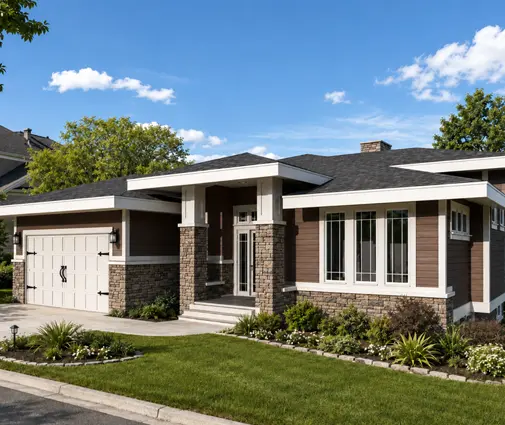
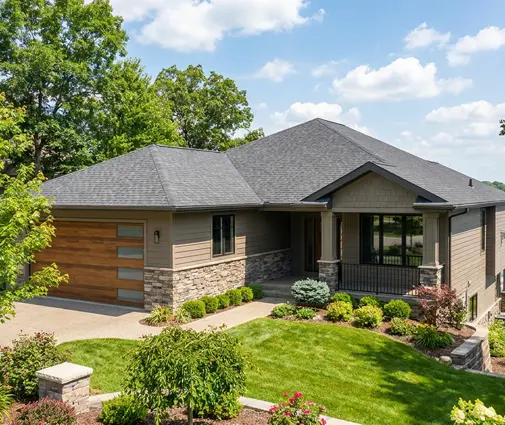
Footprint matters more than many buyers expect. A bungalow puts all its living area over the ground, so it has a large slab to seal. A wide one-level layout such as this six-bedroom Craftsman bungalow has a lot of floor-to-soil surface. A stacked design like a three-level farmhouse on a compact footprint has far less. Neither is wrong. The larger slab simply needs more care at seams, sump lids and plumbing penetrations.
Time: a day of crew work during the slab pour. Cost: in 2025 typically a few hundred dollars for poly, tape, sealant and pipe, compared with thousands for a retrofit.
Step 3: Keep liquid water out before it becomes vapour
Most damp basements start outside. The ground slopes toward the wall, the downspouts dump next to the footing, or the backfill was clay. Grade the lot away from the house and send roof water well past the backfill zone. Ask your designer whether the site needs only dampproofing or a true waterproofing membrane, which is called for where groundwater can press against the wall. Add a drainage mat over the coating, perforated weeping tile at the footing that drains to a sump or storm connection, and a capillary break between footing and wall.
The Germans often skip membranes on the outside and pour a weisse Wanne, a "white tub" of watertight concrete with sealed joints. The bitumen-coated alternative is called the black tub. Many Polish families avoid the question entirely by building on an insulated slab with no basement. That choice has more to do with cost than with climate. In the colder northern US states, people dig basements much as we do, while the warm South mostly builds on slabs. Canada's frost depth makes a deep foundation almost unavoidable, so using it as living space usually pays.
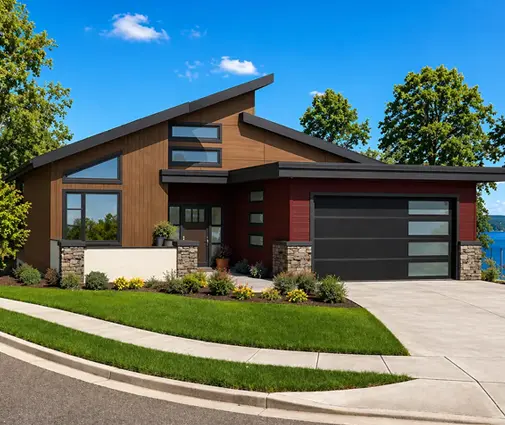
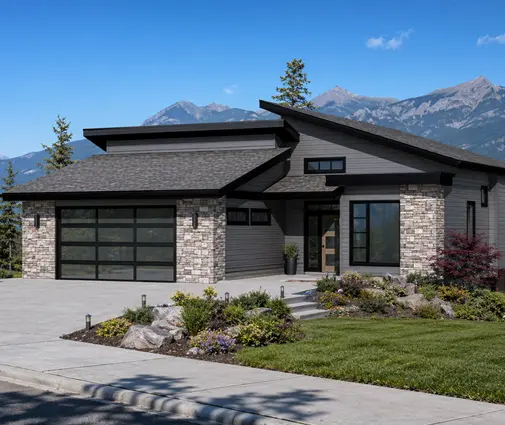
On a hillside the walkout wall changes the drainage plan. The sloped lot designs show how the exposed side and the buried side are detailed differently.
Time: part of excavation and backfill, one to two weeks. Cost: upgrading from a basic coating to a full membrane system often adds several thousand dollars. Get quotes for your soil.
Step 4: Insulate the foundation so it stays warm and dry
Cold concrete condenses moisture. The classic mistake in Canadian basements was a stud wall with batts and polyethylene on the inside, pressed against a wall that could never dry. Current practice puts continuous rigid or spray foam directly on the concrete, inside or out, so the surface stays above the dew point. Insulation under the slab is becoming standard as energy codes tighten. It is effectively required for a good result under BC's Step Code and comparable programs.
German builders usually wrap the outside of the foundation with perimeter insulation boards. That keeps the concrete inside the warm zone, the same principle with less interior framing. The trade-off for us is cost and protection of the board above grade.
Time: two to four days. Cost: depends heavily on target R-value and whether foam goes outside, inside or under the slab.
Step 5: Give the construction moisture time to leave
A wood-frame house dries faster than the masonry homes common in Poland and Germany. In those countries, a widely quoted rule of thumb gives screed about a week per centimetre to dry, and plastered block walls stay wet through a whole season. Still, our concrete basement holds plenty of water, and framing lumber must be at or below 19 per cent moisture content before it is closed in.
The practical rules:
- Do not finish the basement during the first heating season if you can wait.
- Avoid open propane heaters inside a closed-in house, because burning propane releases water vapour.
- Run a dehumidifier and check the readings rather than guessing.
- Glue flooring to the slab only after a moisture test the flooring maker accepts.
Time: two to six months for slabs to stabilize. Cost: a dehumidifier and a moisture meter, a few hundred dollars.
Step 6: Plan the HRV like a room, not an afterthought
A tight house is healthy only if it breathes on purpose. Canadian codes require mechanical ventilation in new homes, and a heat recovery ventilator (HRV) is the usual answer in cold regions. An energy recovery ventilator (ERV) is sometimes chosen to keep winter air from getting too dry. Germany requires a written ventilation concept for new and heavily renovated homes. In Poland, rekuperacja has become close to standard in new single-family houses as energy rules tightened.
What matters on the plan is space and duct routes. The mechanical room needs a spot near an exterior wall, with clearance to service the core. Larger homes need careful balancing. In a four-bedroom modern farmhouse spread over three levels, the supply runs to the upper bedrooms are long. In a single-level layout with a bath for nearly every room, the issue is the number of exhaust points. Ask for the system to be balanced and commissioned, not just switched on.
Time: two to four days for rough-in and setup. Cost: in 2025 roughly CAD 3,000 to 7,000 installed, depending on house size and ducting.

Step 7: Control humidity through the seasons
Mould needs moisture, food and time, and only the moisture is in your hands. In cold Canadian winters, indoor relative humidity of roughly 30 to 45 per cent keeps windows dry. In humid summers the basement should stay well under 60 per cent, which often means a dehumidifier even with an HRV running. Bathroom fans and the range hood must vent outdoors, never into the attic. A hygrometer in the basement costs less than a pizza and tells you more than any smell.
Time: ongoing. Cost: small. The value is in the habit.
Step 8: Test radon after you move in, and use the checklist
Health Canada recommends a long-term test of at least three months, ideally during the heating season. Results above the guideline mean activating the rough-in with an inline fan. The higher the reading, the sooner it should be done. American buyers often rely on short tests during a home sale. Long-term readings tell you more. If the slab was prepared in Step 2, a mitigation contractor usually finishes in a day, typically for CAD 2,000 to 3,500 in 2025.
Before you sign off on any plan from the basement collection or a one-level design on a slab, confirm that it includes:
- sealed soil-gas barrier and a labelled radon rough-in pipe
- grading, downspouts and weeping tile drawn to an outlet
- membrane or dampproofing chosen for your groundwater
- continuous foam on foundation walls and under the slab
- a mechanical room with HRV or ERV space and duct routes
- ducted bath fans and range hood exhausting outdoors
- a long-term radon test booked for the first winter
Timeline at a glance
| Phase | When | Duration | Typical cost (CAD, 2025) |
|---|---|---|---|
| Radon research and plan choice | Design stage | 1 to 2 weeks | None |
| Barrier and rough-in | Slab pour | 1 day | A few hundred dollars |
| Drainage and waterproofing | Excavation and backfill | 1 to 2 weeks | Several thousand dollars for a membrane upgrade |
| Foundation insulation | Before backfill or framing | 2 to 4 days | Varies with R-value |
| Drying period | First heating season | 2 to 6 months | A few hundred dollars |
| HRV or ERV install and balancing | Mechanical rough-in | 2 to 4 days | 3,000 to 7,000 |
| Long-term radon test | First winter | 3 months or more | Low for a kit, plus 2,000 to 3,500 if a fan is needed |



