It is the second week of January, the wind chill is minus 35, and the kitchen tap gives a cough and then nothing. The house is less than a year old. In most cases the cause is not bad luck. A supply line was run in the wrong place: an outside wall behind the sink, a floor over an unheated garage, a cantilevered bump-out, or a hole through the rim joist that nobody sealed. These spots are predictable. You can catch almost all of them on the plan and at rough-in, when a fix costs a few hundred dollars instead of a few thousand.
The steps below follow the order of a typical Canadian build, from the drawings to the first winter in the house.
Step 1: Mark every wet wall on the plan
Before you finalize the drawings, take a highlighter and trace every place water goes: kitchen sink, dishwasher, fridge line, bathrooms, laundry, hose bibs and the water heater. Then look at where those walls sit. A pipe in an interior partition between two heated rooms is not at risk. A pipe in a 2x6 exterior wall has only the insulation between it and the outdoors. One gap in the batt or one air leak at an outlet box is enough to freeze it.
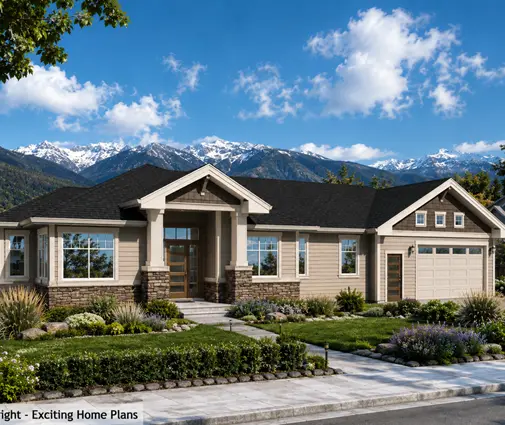
On a two-storey home, also check what sits under each upstairs bathroom. A large plan like this four-bedroom design over a full basement has several bathrooms stacked on two floors. That is the kind of layout where you want the plumbing stacks lined up in interior walls, so the risers run from the basement to the roof without touching an outside wall.
Time: an evening for you, then one revision round with the designer. Cost: usually nothing extra if you do it before the permit drawings are submitted.
Step 2: Move the kitchen sink, or build it a warm chase
The sink under the window is the classic problem. People want the view, so the sink goes on the exterior wall and the supply lines come up through the bottom plate into the coldest cavity in the house. You have three options:
- Put the sink in an island or on an interior wall. The pipes come up from the basement through heated space. This is the most reliable fix.
- Keep the sink on the outside wall, but bring the supplies in from the floor. Run them up inside the cabinet, not in the wall, and keep them on the warm side of the air barrier.
- Fur out the wall. Add a 2x3 or 2x4 service wall inside the vapour barrier and run the pipes there. Continuous exterior insulation on the main wall helps too.
Also look at sinks in mudrooms, laundry rooms and secondary bathrooms, which often end up on the north wall. A furred service wall typically adds a few hundred to about $1,000 per location in 2025, depending on the trade.
Step 3: Watch out for rooms over the garage and cantilevers
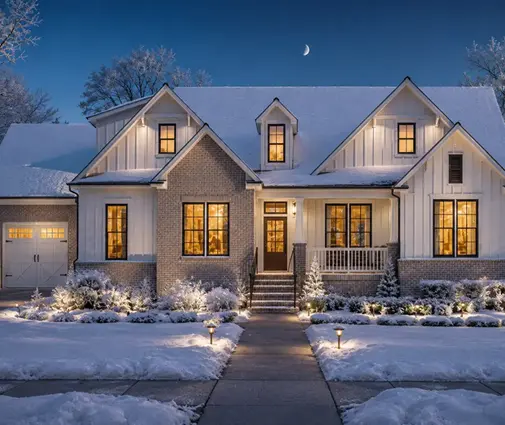
An attached garage is often only heated by the car, and the floor above it is exposed on its underside. A bathroom or laundry room built over it, or a bonus room with a wet bar, puts pipes in a floor that has winter air below it. Plans with big garages, such as a farmhouse with a three-car bay or a three-storey home with room for three cars, deserve a close look at what sits above the garage. Browse plans with a bonus room and you will see how often that space ends up over the garage.
If plumbing has to cross that floor:
- Keep the pipes tight to the subfloor, on the warm side, and put all the insulation below them.
- Use closed-cell spray foam or dense insulation that fully fills the joist bays, with no gap between the pipe and the warm floor.
- Air-seal the garage ceiling carefully. Your local code also requires a gas-proof separation between the garage and the house, so this work does double duty.
Cantilevers, the floor bump-outs under bay windows and kitchen nooks, are the same problem in a smaller space. The underside is often only a thin soffit with poor insulation and lots of air leakage. The simplest rule: no water lines in a cantilever. If a sink must sit there, spray foam the whole cavity and the soffit, then check it with a thermal camera after the first cold night.

Step 4: Plan the rim joist penetrations
The rim joist (header) around the top of the basement wall is where hose bib lines, the gas line, dryer vents and HRV ducts go through. It is also one of the leakiest places in a wood-frame house. A supply line running along the rim, or a fitting sitting just inside it, is exposed to every draft that comes through.
Ask your plumber to run lines into the basement ceiling first and only turn out to the rim at the last joist bay. Spray foam the rim joists (2 to 3 inches of closed-cell foam is common) rather than stuffing in batts. On a typical basement, budget roughly $1,500 to $3,500 in 2025, depending on perimeter and region. It pays back in comfort as well as dry pipes.
Step 5: Install frost-free hose bibs the right way
A frost-free sillcock only works if it is installed correctly. The valve seat is at the end of a long stem, so the water stops inside the heated house. Check three things at rough-in:
- Length. The stem has to reach past the rim joist and its insulation into the heated space. Sizes from 8 to 14 inches are common. Measure your wall thickness, including any exterior insulation.
- Slope. The bib should tilt slightly downward toward the outside so the stem drains once the valve closes. One that slopes back inside holds water and splits.
- Backflow. Use a model with a built-in vacuum breaker, which most municipalities expect. Check the local requirement.
Even the best sillcock fails if a hose stays connected all winter, because the trapped water cannot drain. Put a shutoff valve with a drain inside the basement on each line as a second layer of protection. A frost-free bib installed in new construction usually costs $150 to $400 per location in 2025.
Step 6: Bring the water service in below the frost line
Frost goes deep in Canada: about 4 feet in milder parts of the south, 6 feet or more on the Prairies and further north, and more under driveways where plowing keeps the snow off. Municipalities set their own minimum cover for water services, so ask the building department or the utility before excavation. On a rural acreage with a well, the same logic applies to the line from the well, often with a pitless adapter set below frost.
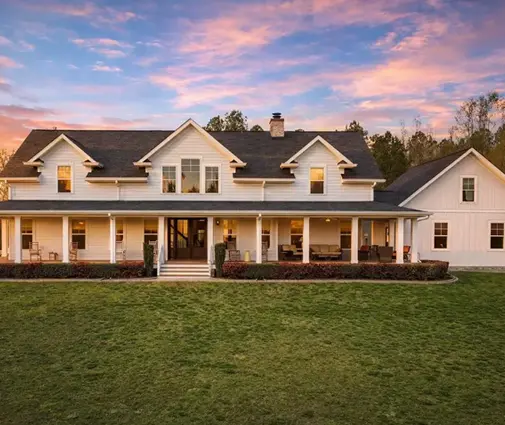
A full basement is a real advantage here: the service comes through the foundation wall well below grade and goes straight into a heated room. Designs like this modern farmhouse with a lower level make that easy, and you can find many more in the basement plans collection. With a slab-on-grade or a crawlspace, the riser comes up through the slab or the crawl, so insulation and a heated, sealed crawlspace become critical. Have the riser come up away from the foundation walls and wrap it.
Step 7: Inspect the rough-in before the insulation goes on
This is your last cheap chance. After the plumbing rough-in, and before the insulation and vapour barrier go on, walk the house with the plans. Look for:
- Any supply line in an exterior wall that was not on your plan.
- Pipes touching the exterior sheathing instead of sitting toward the warm side.
- Lines in garage ceilings or cantilevers that were moved during framing.
- Hose bib lines without an interior shutoff.
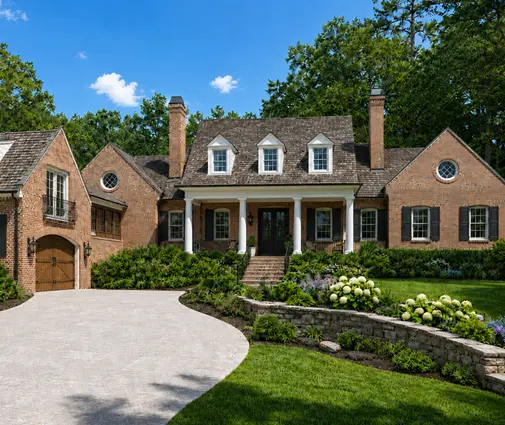
Take photos of every wall before it gets closed. On a one-storey home like this ranch plan, plumbing spreads horizontally across a large footprint, so a twenty-minute walk with a phone camera can save a lot of digging later. About heat tape: self-regulating heat cable is a reasonable backup where a pipe truly cannot be moved, such as a line in a crawlspace. It is not a substitute for good routing, it needs a dedicated outlet, and it only works if the power stays on.
Step 8: Protect the house during a winter build
Many Canadian homes are closed in during the fall and finished through the winter. Once the water is connected, the house has to stay warm. Before the furnace or heat pump is commissioned, that means temporary heat: propane or natural gas construction heaters, or an early start-up of the permanent system if your builder and the manufacturer allow it. Depending on size, fuel and region, temporary heat can run roughly $1,000 to $5,000 a month (2025 figures). Ask early who pays for it in your contract.
If the house cannot be kept heated, keep the water off. Close the main valve, open the lowest drains, blow out the lines with compressed air, and add RV antifreeze to the traps. Check the house after any storm or power outage, especially on a remote acreage where nobody drives by.
Step 9: Get through the first winter
The first cold snap is the real test. On the first night below minus 20, open the cabinet doors on the kitchen and bathroom sinks on outside walls, check the water pressure at each tap the next morning, and take a look at the rim joist and the garage ceiling with an infrared thermometer or a thermal camera, which is often cheap to rent. Disconnect every hose before the first frost. If a spot is colder than the rest, deal with it during the warranty period, while the builder still has to fix it. Check what your provincial new home warranty covers.
Timeline at a glance
| Stage | What to do | Typical timing | Rough cost (2025, CAD) |
|---|---|---|---|
| Design | Mark wet walls, move sinks, stack bathrooms | 1 to 3 weeks before permit | Usually included in revisions |
| Design | Check rooms over the garage and cantilevers | Same revision round | Nothing on paper |
| Excavation | Water service below local frost depth | Foundation stage | Part of the service connection |
| Rough-in | Frost-free bibs, interior shutoffs, rim routing | After framing | $150 to $400 per bib |
| Pre-insulation walk | Photos, check exterior walls and garage ceiling | 1 to 2 days before insulation | Your time |
| Insulation | Spray foam rim joists, garage ceiling, cantilevers | 1 to 3 days | $1,500 to $3,500 for rim joists |
| Winter build | Temporary heat or drained system | Close-in to occupancy | About $1,000 to $5,000 per month |
| First winter | Cold-snap check, warranty claims | First year | Thermal camera rental, if needed |
None of these steps is complicated. Most of them are decided when the plan is drawn, and the rest when the walls are still open. If you get those two moments right, a Canadian January becomes just another cold month.