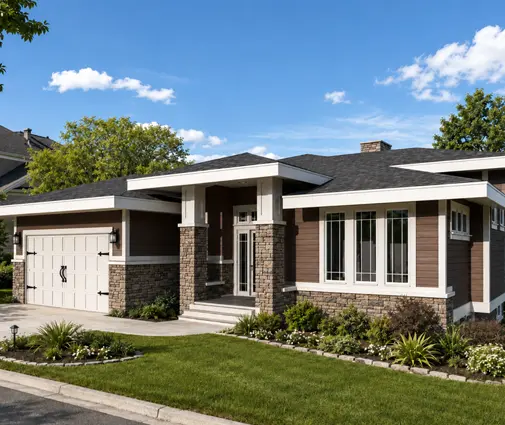
Four, 2.5, 1.0, 0.6. To most people, these numbers mean nothing. To an energy advisor, they describe four very different houses: a typical older home, a decent new build, an R-2000 home and a Passive House. They are airtightness results, measured in ACH50. To show what they mean in practice, we will follow one typical Canadian family through their build, from a bare lot to the first winter in their new home.
Chapter 1: A lot, a wish list and a very complicated roof
The family is a couple with two school-age children. They bought a lot of about a third of an acre on the edge of a town in British Columbia's Interior, with cold winters, a real snow load and hot, dry summers. Their first wish list was long: four bedrooms, a three-car garage and plenty of curb appeal.
The first plans they saved were dramatic. One was a four-bedroom European-style two-storey of 3722 sq ft with French Country and Tudor details, steep intersecting gables and many corners. Another was a 3198 sq ft modern farmhouse with four bedrooms and a three-car garage. Both are handsome homes. When the couple showed them to a local builder, though, the builder pointed out something they had not thought about. Every jog in the wall, every valley in the roof and every bump-out is another seam where the air barrier has to be joined, lapped and taped. In their municipality, that seam would also be tested.
Lesson: Before you fall for a plan, ask your builder and energy advisor how the local code treats energy performance. In some places, airtightness is not just a nice extra. It is a number you have to hit and prove.
Chapter 2: What a blower door test actually measures
The builder sent them to a certified energy advisor, the person who runs the test. The advisor explained it simply. A calibrated fan is mounted in an exterior door frame and pulls air out of the house until the inside is 50 pascals below the outdoor pressure. That is roughly the effect of a strong wind hitting every side of the house at once. The fan measures how much air it has to move to hold that pressure. Dividing the hourly airflow by the volume of the house gives ACH50, the number of air changes per hour at 50 pascals.
The advisor gave them rough benchmarks, with a warning that the exact targets change between program versions:
- Older Canadian homes often test well above 5 ACH50. Drafty ones can reach 10 or more.
- Recent code-built new homes commonly land somewhere around 2.5 to 4 ACH50. Results vary a lot by builder.
- ENERGY STAR new homes have typically required a tighter result, around the low end of that range for detached houses. Check the current version.
- The current R-2000 standard calls for 1.0 ACH50.
- Passive House requires 0.6 ACH50 or better.
Then came the part that mattered to the family. In BC, municipalities apply the BC Energy Step Code. On the performance path, an energy advisor models the house, and a blower door test at completion is part of showing compliance. Higher steps set tighter airtightness targets. In most other provinces, testing has generally not been mandatory for an ordinary new house. It becomes required if you follow a performance compliance path, claim an airtightness credit under the newer tiered energy rules of the National Building Code, or pursue a label such as ENERGY STAR or R-2000. Rules are changing fast, so confirm the requirements with your municipality's building department before you finalize drawings.
The advisor also gave them a caution. ACH50 is a ratio, so a small house with the same leaks as a large one gets a worse score. A compact bungalow has to be built carefully to hit the number.
Lesson: Bring in an energy advisor at the plan stage, not after framing. In 2025, a single blower door test typically cost a few hundred dollars. A full new-home evaluation package with modelling and two tests usually ran higher. Both are small sums next to the cost of failing a final test.
Chapter 3: Choosing a plan that is easy to seal
With a target in mind, the family went back to the catalogue with new criteria. The advisor's list was short:
- A simple rectangular or gently L-shaped footprint with few outside corners
- A plain gable or hip roof, without valleys, dormers or turrets
- No rooms hanging over open air, such as cantilevers or bonus rooms above the garage
- Few roof penetrations, so plumbing vents and bath fans are grouped and routed sensibly
- Ideally, a full basement, which a cold-climate lot needs anyway because of the frost depth
They also realized they did not need 3,500 sq ft. Two children, a home office and room for grandparents to visit pointed them toward a one-storey home over a full basement. The basement could hold the mechanical room and future bedrooms at very little added envelope cost.

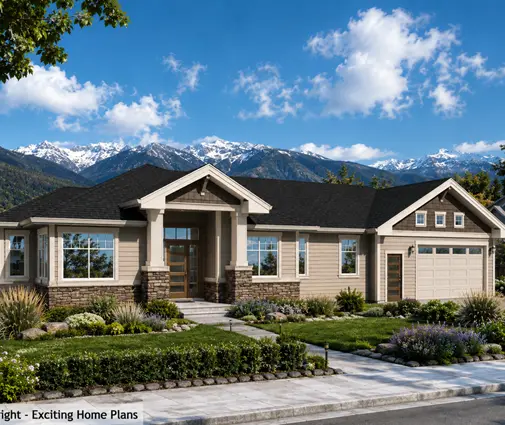

The shortlist came down to three. The first was a 1575 sq ft Craftsman bungalow with three bedrooms and a basement, which has an almost rectangular footprint. The second was a three-bedroom modern ranch of 1577 sq ft over a basement, with a straightforward roof. The third was a 1603 sq ft modern mountain plan with three bedrooms and a basement, which they liked for its clean lines and large windows facing the view. The advisor noted that big glazing is a heat-loss question more than an airtightness one. Well-installed windows with sealed rough openings test fine.
They chose the Craftsman. Its simple roof meant fewer air barrier transitions, and it left budget for better windows and a heat pump.
Lesson: The simplest way to hit a tight ACH50 target is to start with a simple shape. Each removed corner, valley or dormer makes the crew's job easier. You can still find character in trim, porches and materials. Browse plans with a basement and gable-roof designs for good starting points.
Chapter 4: Framing, and the places where air sneaks out
The foundation went in during spring, and framing started in early summer. Before the first wall went up, the builder, the framer and the energy advisor walked through the plan together. They marked the spots that cause most failed tests in Canadian wood-frame homes:
- Rim joists. The band where the floor framing sits on the foundation is a classic leak and a cold spot. The crew sealed it with spray foam. Rigid foam with every edge sealed would also have worked. The sill gasket under the plate was not skipped.
- The attic hatch. An unsealed hatch in a hallway ceiling acts like a small chimney. They moved it into the garage, where it opens to the separate garage attic. Where a hatch must be inside, it needs weatherstripping, latches that compress it, and insulation on top.
- Pot lights. Every recessed light in an insulated ceiling is a hole in the air barrier. The family cut the number of pot lights. They used only airtight, IC-rated fixtures and added a strapped service cavity below the polyethylene, so wiring runs without piercing it.
- Plumbing and wiring penetrations. Stack vents, the bath fan duct and every wire passing through a top plate were sealed with gaskets or acoustic sealant before insulation went in.
- Windows and doors. Rough openings were sealed with low-expansion foam and tape. Batt scraps stuffed into the gap do not stop air.
The advisor ran a mid-construction blower door test once the air barrier was complete and before drywall went up. The house came in a little above the target. With the fan running, the crew walked the house with a smoke pencil and found two unsealed electrical boxes and a gap around the dryer vent. All of these took less than an hour to fix.
Lesson: Always ask for a test before drywall. At that stage, leaks are visible and cheap to fix. After drywall, the same leaks are hidden and expensive to reach.
Chapter 5: The HRV, the final test and the first winter
A tight house raises one question: where does the fresh air come from? In a leaky home, air sneaks in through cracks in an uncontrolled way. It is too much in a January wind and too little on a calm day. Once the house is sealed, that accidental ventilation largely disappears. Moisture from showers, cooking and four people breathing has to go somewhere, or it ends up as frost on windows and mould in corners.
That is why the family's mechanical design included a heat recovery ventilator (HRV). It brings in fresh outdoor air and exhausts stale air continuously. A core between the two streams transfers much of the heat from outgoing air to incoming air. Ducts deliver fresh air to the bedrooms and living spaces and draw stale air from the bathrooms and kitchen area. The installer balanced the airflows, which matters as much as the unit itself. In 2025, a ducted HRV system for a home this size commonly cost somewhere in the several-thousand-dollar range installed, depending on the region and the ductwork. Paired with a cold-climate air-source heat pump, it handled both comfort and air quality.
The final test, run after all trades had finished, came in comfortably under the step target. The modelled energy use was lower than the family expected for a bungalow of 1575 sq ft above a heated basement. That first winter, they noticed things the numbers did not capture. There were no cold drafts along the floor, no whistling around the patio door, and the basement stayed dry and even in temperature.

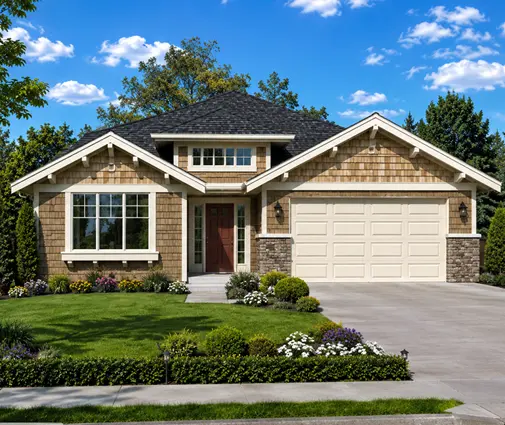
Friends building nearby asked which plans to look at. The family pointed them to similar simple bungalows over a basement. One was a four-bedroom Modern Craftsman of 1714 sq ft. Another was a 1491 sq ft one-storey plan with five bedrooms, counting the basement level. Both are compact and straightforward to frame, with roofs that do not fight the air barrier.
Lesson: Airtightness and ventilation are one decision, not two. Plan the HRV ducting into the design from the start, budget for proper balancing, and treat the final blower door test as the moment the house proves it was built the way it was drawn.