Picture a kitchen table in Red Deer or Barrie on a Sunday evening. The laptop is open, the download has finished, and a folder full of PDF sheets and a CAD file is staring back at two people who have never read a construction drawing. Which page matters to the permit office? What do the dashed lines mean? And how much work is still left before a framer can start?
A purchased plan is a starting point, not a finished permit package, and that is true almost everywhere. What changes from country to country is how far the starting point goes and who has to carry it the rest of the way. Here are seven things worth understanding, with Canada at the centre and four other countries for perspective.
1. A Canadian set is built around sheets, not a single document
North American plans arrive as a numbered stack of drawings: usually a cover or general notes page, the floor plans, exterior elevations, at least one building section, the foundation layout, a roof plan, and often a sheet of typical details such as stair construction or a wall assembly. Some sets add an electrical layout showing outlets, switches and light fixtures. Written specifications are thin; most of the information lives on the drawings themselves, in notes and callouts.
American buyers receive almost the same package, because the drafting tradition is shared. The difference is the rulebook behind it. A plan drawn with the American residential code in mind will be close, but not identical, to what a Canadian building official expects under the national or provincial code, so treat the notes sheet as a draft rather than a promise of compliance.
2. Floor plans: learn the scale and the language of lines
Most North American floor plans are drawn at 1/4 inch to the foot, which is roughly 1:48 in metric terms. Dimensions are written in feet and inches, and a chain of them runs along each wall. Check the notes to see whether walls are measured to the outside of framing or to the centre of studs, because a builder who assumes the wrong one can be off by several inches over a long run.
The symbols are easier than they look. A thin arc shows which way a door swings. Windows appear as a break in the wall with thin parallel lines. Dashed lines usually mean something above the cut, like upper cabinets, a beam or a vaulted ceiling edge. Arrows with letters or numbers point to the section and detail sheets. A modest plan such as this compact four-bedroom bungalow is a good one to practise on: the bedroom wing, the bathrooms and the circulation are all readable in a single page.
3. Elevations and sections tell you how the house stands up
Elevations show each face of the house: roof pitch, window heights, cladding changes, the finished grade line. Sections slice through the building and reveal the floor-to-ceiling heights, the roof framing, the stair and, most importantly in this country, the build-up of the exterior wall and attic. That is where a Canadian reviewer looks for continuous insulation, the air and vapour control layer and enough attic depth for the required insulation level.
If the section shows a 2x4 wall with modest batts, expect to change it. Many Canadian builders now frame 2x6 walls, add exterior rigid insulation in colder regions, or both. The change is not dramatic on paper, but it thickens every exterior wall and can nudge interior room sizes, which is why it should happen before construction, not on site.
4. The foundation sheet is where Canadian buyers spend the most time
Frost penetrates deep across most of the country, and footings have to sit below it. Once the excavation is that deep anyway, a full basement becomes a cheap source of living space, mechanical room and storage. A lot of catalogue plans, especially those drawn for warmer markets, show a slab or a crawlspace instead, and converting them means a new foundation plan, a stair, and sometimes a moved furnace and water heater.
It saves effort to start from a design that already includes a lower level. This European-style bungalow with a full basement has the stair and foundation worked out, and this Spanish-flavoured single-storey home pairs its basement with a two-car garage, a combination that is common in Canadian suburbs. The basement plan collection is the quicker way to filter for them.


5. What your local designer or engineer still has to add
The CAD file is the most valuable item in the package for a Canadian buyer, because it lets a local designer edit the drawings rather than redraw them. Their job typically includes a site plan with setbacks, grades and the driveway; updates to wall and roof assemblies; energy compliance documents for the province, which in some places means an energy model and an airtightness target; a heating and ventilation design with an HRV or ERV; and coordination with the truss supplier, whose own engineered drawings usually get attached to the permit file.
Who is allowed to put their name on permit drawings depends on the province. In Ontario, for example, house designers generally need a provincial qualification unless they are an architect or engineer, and an engineer's seal may be needed for things like large beams, unusual foundations or heavy snow regions. Confirm the requirements with your municipality before you hire anyone. As a rough 2025 guide, adapting a catalogue plan for permit can cost anywhere from a couple of thousand dollars to well over $8,000, depending on how much changes and how much engineering is involved.
6. Poland and Germany split the job differently
In Poland, ready-made catalogue designs are a huge business, but they never go straight to the permit office. A local architect adapts the design to the specific plot and the zoning conditions. The package is divided in two: the projekt architektoniczno-budowlany, which goes in with the permit application, and the projekt techniczny, the detailed structural and installation drawings that must be ready before work starts but are not reviewed at the permit stage. A Polish buyer therefore pays for the catalogue design and then for the adaptation, much like a Canadian buyer pays a local designer.
Germany is more formal still. The Bauvorlagen submitted to the authority include a site plan, drawings usually at 1:100, a written building description, structural calculations and proof of thermal performance, and they must be signed by someone legally entitled to submit them, typically an architect or qualified engineer. Plans are metric, walls are often masonry, and many families buy from prefab house companies that deliver the whole design as part of the contract. Compared with that, a Canadian buyer working from a catalogue plan has more freedom and more personal responsibility.
7. Romania puts the emphasis on stages and checks
Romanian builders follow a clear sequence. First comes the town-planning certificate that sets out what is allowed on the plot. Then the architect prepares the DTAC, the documentation needed for the building permit. After that, the PT (technical project) and execution details describe how the house will actually be built, and parts of the design are reviewed by certified project checkers. A foreign catalogue plan is useful in Romania mainly as a concept that a local architect redraws to national standards.
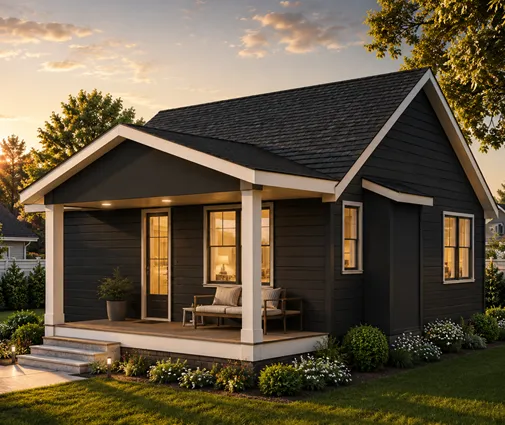
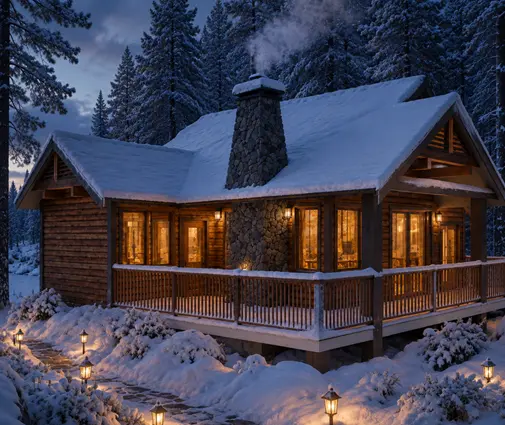
The lesson for a Canadian reader is that our system sits in the middle. It is lighter than Germany or Romania because wood-frame houses follow prescriptive rules that a competent designer can apply without full engineering, yet it still expects drawings that fit your lot, your climate zone and your province's energy targets. A small, simple plan such as this two-bedroom cabin under 800 square feet or this rustic lake retreat with two full bathrooms usually moves through that process quickly, because there are fewer spans and fewer surprises.
Before you click "order"
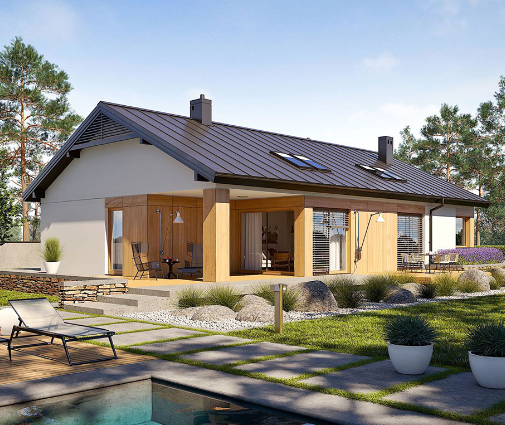
Read the plan's product page the way a permit clerk would. Check whether the foundation shown matches what you intend to build, whether a CAD file is included or only PDFs, what wall thickness the drawings assume, and whether the roof can carry snow loads typical of your area once a truss designer runs the numbers. Compare the footprint with your lot's setbacks before you fall for an elevation. A clean, contemporary layout like this modern bungalow with a double garage is easy to adapt precisely because its walls stack and its roof is straightforward. If you are still narrowing things down, browsing the one-storey plans with those questions in mind will save you a costly redesign later.