Pull the drywall off a mouldy corner in a 20-year-old house and you will usually find the poly in place. You will also find a gap behind an outlet, an unsealed top plate or a rim joist stuffed with batts and nothing else. Most moisture problems in Canadian walls do not come from a missing vapour barrier. They come from air leaks around it. Before you build, it helps to clear up the myths that still circulate on job sites and in online forums.
Myth 1: The vapour barrier and the air barrier are the same thing
Fact: They do different jobs, even when one material does both. The vapour barrier slows moisture that diffuses through materials. The National Building Code and the provincial codes require it on the warm side of the insulation, where indoor humidity would otherwise meet a cold surface and condense. The air barrier stops air from flowing through the assembly, and it has to be continuous across walls, ceilings, floors and every joint between them. Six-mil polyethylene can serve as both, but only if every seam, penetration and edge is sealed. Poly that is only stapled is a vapour barrier with holes in it, not an air barrier.
Myth 2: The vapour barrier keeps most of the moisture out of the wall
Fact: Air leakage moves far more moisture than diffusion. Warm, humid indoor air pushed through a small gap at an electrical box or a top plate can carry many times more water into a wall cavity over a winter than diffusion through a whole sheet of painted drywall. That is why building scientists say the air barrier is the bigger priority. The vapour barrier still matters, and the code still requires it, but a perfect sheet of poly with leaky edges will not save a wall.
Myth 3: Six-mil poly is the only option the code allows
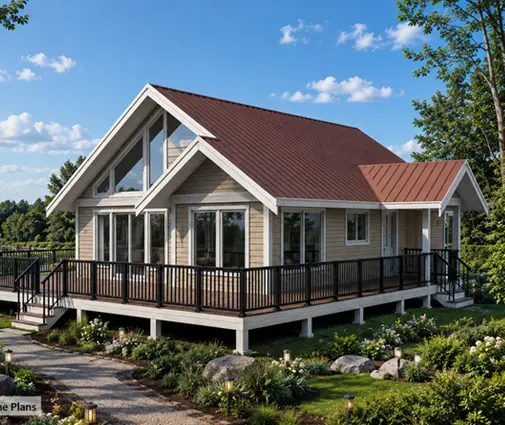
Fact: Poly is the default in most of Canada because it is cheap, familiar and accepted by every inspector. It is not the only option. The code sets a performance requirement for vapour resistance, and several materials can meet it. Variable-permeance membranes, often called smart membranes, stay tight in winter and open up when humidity rises in summer, so a wall can dry toward the inside. They make sense in cathedral ceilings, in air-conditioned homes in humid southern Ontario summers, and in walls with low-permeance materials on the outside. In 2025 they typically cost several times as much per square foot as poly, so most builders use them selectively. If you are building one of the plans from our vaulted ceiling collection, the sloped ceiling is exactly where a smart membrane earns its price. Ask your designer or your municipality which products your local inspector accepts before you order.
Myth 4: Two barriers are safer than one
Fact: A low-permeance layer on both sides of a wall can trap moisture with no way out. This often happens when poly goes on the inside and foil-faced or thick foam board goes on the outside. The fix is not to drop the interior vapour barrier but to design the wall properly. Either there is enough exterior insulation to keep the sheathing warm, or the outside layers are vapour-open, or a smart membrane goes on the inside. The codes have rules on the ratio of outboard to inboard insulation when the exterior layer is low-permeance. Those rules vary by climate zone and province, so have a designer check the actual assembly instead of guessing.
Myth 5: If the sheathing is taped, you don't need anything inside
Fact: Sealed sheathing is one of the best air barrier strategies available. Taped OSB or plywood, or a sealed exterior membrane, is less likely to be punctured by electricians and plumbers than interior poly. Many builders chasing BC Energy Step Code airtightness targets rely on it. But it solves the air problem, not the vapour problem. You still need vapour control on the warm side. That can be poly, a smart membrane, or in some cases an approved vapour-retarder paint or airtight drywall approach, where the drywall is gasketed or sealed to the framing and becomes part of the air barrier. Some jurisdictions accept these alternatives readily and others are cautious. Confirm before framing.
Myth 6: A few small holes don't matter
Fact: Small holes are exactly where walls fail. The usual suspects are always the same:
- Rim joists. Batts with poly folded over them rarely seal. Spray foam or cut-and-sealed rigid foam is the common fix, especially over a full basement.
- Electrical boxes. Exterior-wall outlets need sealed vapour-barrier boxes, the "hats", with the poly taped or caulked to their flange.
- Top plates. The joint between wall poly and ceiling poly at the top plate, especially under interior partitions, needs a continuous strip lapped and sealed with acoustic sealant.
- Window and door openings. Use low-expansion foam or backer rod and sealant between the frame and the rough opening, with the poly sealed to the frame, not just stapled around it.
- Plumbing stacks, attic hatches and pot lights. Every one is a hole into the coldest part of the house.
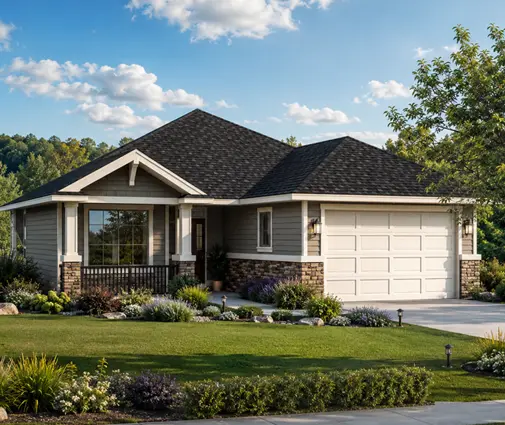
A bungalow over a full basement has a long rim joist and a large ceiling plane, so it has plenty of these details. A plan like this 3-bedroom Craftsman bungalow of 1575 sq ft with a basement is a typical Canadian build. So is this 4-bedroom Cape Cod bungalow of 2109 sq ft. Both are simple to seal well if the trades plan the sequence.



Myth 7: A house can be too tight and needs to breathe
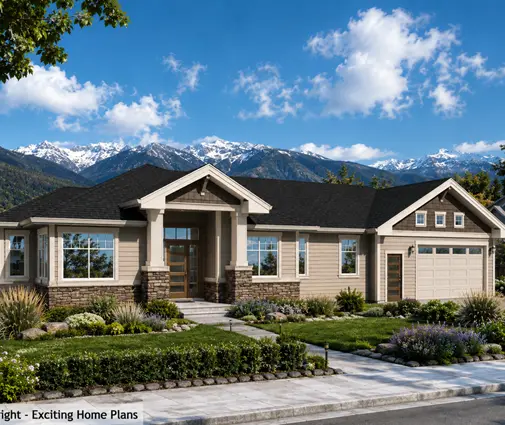
Fact: Walls need to dry, but people need fresh air, and leaks are a poor way to supply it. A leaky house gets too much air in a cold snap, too little on a calm day, and pulls that air through insulation and dust. An airtight house with a heat recovery ventilator (HRV), or an ERV in some cases, gets steady, filtered fresh air while recovering much of the heat. Mechanical ventilation is required in new Canadian homes anyway. Tightness and an HRV go together, and both make a heat pump easier to size and cheaper to run. A larger home like this 6800 sq ft Modern Tudor with 5 bedrooms and a basement needs a carefully designed ventilation system. So does a compact 1577 sq ft mountain-style bungalow.
Myth 8: Once the insulation inspection passes, the job is done
Fact: The inspection is a snapshot. Before drywall, the inspector typically checks for the following:
- Insulation of the right R-value fills the cavities without gaps or compression.
- The poly or membrane is continuous, lapped over framing members and sealed at the joints.
- Tears are taped.
- Electrical boxes are sealed.
- Rim joists, top plates and window perimeters are done.
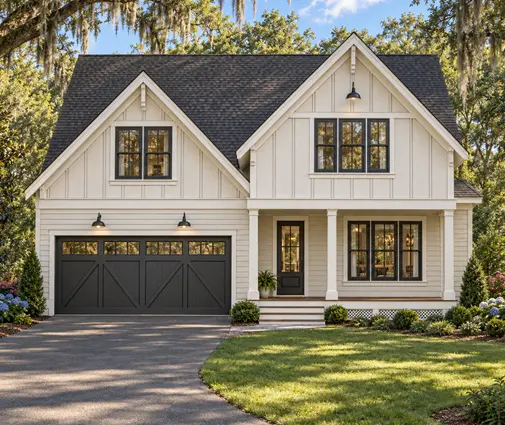
After that, a drywaller can still tear the poly, and a late pot light or a new bathroom fan can punch through the ceiling. A blower-door test is the only way to know how the finished house performs. It is required under the BC Energy Step Code and some energy-efficiency programs, and it is worth doing anywhere. A mid-construction test, done before drywall, lets the crew find leaks while they can still fix them cheaply. On taller homes like this 4-bedroom farmhouse cottage of 2396 sq ft on 3 stories or this two-storey 3273 sq ft Shingle-style home, stack effect pushes warm air out at the top. The ceiling and upper top plates deserve extra attention.

What this means for your build
Any wood-frame plan can be built tight and dry in Canada. The plan itself does not decide it; the details and the order of work do. Decide early which layer is your air barrier, whether that is interior poly, taped sheathing or airtight drywall. Then choose the vapour control that suits your wall and your climate, and make sure every trade knows who seals what. If your plan has a full basement, as most in our basement collection do, put the rim joist on that list from day one. Check the current requirements with your municipality or your designer, since the provincial codes and local step-code levels keep evolving.