It is early March. The driveway is clear, the furnace is running fine, and a ridge of ice a hand thick has formed along the eaves above the front door. Water is backing up under the shingles and a brown stain is spreading across the bedroom ceiling. Almost every part of that scene was decided at the design stage, long before the first snowfall.
In Canada, snow is a structural load, a moisture problem and a layout question all at once. A roof that works in Windsor can be undersized in Chicoutimi, Timmins or Revelstoke. The checklist below follows the order in which decisions are made: the site, the roof form, the structure and the attic. Use it when you compare plans and when you sit down with your designer and truss supplier.
Stage 1: Know your snow load before you choose a plan
- Climatic data: the National Building Code lists a ground snow load and an associated rain load for hundreds of Canadian locations. Your provincial code (OBC in Ontario, the BC Building Code, the Quebec Construction Code) uses the same approach. Ask the municipality which values apply to your lot.
- Range of values: ground snow loads go from under 1 kPa in parts of southern Ontario and coastal BC to well over 3 kPa in parts of Quebec, Labrador, northern Ontario and the BC Interior mountains. Two lots an hour apart can differ a lot.
- Elevation: in mountain areas, a lot several hundred metres above the reference town may carry a higher load. Some BC municipalities publish their own snow load bylaws or maps.
- Exposure: an open acreage swept by wind and a sheltered lot among trees are treated differently in the calculation. Wind can strip one roof and pile drifts on another.
- Imported plans: a plan drawn elsewhere must be reviewed for your load. Roof framing, beams and point loads down to the footings may change.
Make this the first call you make, not the last. Once you know the design snow load, you can tell quickly whether a plan needs only new truss drawings or a deeper rework of beams, headers and posts. Have a local designer or engineer confirm the numbers for the current code edition, since values and methods are updated from one edition to the next.
Stage 2: Pick a roof form that lets snow leave
- Simple gables: two planes and one ridge is the easiest shape to frame, insulate, ventilate and keep dry. Fewer valleys and intersections mean fewer places for snow to collect and ice to form.
- Pitch: in heavy-snow areas, many builders favour 8/12 to 12/12. Steeper roofs let snow slide more readily, especially with metal. Note that the code generally gives a load reduction only on fairly steep or slippery roofs, so pitch alone does not shrink your trusses.
- Roofing material: standing seam metal releases snow well and lasts long. In 2025, installed prices in Canada were often roughly two to three times those of asphalt shingles per square foot; get local quotes.
- Dormers and hips: they are possible, but each one adds valleys, crickets and flashing. Keep them few and well placed.
- Low and flat roofs: they can work in snow country, but they must be engineered for full load and drifting, and they need a careful membrane and drainage design.
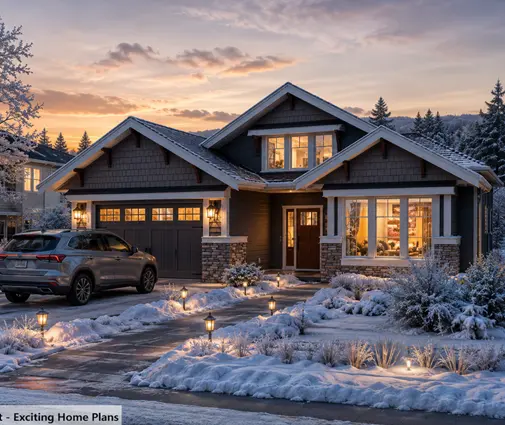
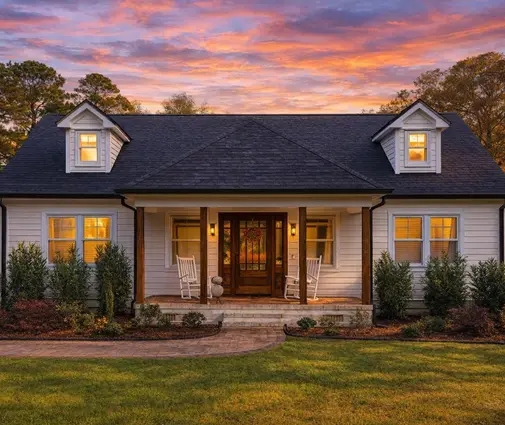
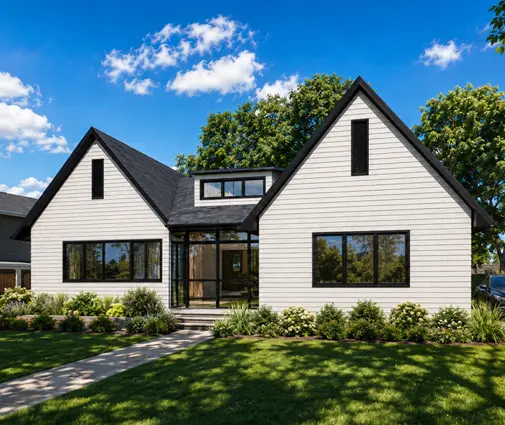
A clean, steep gable is the classic answer, and it is no accident that Cape Cod and Scandinavian forms are so common from Quebec to the Kootenays. A two-storey Cape Cod with 4 bedrooms and 2410 sq ft keeps its living space under a straightforward main roof, while a Scandinavian-style bungalow with 3 bedrooms and 2168 sq ft shows how a modern home can still rely on a simple, steep profile. Browse more gable roof house plans to compare roof shapes.

Stage 3: Trusses, overhangs and where the snow lands
- Truss drawings: engineered roof trusses are designed by the manufacturer for your snow load and stamped. Check that the load on the drawings matches your municipality's values.
- Drift zones: a lower roof beside a taller wall, such as a garage against a two-storey house, collects drifts. That section often needs heavier trusses or extra framing.
- Girders and bearing: valleys and roof intersections create girder trusses with concentrated loads. Follow those loads down to beams, posts and footings.
- Overhangs: 18 to 24 inches protects walls and windows, but deep overhangs must carry snow too. Exposed rafter tails and wide porch roofs need checking.
- Entries and driveways: never let a valley or a steep roof plane dump onto the front door, the garage door, a walkway or the spot where you park. Place doors under gable ends, or protect them with a porch roof and snow guards.
- Sliding snow: on metal roofs, plan where the snow goes: a clear zone along the eaves, no heat pump, gas meter or window wells right below.
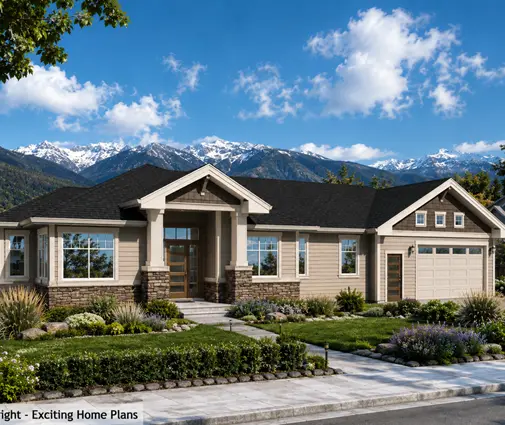
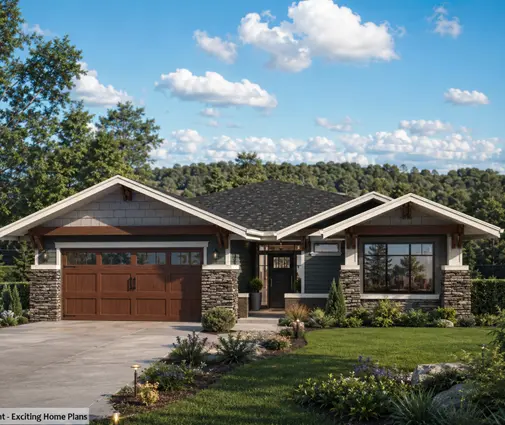
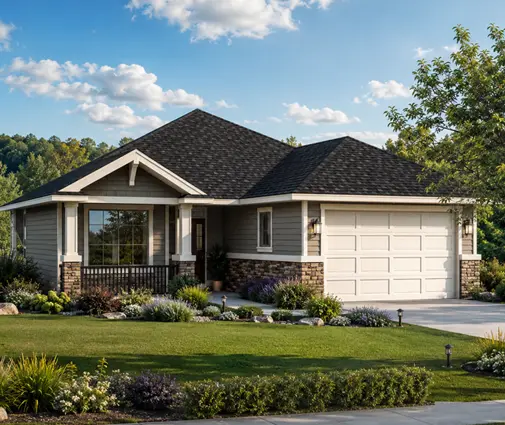
Walk through the plan in your head on a February morning. Where do you carry groceries in? Where does the plough push snow? Where will the slide from the roof land? A Craftsman mountain bungalow with 3 bedrooms, 1675 sq ft and a basement is a good model to study: a compact one-storey footprint, a covered entry and fewer roof intersections than larger homes. For bigger families, a rustic mountain home with 5 bedrooms over three levels and 2468 sq ft shows the kind of steep-roofed design suited to snowy hillsides.
Stage 4: Stop ice dams in the attic
- Air sealing: most ice dams start with warm, moist air leaking into the attic through pot lights, attic hatches, plumbing stacks and wall top plates. Seal them all before insulation goes in.
- Insulation depth: in 2025, attic ceilings in colder parts of Canada were commonly insulated in the R-50 to R-60 range. Check the target for your province and climate zone, including any Energy Step Code level in BC.
- Raised heel trusses: ask for energy or raised heel trusses so full insulation depth reaches the outer walls. Thin insulation at the eaves is a classic cause of melting.
- Ventilation: continuous soffit vents, baffles to keep the airflow open above the insulation, and ridge or roof vents at the top. The code sets a minimum vent area relative to the insulated ceiling area.
- Eave protection: a self-adhered membrane along the eaves, extending up the roof past the inside face of the wall, as required in most of Canada.
- Mechanical ducts: keep HRV, bathroom fan and heat pump lines out of the attic where possible. If they must go there, seal and insulate them well and vent them to the outside, never into the attic.
The goal is a cold attic and a warm house with a tight boundary between them. If the roof deck stays close to outdoor temperature, snow does not melt on top and refreeze at the eaves. Vaulted ceilings and finished upper floors under the roof need a specific vented or unvented assembly drawn by a professional. One-storey homes with a simple attic are the easiest to get right, such as a compact bungalow with 5 bedrooms on 1524 sq ft plus a basement, where some bedrooms can sit downstairs below the frost line. See more house plans with a basement if you are building where deep footings are needed anyway.


The most common mistakes
- Using the wrong snow load: relying on a plan or truss drawing designed for another region.
- Too many valleys: choosing a complex roof for curb appeal, then fighting ice and leaks for years.
- Entries under valleys: putting the front door or the garage door right where snow and ice fall.
- Insulation without air sealing: adding R-value but leaving pot lights and the attic hatch leaking.
- Blocked soffits: blowing insulation into the soffits and cutting off ventilation.
- Ignoring drifts: forgetting the low roof beside a tall wall.
- Heating cables as a plan: they treat the symptom; good design removes the cause.